
Getting Sharp Photos of Birds in Flight: A Practical Guide
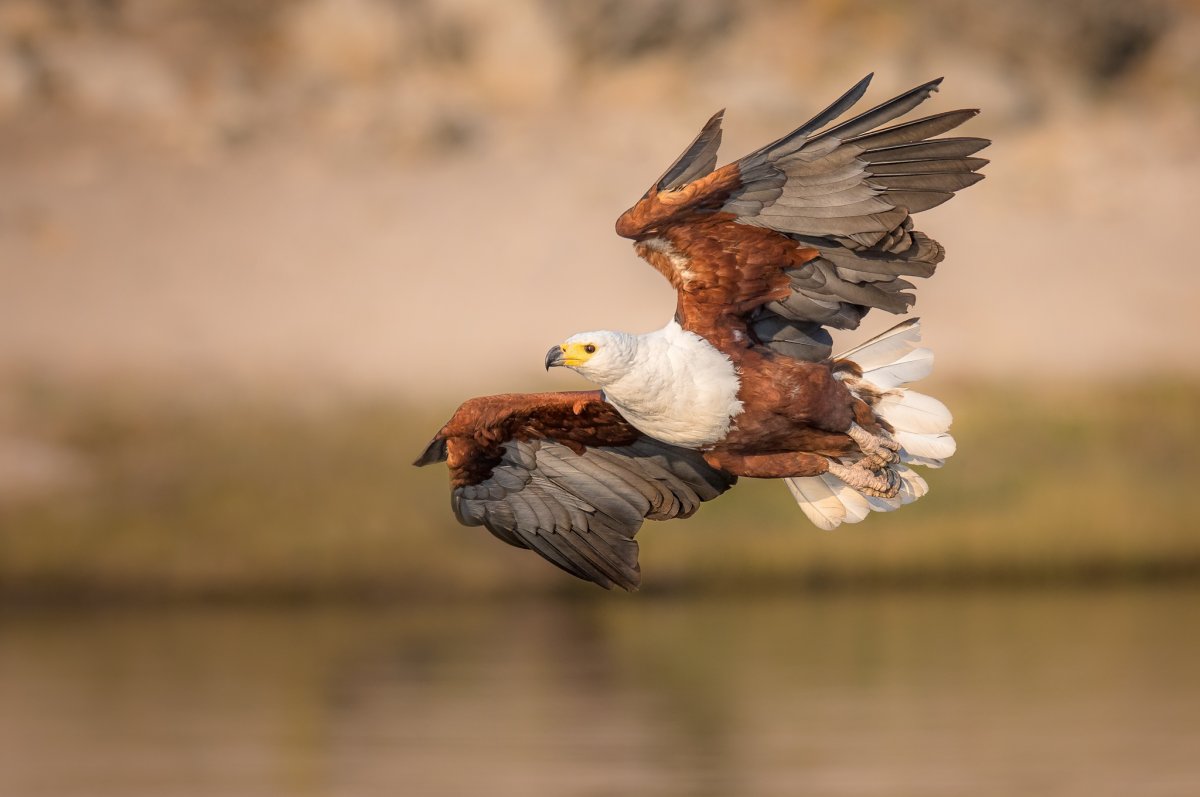

What if getting sharp photos of birds in flight depends less on having the fastest camera and more on having a steady plan? You may see the bird clearly, then end up with a blurred image or lose it while trying to keep it in the viewfinder. When the action happens quickly, camera settings can feel like one more thing to manage.
Sharpness comes from combining a fast shutter speed, reliable focus and smooth camera movement. This guide explains common causes of blur, gives you practical starting settings and tracking techniques, and outlines a routine to practise in the field. Guided outings with experienced wildlife photography guides can also help you read movement and build confidence, one flight at a time.
A soft bird isn’t always a focus problem. Before changing settings, look closely at the image. If the background is sharp but the bird is blurred, subject motion may be the cause: the camera stayed still, but the bird moved during the exposure. If the whole frame looks smeared in a similar direction, camera shake may be to blame.
Motion blur comes from a moving bird, missed focus happens when the camera sharpens the wrong distance, and camera shake softens the scene as the camera moves. These clues help you choose the right fix instead of changing several settings at once.
Compare the bird’s head and body with its wing edges, then check the background. If the head is crisp but the wings are streaked, the bird moved while flapping. If a branch or the background is sharp while the bird is soft, focus may have landed in front of or behind it. If both the bird and background show similar softness, camera movement is more likely.
The background is sharp, but parts of the bird look stretched or blurred. Wing tips may be less defined than the head.
Something else at a different distance is sharp, while the bird lacks clear detail across its body.
Edges throughout the frame look smeared, often in the same direction.
Review several frames from the same burst. If focus misses in a similar way each time, the camera may be tracking the wrong area. If sharpness varies from frame to frame, the bird’s movement or your tracking may be changing. This review is a useful first step in getting sharp photos of birds in flight, and it builds on the field basics covered in wildlife photography tips for beginners.
Prepare your camera before a bird takes off. A simple setup makes getting sharp photos of birds in flight more manageable: set the shutter speed first, choose a focus mode that follows movement, then enable burst shooting. You’ll have a routine ready when the action begins.
Try this sequence:
A useful starting point is 1/1000 second or faster. For many birds in flight, aim for 1/2000 second or more. Faster wingbeats or rapid movement may call for 1/2500 or 1/3200 second. The right speed depends on the bird and how it’s moving.
Often called AF-C or AI Servo, this mode keeps adjusting focus as you follow the bird.
The camera captures a short sequence while you hold the shutter, giving you several frames to review.
A fast shutter speed gives the bird less time to move during the exposure, helping freeze its wings and body in the frame.
Aperture and ISO help maintain your chosen shutter speed as the light changes. Aperture controls how much light enters through the lens, while ISO affects the camera’s sensitivity to light. In Shutter Priority mode, labelled Tv or S on many cameras, you set the speed and the camera adjusts exposure. Manual mode with Auto ISO is another option.
Practise on nearby birds with predictable flight paths, then review the detail around the head and wings. Change one setting at a time so you can see what helps. Guided practice with experienced wildlife photography guides can also help you refine your technique. On wildlife photography tours, you can practise in the field with experienced guides.

Good tracking starts before you raise the camera. Watch where the bird is heading, then position yourself so you can follow its path without twisting or rushing. A steady pan helps keep the bird in the frame and gives autofocus time to follow it.
Spot it with your eyes before looking through the viewfinder. Bring the camera up while keeping the bird in sight.
Place the focus area over the bird and give continuous autofocus a moment to lock on.
Stand with your feet comfortably apart, turn from your hips and move with the bird rather than making quick movements with your arms alone.
Continue the pan as you take a short burst, then follow through for a moment before lowering the camera.
Leave open space in front of the bird. This gives its flight direction room in the frame and avoids a cramped composition. Start with birds on a familiar, predictable route, such as between a perch and a feeding area. When following that movement feels natural, try birds with faster or less predictable flight. Review your frames to see whether you’re keeping the bird in the frame and moving at a steady pace.
Watch the bird’s direction and behaviour before it takes off. If it repeatedly turns toward the same open area, it may be preparing to fly that way. That can give you time to settle your stance and get ready. Experienced guides can help you notice these cues and refine your tracking technique. Wildlife photography tours provide opportunities to practise in the field with experienced guides.
Getting sharp photos of birds in flight takes practice, and each outing can teach you something new. Choose one skill to focus on, such as keeping a bird in the viewfinder or following its flight with a smooth pan. Afterward, review your images and note what you want to try differently next time. Small, focused steps make fast-moving moments easier to manage.
Tusk Photo’s wildlife photography journeys are led by experienced guides and designed for beginners as well as seasoned photographers. Explore Tusk Photo’s wildlife photography journeys to find a guided outing for your next step.
Stay curious, keep practising, and enjoy the moments between shots too. Your confidence will grow with every bird you follow.
No. Image stabilisation helps reduce blur caused by movement of your camera or lens, but it can’t stop a bird from moving during the exposure. It’s useful when camera movement is part of the problem, especially with a long lens. For a flying bird, you still need a shutter speed fast enough to record its movement clearly.
Yes. Getting sharp photos of birds in flight is possible with an entry-level camera. The Canon EOS R10 is one option noted for bird photography, but you don’t need to start with a particular model. Try photographing birds that are closer and easier to frame, then learn how your camera responds before deciding whether different equipment would help.
A fast shutter speed can’t make an image sharp if focus lands on the wing or the space beside the bird instead of its eye. At close range, only a narrow area may be in focus, so small movements can shift the sharpest point. Check the photo at full size: if the eye is soft but a nearby feather is crisp, focus placement may be the issue.


