
Wildlife Photography Tips for Beginners: Your Guide to Capturing the Wild in 2026
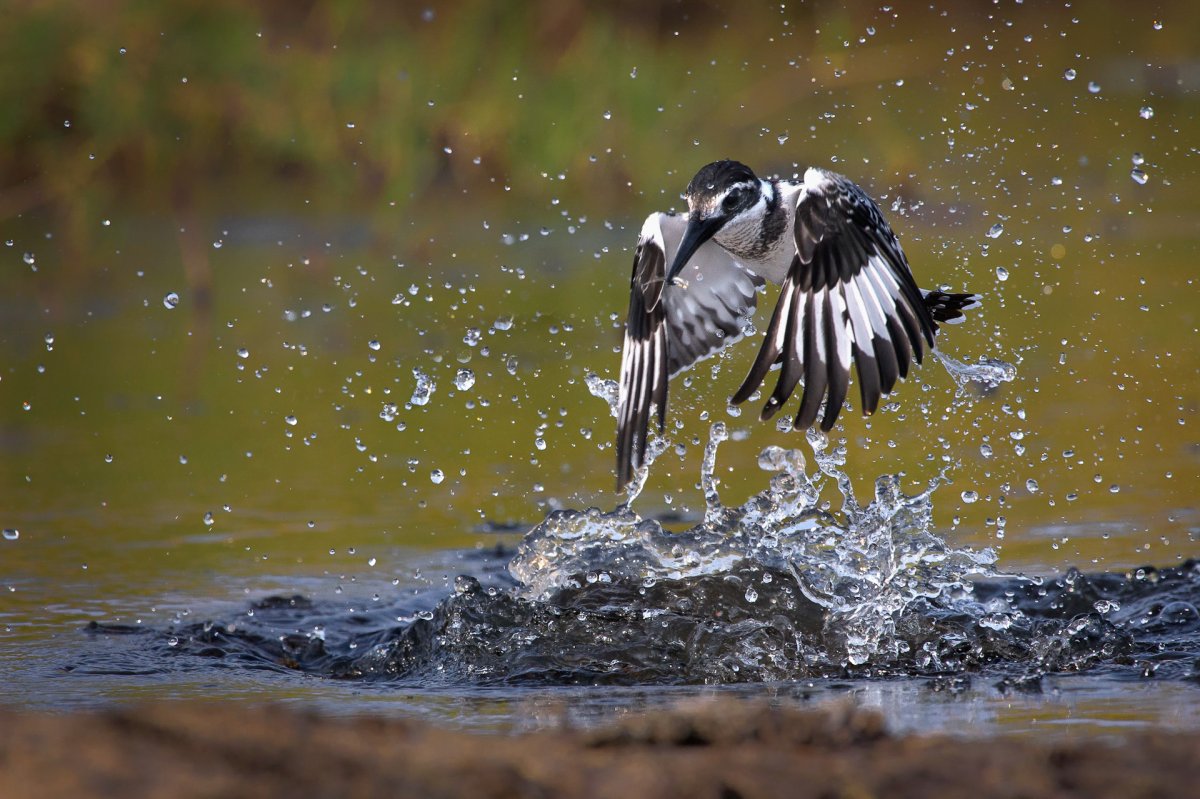

Have you ever wondered why some photographers always seem to be in the right place at the right time, while others struggle with blurry shots and empty frames? It's easy to believe that great photos require a massive lens and a five-figure bank account. However, these wildlife photography tips for beginners will prove that your most valuable tools are actually patience and observation. Great wildlife photography is 20 percent gear and 80 percent understanding the rhythm of the natural world.
We know the frustration of missing a perfect moment because of a confusing setting or a slow autofocus. You want clear, sharp images that tell a story, and you want to feel confident before you head out on your first real safari or expedition. This guide simplifies the technical side of things and shares the fieldcraft secrets used by seasoned experts. We'll walk through essential gear advice, the best camera settings for moving subjects, and how to find animals in the wild. You're about to turn those frustrating misses into stunning, professional-quality captures.
You don't need a professional kit to start your journey into the wild. Many people feel stuck because they think their gear isn't "pro" enough, but a standard 70-300mm lens is actually an ideal starting point. It’s versatile, relatively light, and lets you capture incredible detail without needing a tripod the size of a tree. When looking for wildlife photography tips for beginners, the most important thing is learning to use the tools you already have with confidence.
To get sharp results, you must master the "Big Three" settings. Shutter speed controls how fast your camera takes the picture; keep it high to stop a sprinting antelope from looking like a smudge. Aperture decides how much of the background is blurry, and ISO helps you shoot when the light starts to fade. Because animals rarely sit still, shutter speed is almost always your top priority. To keep your subject sharp while it moves, set your camera to "Continuous" or "AI Servo" focus mode. This allows your lens to track the animal as it moves through the frame.
A crop-sensor (APS-C) camera is a fantastic choice for 2026 because it makes your lenses feel "longer," helping you fill the frame with distant animals for less money. A telephoto lens is a tool that brings the wild closer to you without disturbing the natural behavior of the animals. If you're eyeing a high-end lens but aren't ready to buy, renting gear is a smart way to test professional quality on your next trip. These wildlife photography tips for beginners are designed to help you get the best results without overspending on equipment you don't yet need.
Hold the shutter button down to take a sequence of shots. It’s the best way to catch that one perfect moment when an animal looks directly at your lens.
This allows your camera to adjust to changing light automatically. Set a maximum limit so your photos stay bright without becoming too grainy or "noisy."
Move your focus control to a button on the back of the camera. This separates the act of focusing from the act of taking the shot, which gives you much more control during fast-paced action.
Becoming a great photographer is about more than just clicking a button; it’s about becoming a naturalist first. One of the most vital wildlife photography tips for beginners is learning the art of anticipation. By watching an animal’s body language, like the twitch of an ear or the tensing of a muscle, you can often predict the action before it happens. To make your shots feel more professional, remember that eye-level is buy-level. Getting down low creates an intimate connection that makes the viewer feel like they are standing right there in the wild with the subject.
Success in the field often comes down to a choice between patience and persistence. Instead of chasing every animal you see, stay with one subject and wait for the light or the movement to change. Above all, follow the golden rule of ethics: never prioritize a photo over the welfare of the animal. If a creature looks stressed or changes its behavior because of your presence, you've gotten too close. Learning these subtle cues is much easier when you have an expert by your side on one of our scheduled tours.
To create a balanced look, use the Rule of Thirds by placing the animal’s eye on one of the "power points" where the grid lines intersect. This technique helps you understand how to capture sharp wildlife images that feel intentional rather than accidental. You should also try using negative space in photography. Leaving empty room in the direction the animal is looking gives your subject space to "breathe" and adds a sense of scale to the environment.
Staying hidden is a skill that takes years to master. You need to break up your silhouette and move with slow, deliberate steps to avoid being noticed. Always check the wind direction to ensure you are downwind, so your scent doesn't alert the animals before you arrive. The best wildlife photo is one where the animal never knew you were there. By moving silently and respecting the environment, you’ll witness behaviors that most people never get to see.

Before you book a flight to a distant continent, start in your own backyard. Local parks and gardens are the perfect places to test the wildlife photography tips for beginners you've learned so far. Practice tracking a bird in flight or a squirrel in a tree to get comfortable with your camera settings in a low-pressure environment. Once you've mastered the basics at home, the fastest way to improve is by joining a photography tour with an expert guide. Having a mentor by your side means you can ask questions in real-time while surrounded by incredible wildlife.
Scheduled departure photography tours offer a structured way to learn alongside other enthusiasts. One of the biggest benefits is that our guides handle all the tracking and "finding" of the animals. This leaves you free to focus entirely on your composition and "framing" without worrying about the logistics of the bush. You can check our upcoming Tusk Photo tour dates to find a journey that fits your schedule and creative goals.
It's time to Dream Big: Planning Your Once-in-a-Lifetime Wildlife Photography Trip in 2026. If you have a specific animal you've always wanted to photograph, custom tours allow you to tailor every detail to your personal bucket list. Whether you want to witness the Great Migration or find a rare leopard, a bespoke itinerary ensures you are in the right place at the right time. While the best camera is always the one you're using right now, the best classroom is undoubtedly the wild itself.
The next step is to apply what you've learned in the world's most iconic landscapes. Our tours are designed for maximum photographic opportunity, taking you deep into the heart of destinations like the Maasai Mara. With expert guides who bring decades of field experience and small group sizes that ensure personalized instruction, you'll have the mentorship you need to thrive. Ready to put these tips into practice? Explore our 2026 Scheduled Photography Tours.
The wild is waiting for you to capture its most profound moments. We can't wait to see the stories you tell through your lens.
A mirrorless or DSLR camera with an APS-C sensor is usually the best starting point. These cameras are lighter and more affordable than full-frame versions. The "crop factor" actually helps you by making your lenses feel longer, which is a huge advantage when you can't get physically closer to an animal. It's one of the most effective wildlife photography tips for beginners who want professional results on a realistic budget.
A lens that reaches at least 300mm or 400mm is ideal for most safari environments. While some animals might wander close to your vehicle, having a long zoom allows you to capture intimate details without disturbing them. A 100-400mm lens is a fantastic choice because it’s versatile enough for both wide views and distant action. This range ensures you won't miss the small moments that make a trip truly special.
You often won't need a tripod inside a safari vehicle because they can be bulky and difficult to maneuver. Most photographers find that a beanbag or a simple monopod provides plenty of stability for long lenses. Since many modern cameras have excellent image stabilization, you can often shoot handheld with great success. If you plan on taking night photos at your lodge, a compact travel tripod might still be worth packing.
It isn't difficult to learn as long as you start with a clear plan. The technical settings are easy to master once you understand how they affect your image. The real challenge is learning to anticipate animal movements and finding the best light. By following basic wildlife photography tips for beginners and spending time in the field, you'll quickly develop the skills needed to take photos you're proud to share with the world.


