
Sharp Wildlife Photos: Field Techniques and Editing Tips

You finally find that perfect moment on safari: a leopard stretching or a kingfisher mid-dive. You press the shutter, but the image is a blurry mess. It's frustrating to travel so far only to return with photos that look soft or grainy. If you're wondering how to get sharp wildlife photos without getting lost in complex menus, you're not alone. We've all been there, and it's okay to feel overwhelmed by the technical side of things.
The good news is that capturing professional images is simpler than it seems. You can see every feather by mastering easy field techniques and a quick editing routine. We'll break down the best settings for moving animals and show you how to use tools like Adobe Lightroom or DxO PhotoLab 9 to clean up your shots. From shutter speeds to focusing on the eyes, you'll gain the confidence to bring home crisp images from your next adventure.
Shutter speed is the most important factor when you're learning how to get sharp wildlife photos. Think of it simply as how fast your camera blinks. If the camera blinks too slowly while a leopard is walking, the movement will look like a smudge. To freeze that action and see every hair, you'll want a fast speed, usually starting at 1/1000th of a second.
Light on safari changes quickly, so try the "Auto ISO" trick. It keeps your photos bright automatically while you focus on the animal. You should also always shoot in RAW. This format captures the most detail possible, providing the essential foundation for professional results. Our scheduled departure photography tours put you in the best light to make these settings work, with expert guides who help you dial in your camera as the action happens.
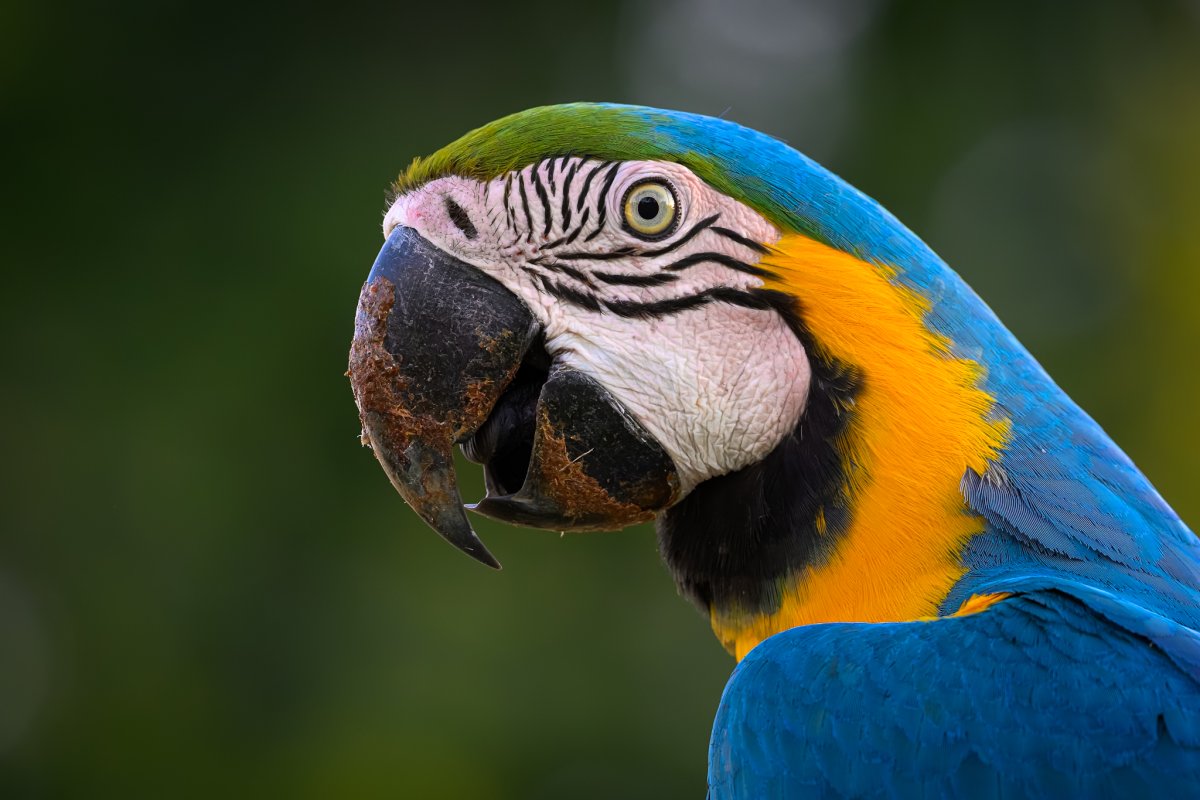
The eyes are the soul of your image, so they must be the sharpest part of every single photo. If the eyes are blurry, the whole shot feels "off." A sharp eye creates an instant emotional connection for the viewer. To ensure your focus is perfect every time, follow these simple steps:
This tells your camera exactly where to look rather than letting it guess.
Place your focus point directly over the animal's eye for maximum impact.
Keep that focus point locked as the animal moves to maintain clarity.
By taking control of where the lens locks, you ensure your subject looks crisp, professional, and full of life. This simple change in how you handle your gear makes a world of difference in your final gallery.
Learning how to get sharp wildlife photos involves more than just a fast shutter speed; it's also about how you handle the image later. Editing is where you polish the story you captured in the field. Start with cropping. It isn't just about getting closer; it's about removing a distracting branch or a patch of bright sky that pulls attention away from your subject. Once the frame is tight, look at the grain. If you used a high ISO to keep your shutter speed fast, you might see some noise. Use "Noise Reduction" to clean up that graininess, especially in the darker parts of the shot. This is a key step in how to get sharp wildlife photos that look professional.
Follow the "Golden Rule" of editing: always stop before the photo looks fake. If you push the sliders too far, the fur will start looking "crunchy" or plastic. Real wildlife has soft edges and natural textures. For more advice on framing your shots before you even hit the shutter, check out our guide on wildlife photography tips for beginners.
Use the "Shadows" slider to reveal the hidden texture of thick fur or delicate feathers. This brings depth to the image without washing out the colors. If the colors feel a bit cold, fixing the "White Balance" is the easiest way to restore that warm, golden safari sunset glow. When you apply sharpening, focus only on the animal. Leave the background soft and creamy to make your subject stand out. If you want to practice on the best possible files, our scheduled tours provide incredible RAW images to work with.

Don't be too quick to delete your blurry shots. Think of those soft images as a personal "lesson plan" for your next outing. When you sit down to edit, you can see exactly where things went wrong. If you find yourself constantly brightening photos during your editing routine, it’s a clear sign you need to adjust your exposure while you're still in the field. This feedback loop is a vital part of learning how to get sharp wildlife photos because it connects your computer screen back to the safari vehicle.
Your camera actually keeps hidden notes on every shot called metadata. This data tells you the exact shutter speed, aperture, and ISO you used. By reviewing these notes, you can spot patterns. Maybe your shots are only blurry when you use a specific lens at a certain speed. Identifying these trends helps you refine your technique. If you want to fast-track this learning, a custom tour offers the perfect chance to practice these skills with a professional guide right by your side.
Seeing a "soft" shot in the editing room is often the best way to ensure a "sharp" one next time. It forces you to slow down and analyze the movement of the animal versus the speed of your shutter. Once you understand how an image can be improved later, you’ll start making quicker, better decisions in the heat of the moment. You'll know exactly which settings to toggle when a lion starts to hunt or an eagle takes flight. For a deeper dive into these techniques, booking a custom tour provides one-on-one mentorship that covers both field craft and editing secrets.
Mastering how to get sharp wildlife photos is a journey that starts in the wild and ends at your screen. By prioritizing fast shutter speeds and locking focus on the eyes, you've already won half the battle. Back at home, a gentle touch with noise reduction and cropping will bring your story to life without losing that natural feel. Every blurry shot you've taken is just a stepping stone toward a better one.
Our tours are led by expert photography hosts who provide personal attention in small groups. You'll gain access to the world’s most iconic wildlife destinations while learning these skills in real-time. Ready to capture your own gallery-worthy shots? Join a Tusk Photo tour today! Your portfolio of crisp, breathtaking images is waiting for you.
Editing isn't fake if you use it to restore what your eyes actually saw. Most professional wildlife photographers use it to bring back the natural contrast and detail lost in a RAW file. It's about polishing the craftsmanship of your field work. As long as you don't add or remove subjects, you're simply completing the creative process that started when you pressed the shutter.
For most animals, 1/1000th of a second is the sweet spot. If you're photographing birds in flight or a predator on the move, you should push that speed to 1/2000th or higher. Faster speeds are the foundation of how to get sharp wildlife photos because they eliminate the blur caused by animal movement. Always prioritize speed over a low ISO when the action starts.
Grain usually appears when your camera struggles to find light at high ISO settings. You can minimize this by shooting during the golden hours of sunrise and sunset when the light is best. If you're still seeing grain, use a luminance slider in your editing software to smooth it out. This keeps your images looking clean while maintaining the crisp details of the animal.
Tripods prevent camera shake, but they can't freeze a moving animal. If your shutter speed is too slow, the animal will still look blurry even if the camera is perfectly still. Vibrations from a safari vehicle's engine can also travel through the tripod. Try using a beanbag on the vehicle's frame instead; it often absorbs these tiny movements better than three rigid legs.


