
Sharp Wildlife Photos: A Simple Safari Guide
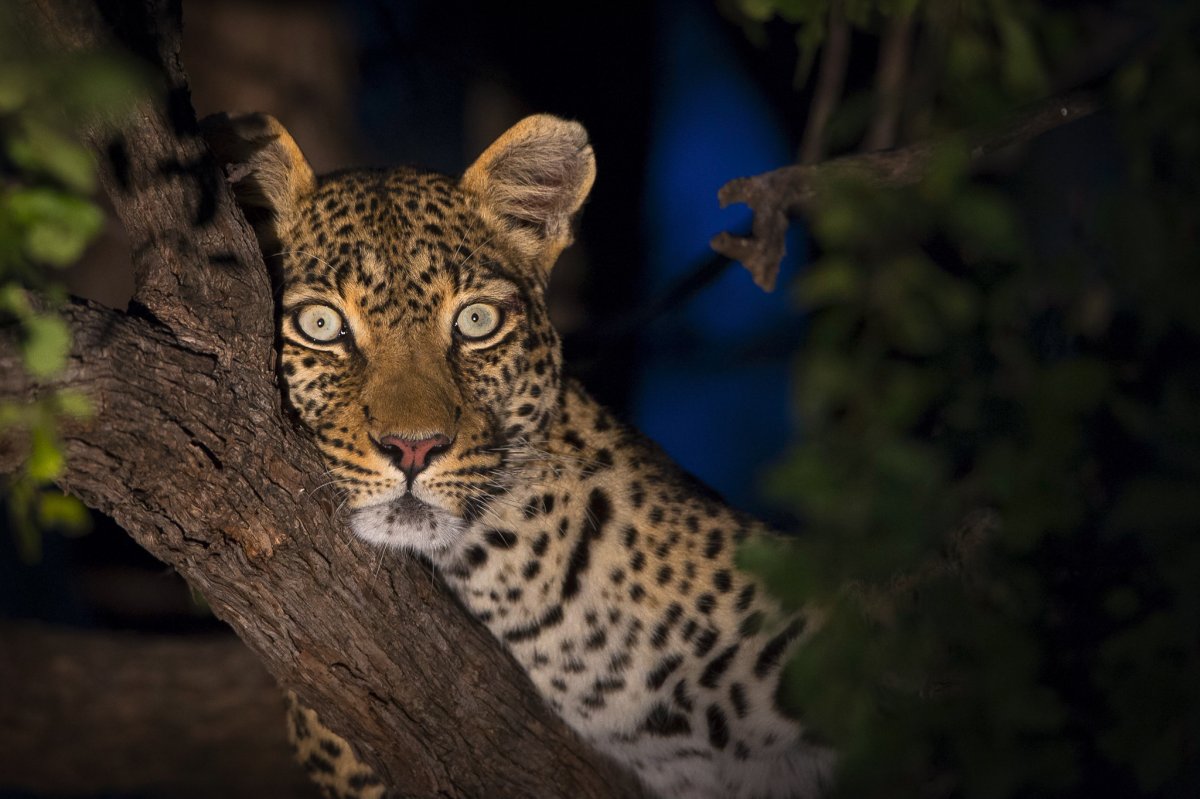

What if the secret to a professional safari shot isn't an expensive lens, but a few simple habits you can learn before your next drive? Most photographers have felt the sting of watching a leopard move, only to find a blurry smudge on their screen later. It's easy to feel overwhelmed by complex menus, but learning how to capture sharp wildlife images doesn't have to be a struggle. We understand that frustration. This guide simplifies the mystery by focusing on the core settings used by the pros.
You'll learn how to lock focus on an animal's eye and stop camera shake for good. We'll share the easy techniques our experts teach on Tusk Photo Scheduled Tours to help you return home with crisp memories. From choosing shutter speeds to mastering focus, you're about to gain the confidence to nail every shot.
Freezing motion is the first step in learning how to capture sharp wildlife images. If your shutter speed is too slow, even the smallest twitch from a lion or a bird results in a blurry mess. Think of your shutter like a curtain; it needs to open and close fast enough to stop time. For most animals, a speed of 1/1000 of a second is a great starting point to ensure clarity. This speed is usually fast enough to handle a walking elephant or a resting leopard without any trouble.
Focus on the eyes above all else. A photo can have beautiful light and a great subject, but if the animal's eye isn't crisp, the whole image feels "off." Human viewers naturally look for the eye first to find a connection with the subject. Most modern cameras have tracking features that help with this, but the goal is always the same: keep that glint in the eye sharp to bring the animal to life.
Long lenses magnify every tiny shake of your hands. A simple trick to remember is the reciprocal rule, which means keeping your shutter speed at least as fast as your lens length. If you use a 500mm lens, try to stay above 1/500 of a second. To keep things easy during a busy safari, use Auto-ISO. This setting lets your camera adjust for light changes automatically so you can focus on the action without fiddling with buttons. Learning how to capture sharp wildlife images often means trusting your gear to handle the technical parts while you focus on the animal. Remember, in wildlife photography, it's better to have a slightly grainy sharp image than a clean blurry one. Our professional hosts on Scheduled Tours show guests how to balance these settings in real-time, giving you the confidence to shoot in any light.
Even the best settings won't help if your camera isn't steady. When you're holding a heavy lens, think of yourself as a human tripod. Tuck your elbows tight against your chest and support the lens from underneath with your palm. This simple change creates a solid base that reduces the tiny tremors that ruin your shots. It's one of the most effective ways to learn how to capture sharp wildlife images without needing extra gear.
Image Stabilization (IS) or Vibration Reduction (VR) is your best friend here. Keep it turned on for most safari situations, especially when you're shooting handheld. However, if you're using a very solid mount or a gimbal, some older lenses might actually get confused and create blur. Check your manual, but for most of your safari, leave it on to help smooth out the bumps.
In a safari vehicle, tripods are often too bulky and slow. A simple beanbag is usually much better. It sits perfectly on the window frame or the roof, soaking up engine vibrations and providing a soft, stable surface for your lens. This is why our scheduled departure photography tours focus on teaching you how to use the vehicle to your advantage. Our guides know exactly how to position the car so you have the sturdiest angle for the shot.
Don't forget your breathing. Just like a marksman, try to take a breath and gently exhale before pressing the shutter. If the engine is running, ask your guide to turn it off before you start shooting. These small habits make a massive difference in your results. If you want to practice these skills with a mentor, consider booking one of our Scheduled Tours for hands-on help in the field.
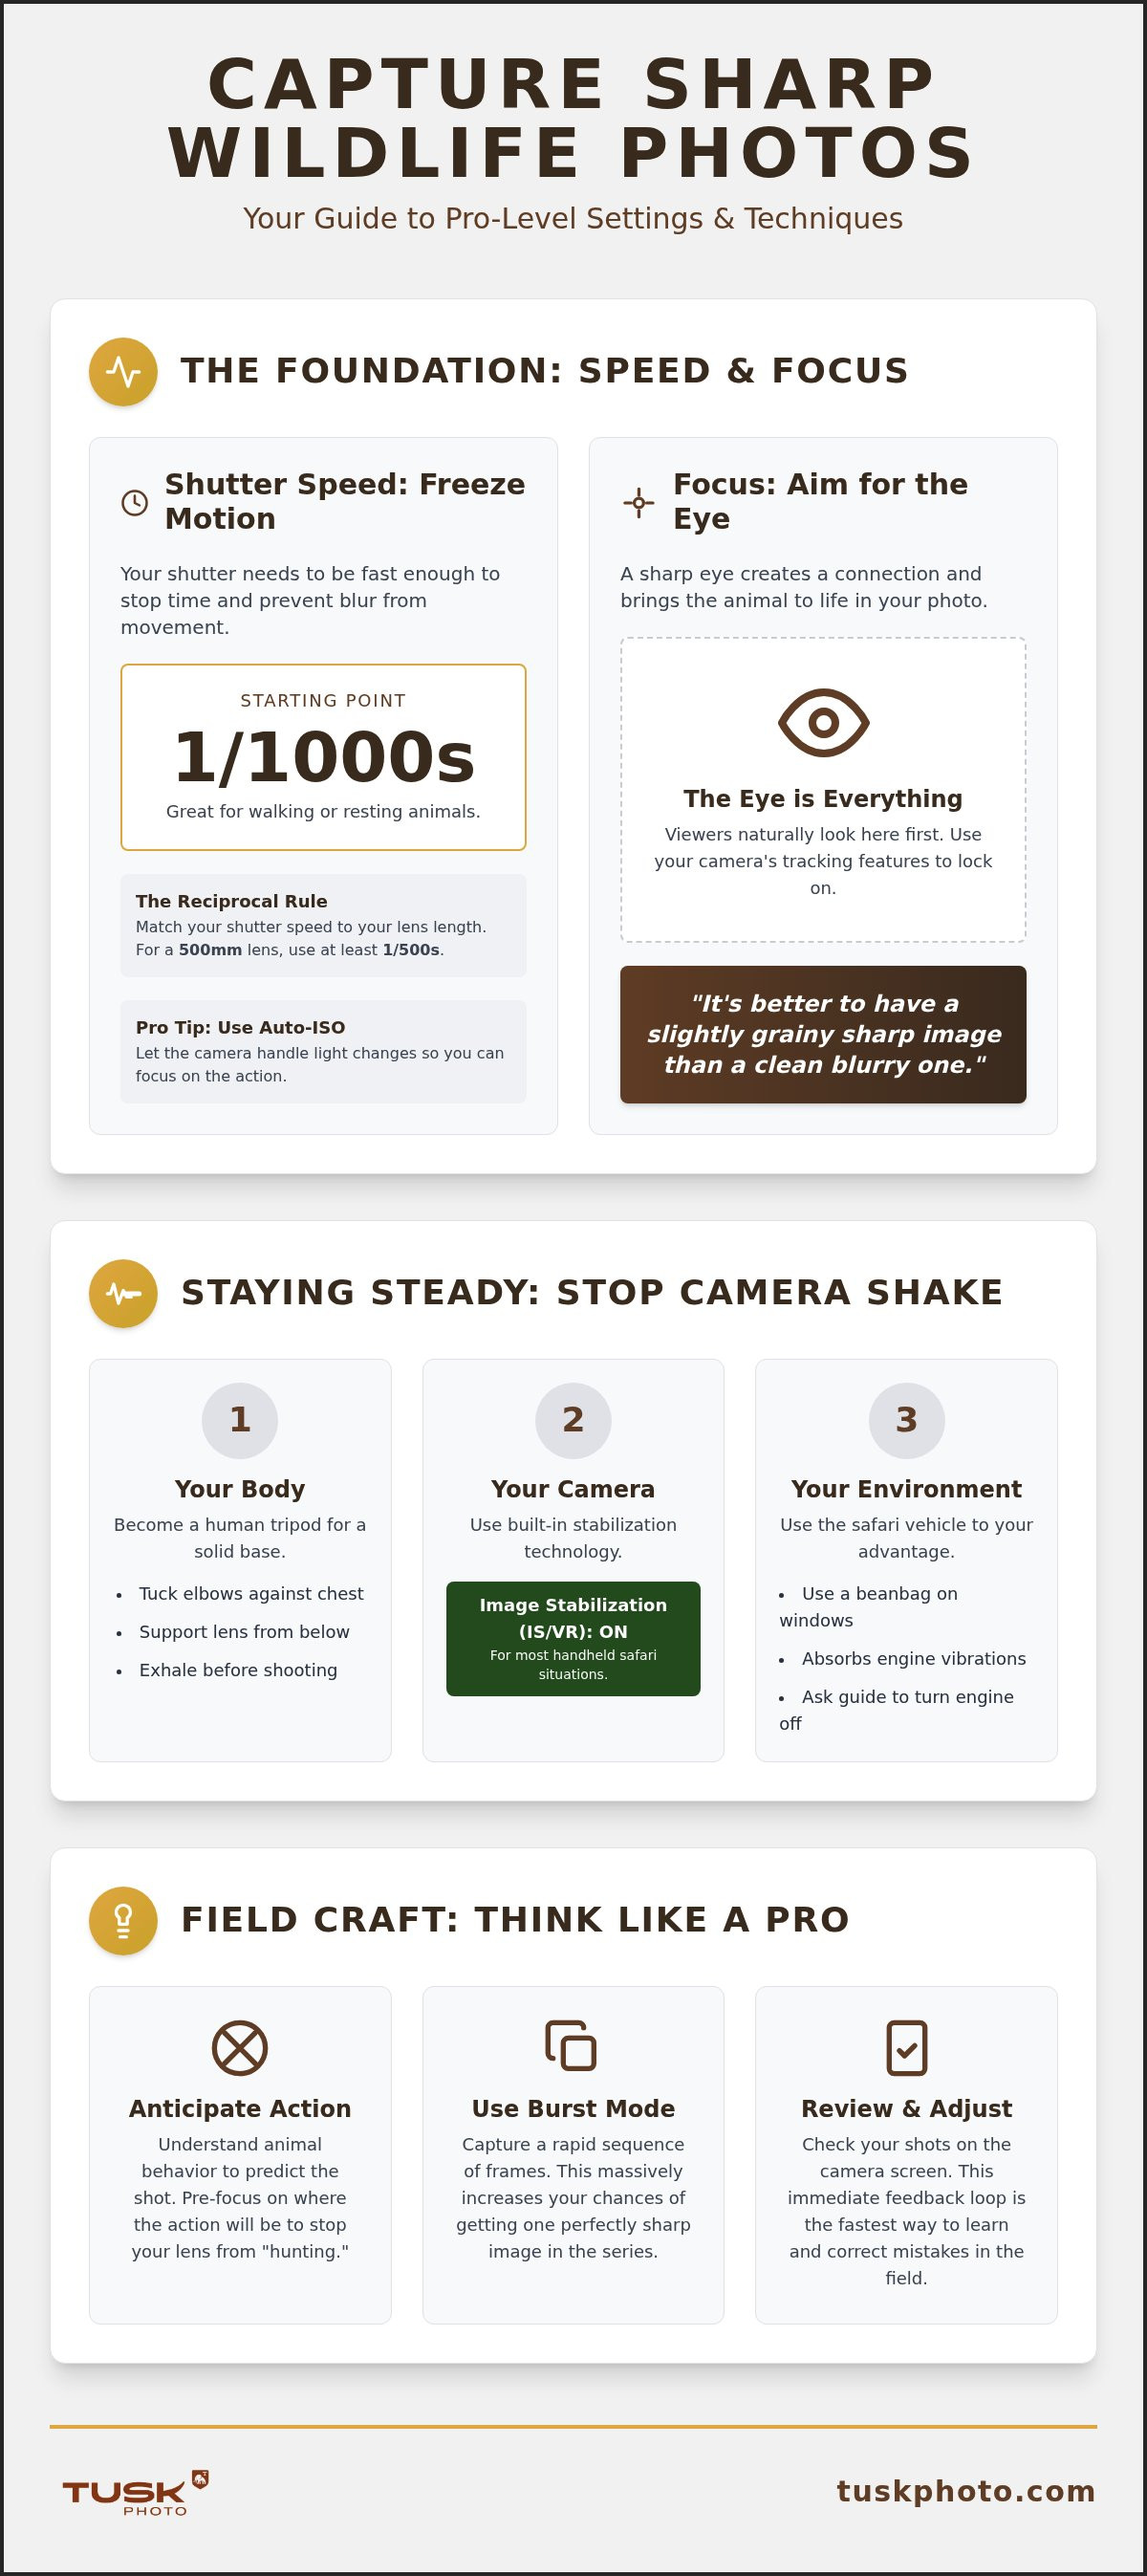
Technical settings are only half the battle. To truly master how to capture sharp wildlife images, you need to understand the subjects you're tracking. If you can predict when a kingfisher will dive or a lion will yawn, you can pre-focus your camera on the exact spot where the action is about to happen. This anticipation stops your lens from hunting for focus at the critical moment. It's about being ready before the animal even moves.
Burst mode is another essential tool for every safari photographer. By capturing a rapid sequence of frames, you significantly improve your odds of getting that one perfectly sharp shot. Sometimes, the difference between a blurry image and a masterpiece is just a fraction of a second. Seeing your results on the back of the screen while you're still in the presence of the animal allows you to make instant corrections. This immediate feedback loop is how beginners quickly start shooting like pros.
Joining a photography tour with an expert guide takes the confusion out of the process. Instead of struggling with menus alone, you have a mentor by your side in the heat of the moment. These wildlife photography tips for beginners are best used in high-action spots like the Maasai Mara or Sabi Sands. You'll have endless opportunities to practice your timing and stability with expert feedback. Take a look at our upcoming tour dates to find a journey that fits your schedule. Whether you join one of our Scheduled Tours or prefer Tailor Made Tours, getting into the field is the fastest way to sharpen your craft.
Capturing the perfect safari moment is a skill that grows with every drive. You now have the tools to freeze motion and keep your camera steady, even in a moving vehicle. By understanding animal behavior and using techniques like burst mode, you'll find that blurry shots become a thing of the past. Learning how to capture sharp wildlife images is a rewarding process that brings you closer to the natural world.
The best way to refine these techniques is with a mentor by your side. Our Scheduled Tours take you to world-class destinations where every moment is a learning opportunity. With expert photography hosts and small group sizes, you'll get the personalized coaching you need. Explore our upcoming Scheduled Tours and start capturing sharper images today! We can't wait to see the incredible shots you'll bring home from the wild.
Blur often happens because of focus errors rather than movement. If your shutter is fast but the image is soft, your camera might have locked onto a branch or the animal's shoulder instead of the eye. Learning how to capture sharp wildlife images requires precise focus points. Even a slight shift in your position can move the focus off your target.
High-end glass is nice, but it isn't a requirement for crisp photos. Most modern entry-level telephoto lenses are capable of producing professional results in good daylight. Sharpness usually depends more on your stability and how you handle the light. Focusing on your technique during Scheduled Tours will yield better improvements than simply buying a more expensive lens.
This technique separates the act of focusing from the act of taking the picture. By using a button on the back of the camera to focus, you can track a moving animal without the camera hunting for a new target when you click the shutter. It takes a little practice to get used to, but it's a game-changer for capturing action.
Engine vibration is a common culprit for soft images, so always ask your guide to cut the motor when you stop. Avoid leaning your lens directly on the hard metal parts of the vehicle, as this transfers every tiny shake. Instead, use a soft support or brace your arms against your own body to create a steadier platform for your gear.


