
Safari Hide Photography: A Practical Guide to Better Wildlife Images
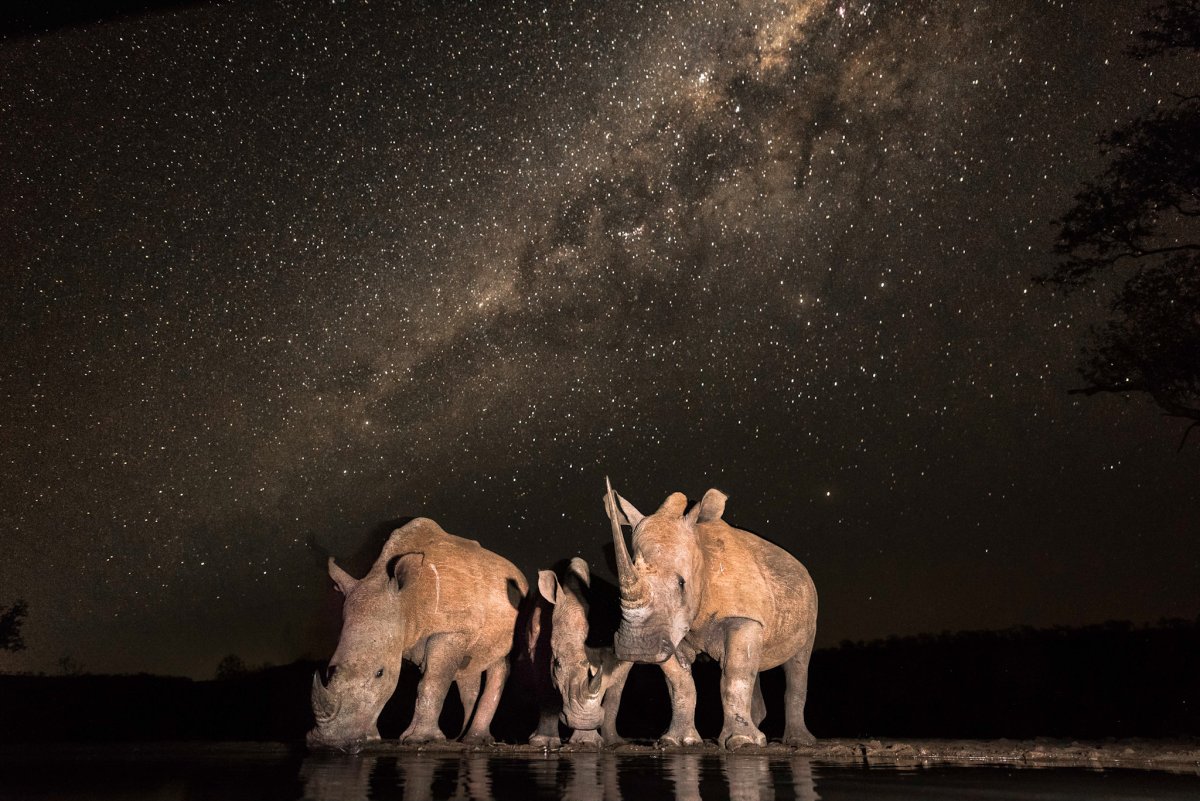

What if your best safari hide photography begins before an animal appears? Preparation and patience matter just as much as having your camera ready. While you wait, the light may change and wildlife activity can be hard to predict.
Before your visit, learn what to expect and make a simple plan for your time in the hide. This guide covers what to research, how to watch for wildlife, and ways to adjust your framing, focus, and camera settings as conditions change.
You’ll also find practical ways to photograph wildlife responsibly, without disturbing animals or other visitors. The goal is to stay observant, make thoughtful choices, and let the moment unfold.
A wildlife hide is a concealed viewing place where you can observe and photograph animals without standing out in the open beside them. The setting shapes what you might see: a hide beside a waterhole offers a different view from one overlooking open grassland. Research the location beforehand so you have a plan for watching and composing, rather than working everything out while wildlife moves through the frame.
Good safari hide photography starts with preparation, then depends on patience and respect for wildlife.
Learn about the location and the animals that may use it. Find out when they’re likely to be active, but treat that information as a guide, not a promise. Check the visit length, whether the hide is used during the day or overnight, what facilities it has, and where its viewing openings are. Read any visitor and photography guidelines before you go.
Consider the light at the time of your visit. Note where the sun is likely to fall and how that may change. A bright background, deep shade, or an animal moving between the two can affect both your framing and exposure.
Before you go, make a simple plan:
Pick an animal or behavior to watch for, but stay open to unexpected activity.
Decide whether to try a close portrait or include more of the animal’s habitat.
Be ready to adjust your position, focus, or settings as the light and activity change.
If you’re new to wildlife photography, review the basics of focus, exposure, and composition before your visit. Keep your plan flexible, too. This gives you more time to notice what’s happening and make considered images without disturbing wildlife or other visitors.
Settle in quietly. Keep movement and noise low, and take time to watch before lifting your camera. Notice where animals enter the scene, how they move, and what they do between active moments. Observing first helps you anticipate natural behavior and make photographs that tell a fuller story.
Once you understand the scene, choose your composition. A close portrait can draw attention to an animal’s expression, while a wider frame can show its place in the landscape. Check the edges and background of your frame for bright patches, branches, or other distractions. If something pulls your eye away from the subject, try a small change in framing.
Let the light guide your choices. In bright daylight, look for even light on the animal and watch for strong shadows or highlights that lose detail. In low light, check focus and exposure carefully. No single setting suits every hide: your choices depend on the available light and whether your subject is moving.
When an animal moves, pay close attention to focus and be ready to adjust as it changes direction or enters a darker part of the scene. If it pauses, take a moment to refine your framing. Stay quiet and patient so you can keep watching without distracting wildlife or fellow visitors.
For more guidance on keeping wildlife images sharp during an expedition, explore the related photography guidance. Practising in the field can also build confidence. Guided wildlife photography expeditions with experienced guides welcome both beginners and seasoned photographers.
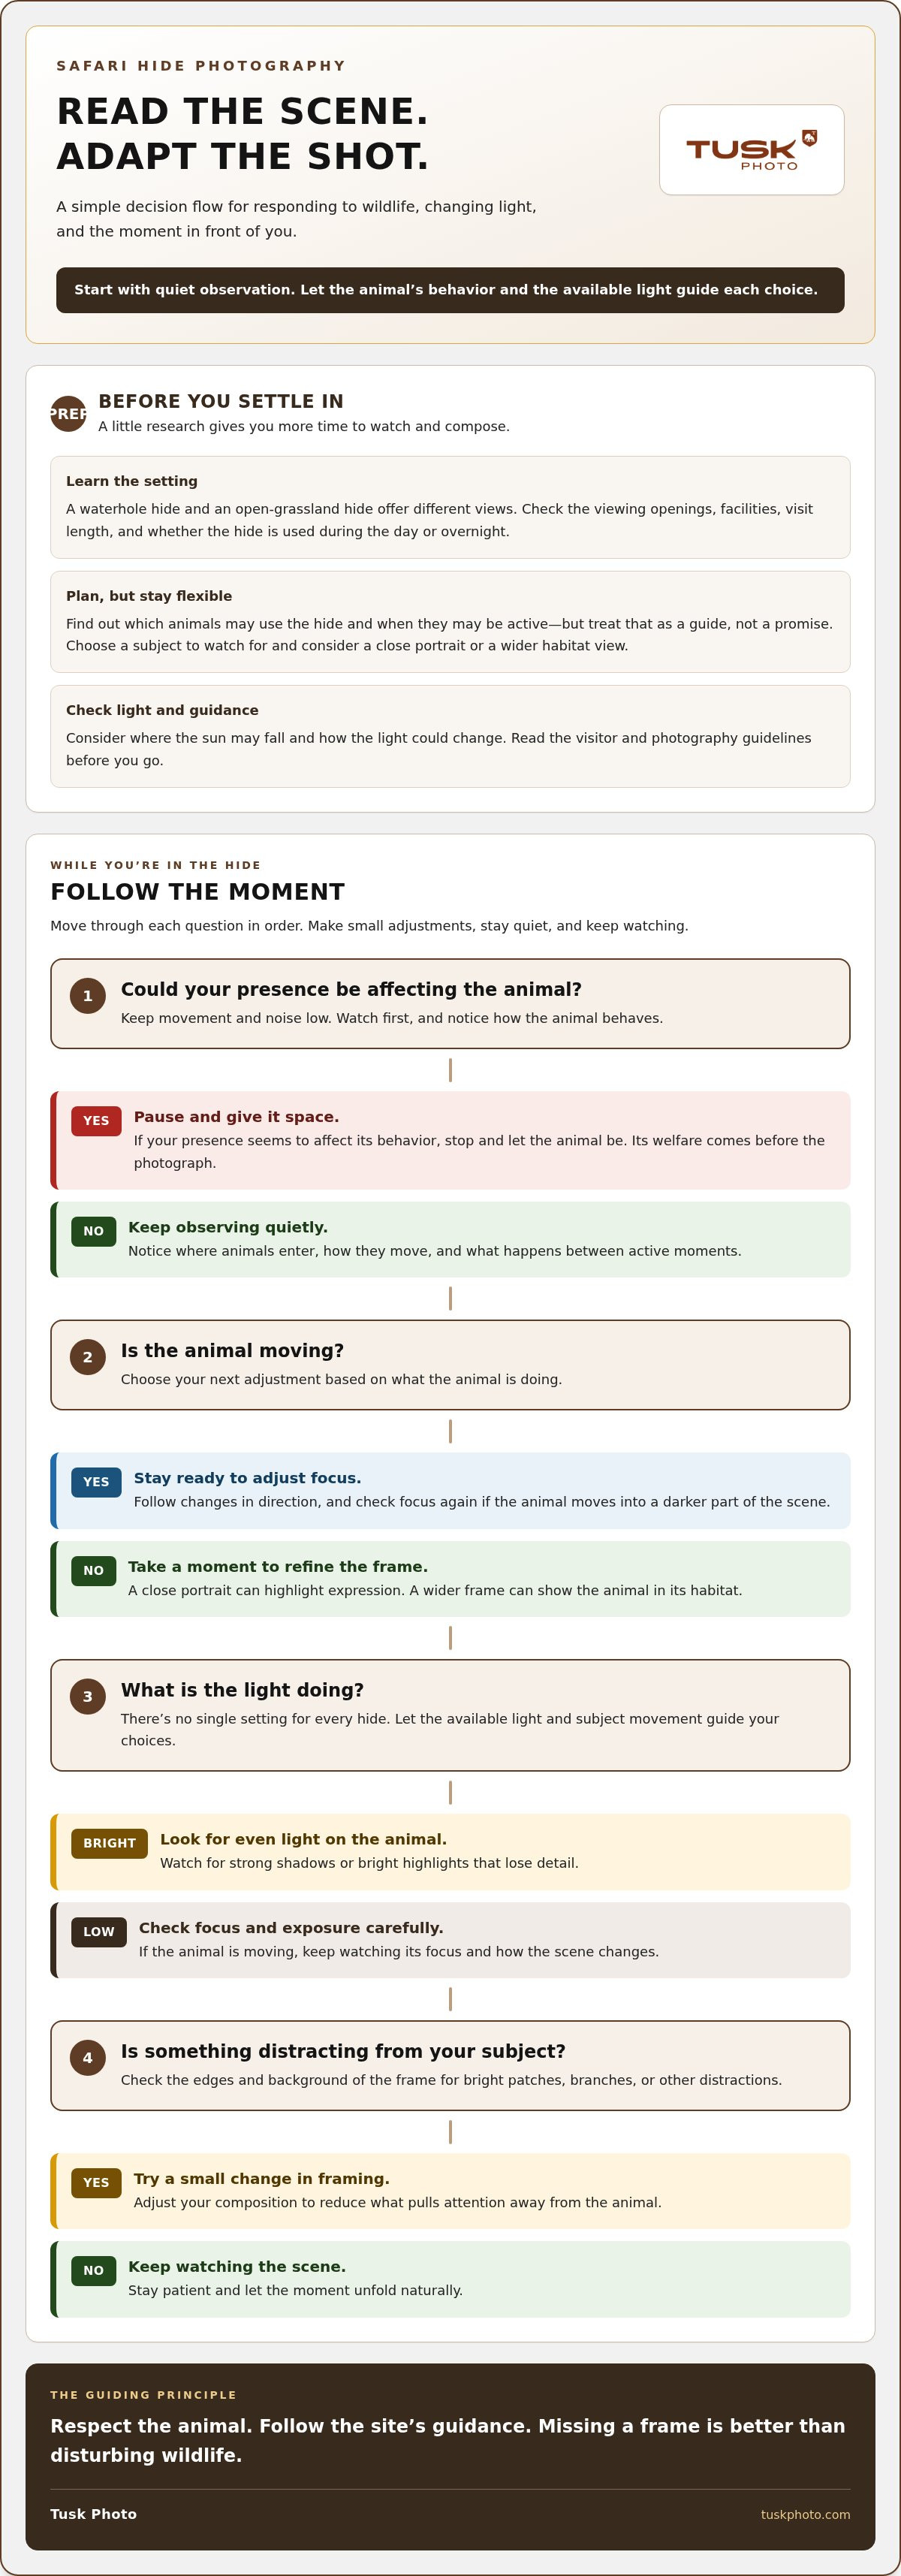
A hide gives you a steady place to watch wildlife, but animal behavior and light remain unpredictable. An animal may appear briefly, stay in shadow, or not visit while you’re there. Follow the site’s guidance, keep movement and noise low, and never put a photograph ahead of an animal’s welfare. If your presence seems to affect its behavior, pause and give it space.
Respectful safari hide photography means accepting the scene as it unfolds instead of trying to control it. Missing a frame is better than disturbing wildlife.
An experienced guide can help you notice how light, background, and animal behavior shape a photo, then consider your options without rushing the moment. You can apply those lessons beyond the hide, too. On an expedition, practise observing and adapting across different wildlife encounters and settings.
Guided wildlife photography tours give you the chance to keep learning in the field with experienced guides and fellow photographers at different skill levels. If you want a journey shaped around your photography interests, explore tailor-made photography journeys.
Better safari hide photography starts with research and develops through quiet observation and thoughtful adjustments to framing, focus, and exposure. Conditions can change quickly, so stay flexible. Let wildlife behave naturally, and value the experience as much as the chance to get a particular shot.
Each visit can teach you something, whether you’re learning to read the light or noticing how an animal moves through its surroundings. With practice, those lessons can carry into every wildlife encounter.
Tusk Photo’s wildlife photography expeditions are led by experienced guides and designed for beginners as well as seasoned photographers. Explore wildlife photography tours and find a guided journey that brings you closer to the natural world. Keep your camera ready, your presence quiet, and your curiosity open.
A wildlife photography hide is a concealed place where you can watch and photograph animals without standing in the open beside them. Hides may overlook places wildlife naturally visits, giving you a steady viewpoint as animals come and go. Light and activity can change, so use the time to observe as well as take pictures.
Yes, beginners can take rewarding photos from a safari hide. A steady viewpoint gives you time to practise composing and focusing without following wildlife on foot. Start by choosing a subject, watching how it moves, and adjusting your framing as the scene changes. Tusk Photo’s wildlife photography expeditions are designed for beginners as well as seasoned photographers.
There’s no single setting for every safari hide photography situation. Choose settings based on the available light and how your subject is moving. For action, a faster shutter speed can help freeze movement; the research guidance recommends 1/1000 second or faster. In dim light, check that exposure and focus remain usable. For portraits, keep the animal’s eye in focus.
Follow the hide’s guidance, speak quietly, and avoid sudden movements. Stay in place rather than leaning out or trying to get closer, and don’t use flash or bait to influence an animal’s behavior. If wildlife seems affected by your presence, stop photographing and give it space. A quiet, respectful approach lets you observe natural behavior without putting a picture first.


