
Night Safari Photography Tips: Capture Wildlife After Dark
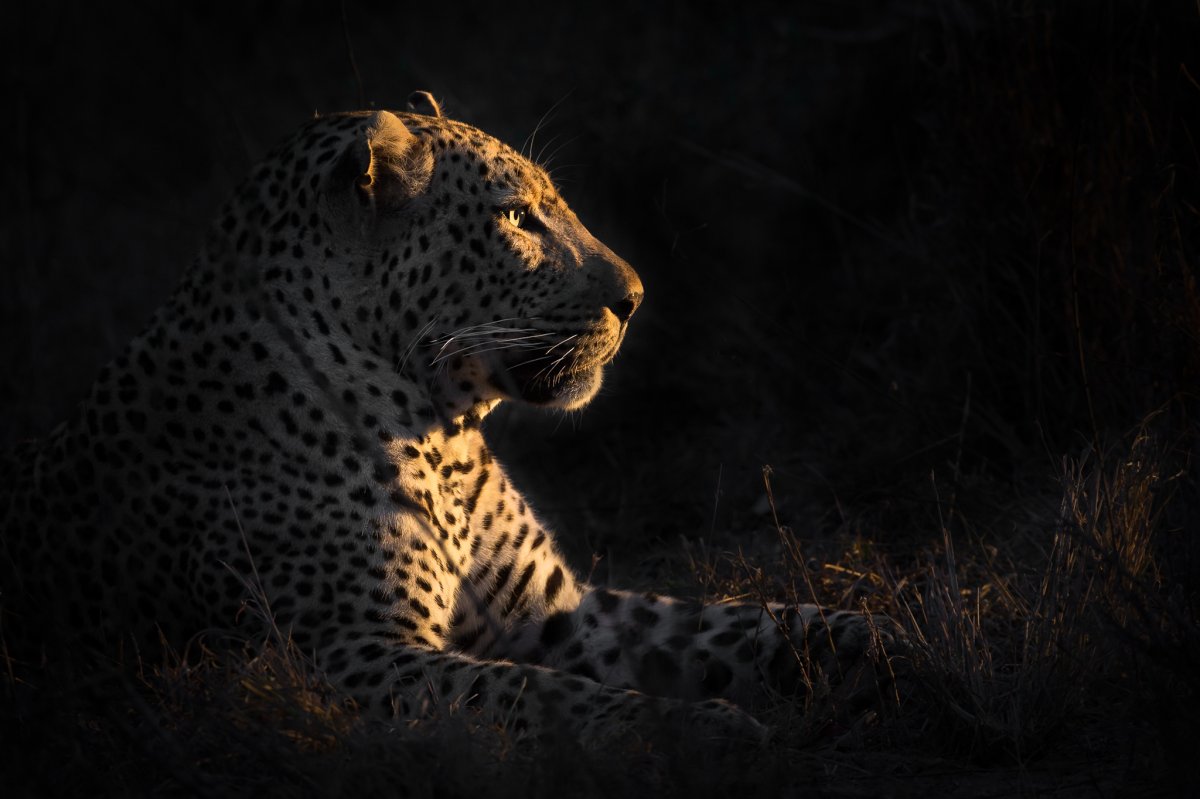

What if your best night-safari photograph begins before the first animal appears? Low light can leave images dark or blurred, and autofocus may struggle when a rare moment unfolds. These night safari photography tips will help you prepare your camera, balance sharpness against image noise, and focus with more confidence in the dark.
You’ll also learn how to steady your camera in a safari vehicle and work with available light without disturbing wildlife. Check your equipment before the drive, keep flash off and let animals behave naturally. A little preparation makes it easier to stay present and ready when the night reveals something remarkable.
Night safari photography means working with limited, changing natural light. An animal may appear briefly in a patch of light, then move into shadow before you can adjust your camera. The scene keeps changing, so a clear photograph takes more than simply brightening the image.
Darkness creates a few distinct challenges. Your camera may not gather enough light, leaving the image too dark. Autofocus may struggle to detect the animal’s edges and lock onto the wrong point, or fail to focus. Even with focus in the right place, movement from the animal, vehicle or your hands can blur the photograph.
Exposure is the balance of brightness in a photograph.
To brighten a dim scene, you can let in more light or raise your camera’s sensitivity. A slower shutter can blur a moving animal, while higher sensitivity can make grain-like image noise more visible. These trade-offs are central to night safari photography tips, but no single setting suits every encounter. A still animal beside a light source calls for a different approach from a moving animal in deep shadow.
Set realistic expectations. Available light, the animal’s behavior, the steadiness of the vehicle and your view of the subject all affect the result. A strong image doesn’t need to show every detail. A sharp eye, a natural pose or a glimpse of behavior can tell the story. Work with the conditions rather than forcing a brighter or sharper picture at the animal’s expense.
Follow a simple sequence: prepare your camera, choose settings for the scene, focus carefully and review a test image. Before the drive, charge your battery, clear space on your memory card and choose a file format you can edit later. Keep the controls you use most within easy reach, so you can make small adjustments without losing sight of the animal.
Start by considering movement. For an animal that’s moving, try a faster shutter speed. For a still subject, you may be able to use a slower one. A faster shutter speed helps freeze a moving animal, but it lets in less light, so you may need a wider aperture or higher ISO. A wider aperture lets in more light, while a higher ISO brightens the image but can make noise more visible.
As a starting point, try the widest aperture your lens allows, such as f/1.8 to f/2.8 if available. If the image is still too dark, raise ISO gradually and review the result to see whether the added brightness is worth the extra noise. There’s no universal setting: light, movement and your camera all affect the balance.
Steady support helps reduce blur. Rest your lens on a beanbag or use a monopod if one is available and permitted in the vehicle. Keep your elbows close, hold the camera steadily and press the shutter gently. If autofocus hunts, try a single focus point on a clear edge or the animal’s eye. For a still subject, magnified live view can help you fine-tune focus manually.
Review a test image briefly. Check whether the animal’s eye is sharp and whether the shadows retain useful detail, then adjust one setting at a time. On Tusk Photo’s scheduled and tailor-made photography tours, experienced guides help beginners and seasoned photographers practise these choices during real wildlife encounters.
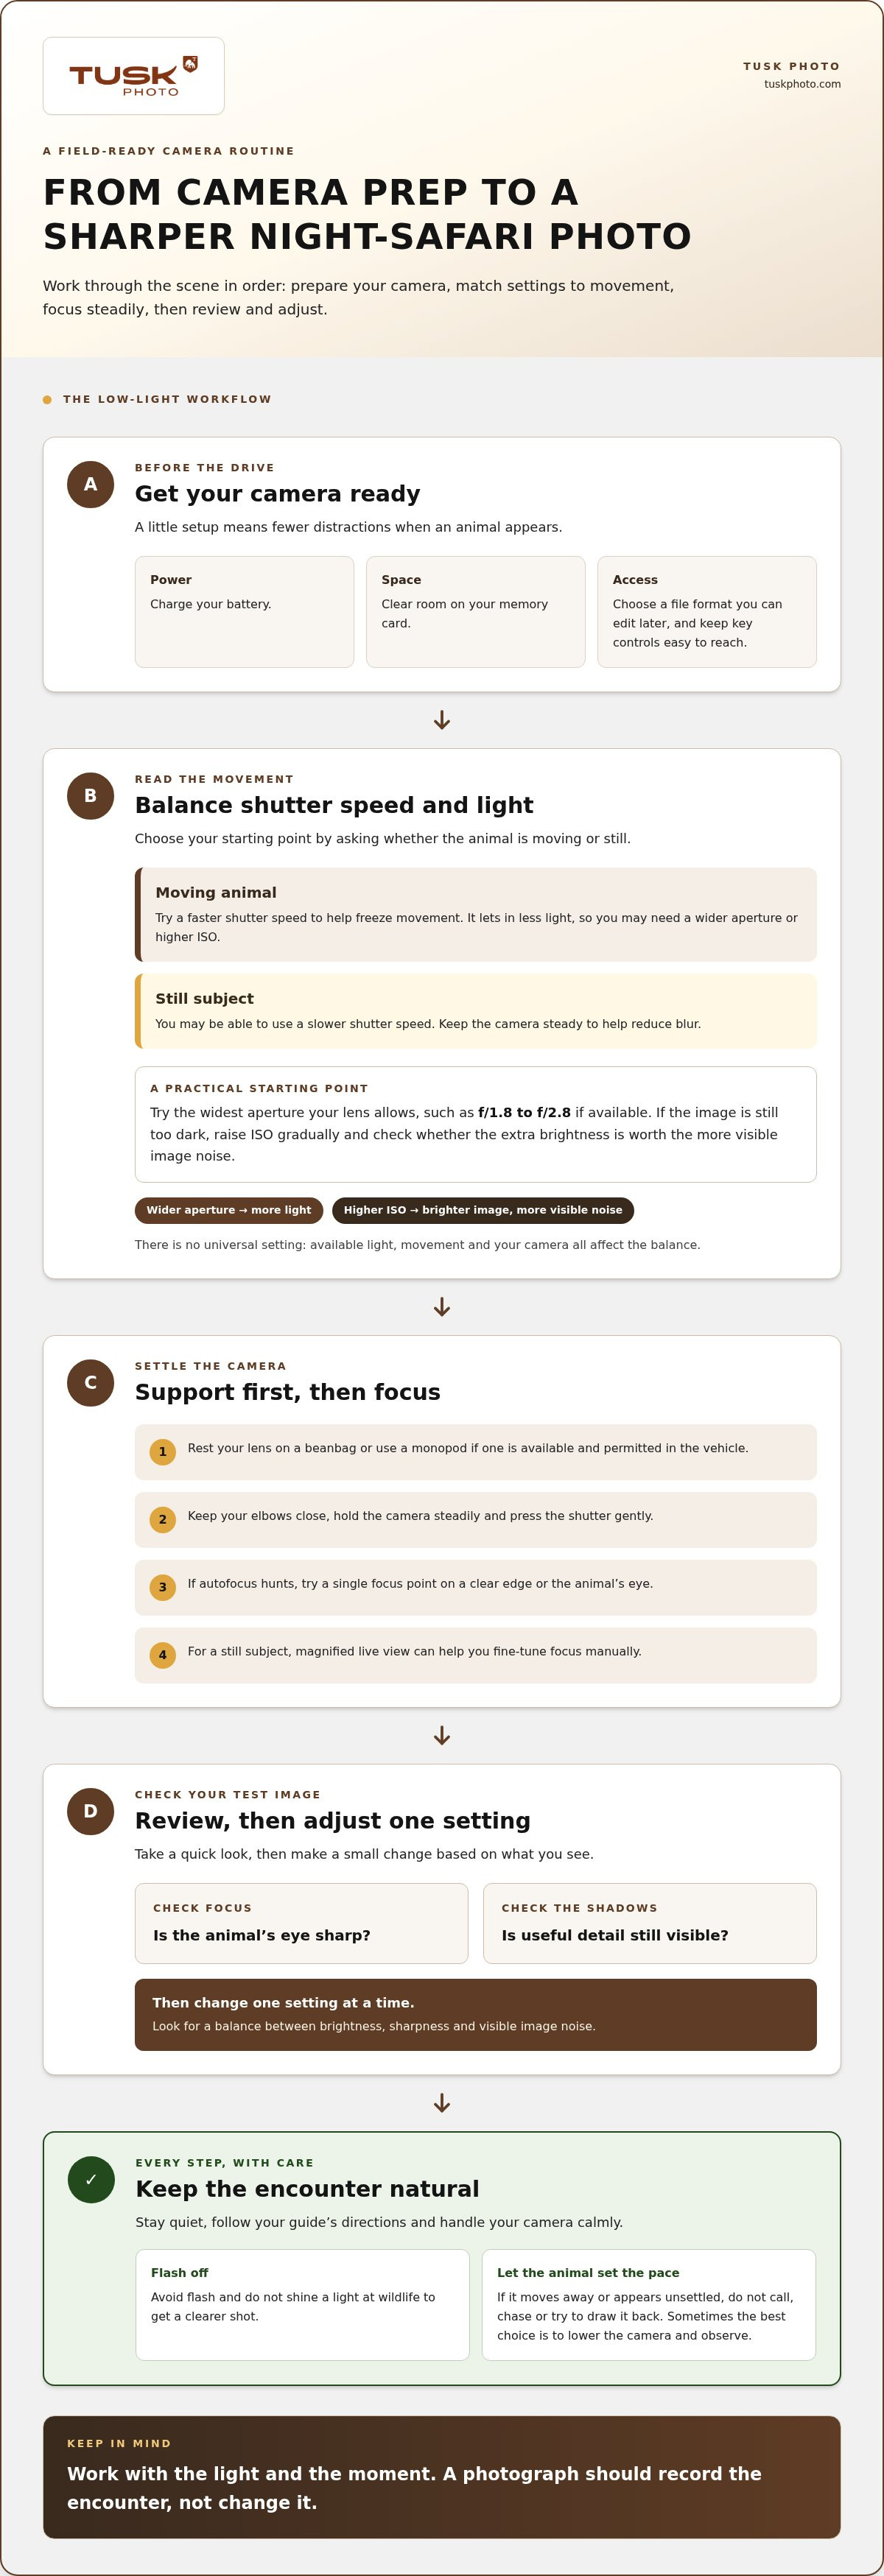
Good night safari photography tips start with patience. Stay quiet, follow your guide’s directions and give the animal time to continue its natural behavior. Sudden sounds, movement or bright light can interrupt an encounter, so handle your camera calmly and avoid using flash or shining a light at wildlife to get a clearer shot. The photograph should record the moment, not change it.
Sometimes the best choice is to lower the camera and observe. If an animal turns away, moves off or appears unsettled, don’t try to draw it back with noise or light. Respectful choices protect the encounter and keep the focus on the animal, not the photograph.
An experienced photography guide can help you read changing field conditions and decide how to respond, from finding a stable position to noticing when the available light shifts. That practical support lets beginners and experienced photographers learn during real wildlife encounters. Explore guided wildlife photography tours with Tusk Photo to build your skills in the field.
If you’re new to wildlife photography, build confidence with the basics before taking on the added challenge of darkness. Then keep practising with the conditions in front of you, and let the animal’s welfare guide each decision. For a trip shaped around your interests, explore Tusk Photo’s custom photography journeys.
Let each encounter teach you something new. A quiet moment in the field can help you understand how light, movement and timing come together, while patience keeps the experience respectful for wildlife. Keep practising, stay curious and let the animal set the pace. With these night safari photography tips in mind, you can approach your next opportunity with greater confidence.
Ready to keep learning in the field? Tusk Photo’s scheduled and tailor-made wildlife photography journeys are led by experienced guides and welcome both beginners and seasoned photographers. Explore Tusk Photo’s guided wildlife photography tours and plan your next photography journey.
Yes, a smartphone can capture an animal that’s close and visible in available light, though results may be limited in very dark conditions. Hold the phone steady against a firm surface and avoid digital zoom, which can make details look less clear. Night mode may help with a still scene, but a moving animal can appear blurred during the longer capture.
No. Flash creates a sudden burst of light that can startle or disorient wildlife, and it may be prohibited on a safari. Keep it switched off, including automatic flash, so it can’t fire unexpectedly. If the animal is too dark to photograph without flash, enjoy watching it instead. A missed image is better than disrupting a natural encounter.
Usually not. A full tripod can be awkward in a safari vehicle, where limited space and movement make it hard to position securely. Use support that fits the vehicle and follow your guide’s directions about where equipment can rest. If you’re photographing from a stationary viewpoint outside a vehicle, a tripod may be useful, provided it doesn’t obstruct others or disturb wildlife.
Let it go. Don’t call, chase or shine a light after the animal to bring it back into view. Stay with your guide and wait quietly. The animal may return on its own, but there’s no guarantee. You can also notice the setting it leaves behind. The best night safari photography tips include knowing when to put the camera down.


