
Negative Space in Photography: Give Your Wildlife Photos Room to Breathe
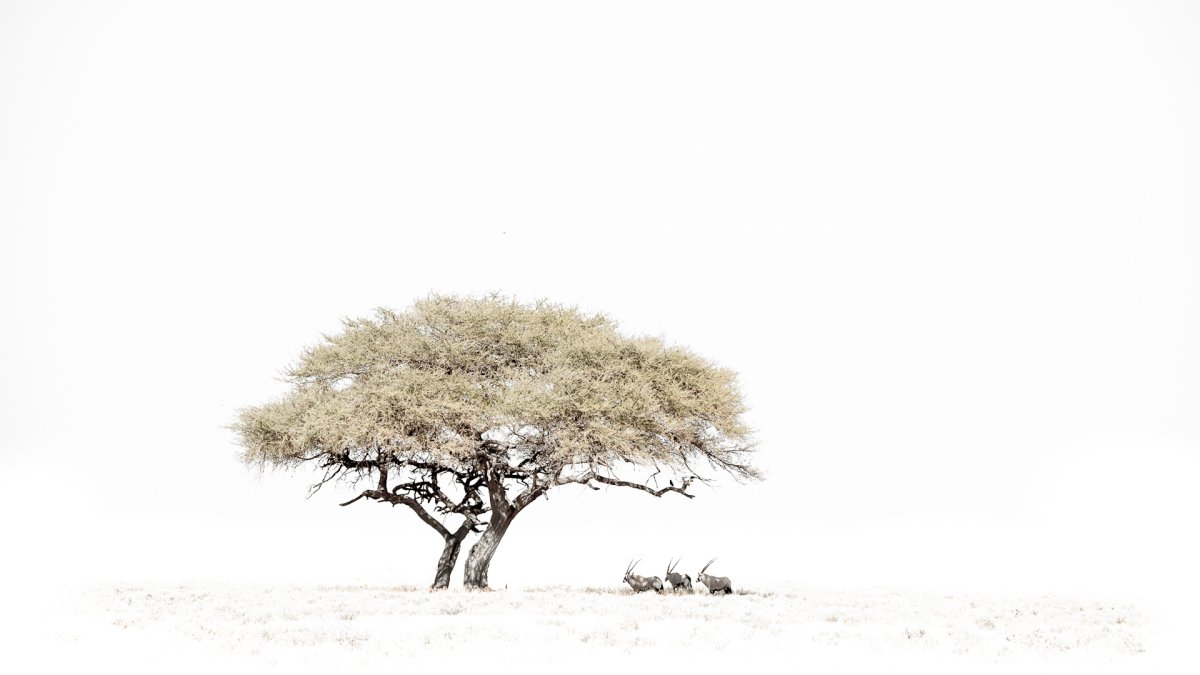

The most powerful element in your next wildlife masterpiece might actually be the part of the frame where absolutely nothing is happening. It sounds counterintuitive to focus on the void, but mastering negative space in photography is the secret bridge between a messy snapshot and a gallery-worthy portrait. We've all been there; you spot a leopard in the thicket, but the final image feels suffocated by chaotic branches and distracting grass. Your subject is present, but it's struggling to breathe.
It's a common frustration to feel like the environment is working against you. You want your photos to look intentional, but the animal often gets lost in the clutter. In this guide, you'll learn how to use empty sky, soft water, or deep shadows to make your subject stand out with professional clarity. We'll show you how to see the space around an animal before you ever press the shutter. Whether you're on a tailor made tour in the Okavango Delta or exploring your own backyard, these tips will help you build a portfolio that reflects the quiet intensity of the wild.
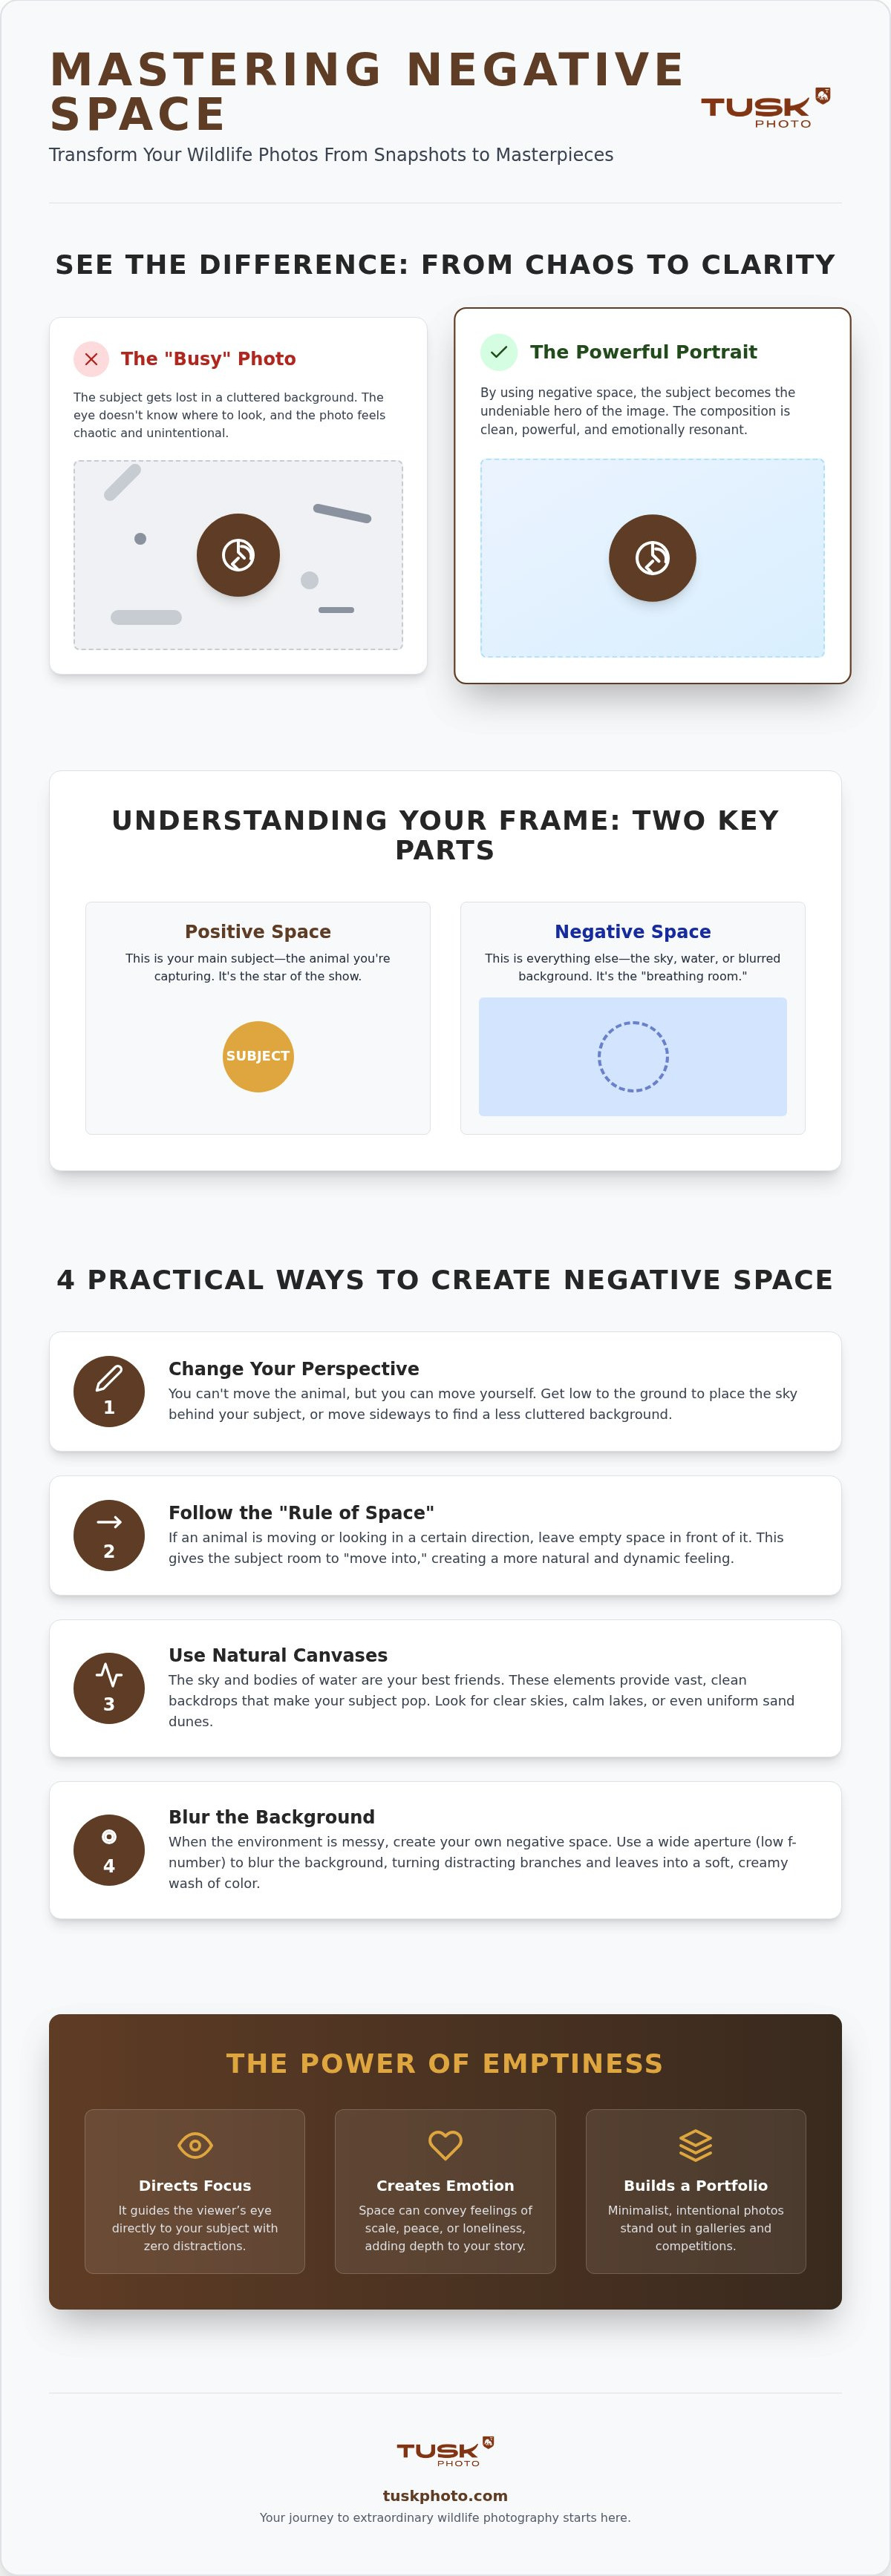
When you look at a professional wildlife portrait, your eyes usually go straight to the animal. There is no confusion and no searching. This happens because the photographer used negative space in photography to create "breathing room" around the subject. Negative space is the quiet area in a photo that makes the subject feel more powerful. It is the canvas that allows the main star of your shot to truly shine.
To understand this, you need to look at two main parts of your frame:
This is the animal or the main subject you are capturing. It's the leopard on a branch or the eagle in mid-air.
This is everything else. It includes the vast sky, the soft blur of the grass, or the calm surface of a watering hole.
By giving your subject more room, you help the viewer’s eye go exactly where you want it to. It simplifies the image and removes the "visual noise" that often distracts from a great moment.
Cluttered backgrounds are the enemy of a great wildlife photo. If your subject is buried under too many branches or lost in a sea of distracting colors, the story gets muddled. Using negative space in photography helps you strip away those distractions. It turns a messy snapshot into a clean, intentional piece of art. If you are just starting out, learning to see the space before you click is one of the best wildlife photography tips for beginners to master early on.
Space isn't just about cleaning up a photo; it’s about feeling. A tiny elephant silhouette against a massive, empty savanna shows the grand scale of nature. A bird in flight surrounded by nothing but soft blue sky can feel peaceful or lonely. This "emptiness" tells a story of its own, making the viewer feel the vastness of the wild. It transforms a simple record of an animal into an evocative portrait that captures the true spirit of the environment.
In a studio, you can move your subject or change the backdrop. In the wild, you don't have that luxury. You can't ask a lion to step away from a messy bush. This means you have to be the one to move. Finding negative space in photography while in the field requires a mix of patience and a change in perspective. Look for "clean" backdrops that won't compete with your subject. A clear blue sky, a calm lake, or a smooth sandy dune are perfect canvases for a professional portrait.
Use the "Rule of Space" to give your subject a clear destination. If a cheetah is walking from left to right, leave more empty space on the right side of the frame. This gives the animal room to "walk into" the shot. It feels more natural and less cramped. You can also find space in color. A solid green forest backdrop can act as negative space if the texture is uniform. The goal is to minimize distractions so the viewer's focus remains locked on the animal's eyes or movement.
The sky is often your easiest "blank canvas" for bird or hilltop photography. If you are on one of our scheduled tours, our guides will often suggest getting lower to the ground. This simple change in angle puts the sky behind your subject instead of messy brush. Water is another great tool. Using reflections can create a beautiful sense of symmetry and extra room. This technique is especially useful when you are learning how to capture sharp wildlife images, as a clean background makes the subject's details pop even more.
Sometimes the environment is just messy. In these cases, you can create "artificial" negative space by blurring the background. By using a wider aperture, you remove the sharp details of distracting branches. It turns a cluttered thicket into a soft, creamy wash of color. Even with basic gear, you can achieve this by keeping some distance between your subject and the background. It's a simple way to make a chaotic scene feel peaceful and professional.
Taking what you've learned about negative space in photography and applying it in the heat of a sighting is where the real magic happens. It's one thing to understand the concept at home; it's another to see it through the lens while a pride of lions moves across the savanna. This is why being in the right place at the right time is so vital. In wide-open spaces like the Maasai Mara or the watery channels of the Okavango Delta, the landscape itself offers endless opportunities to practice these techniques.
A professional expedition helps you move past the stage of just "getting the shot." Instead, you start focusing on creating a masterpiece. Having other photographers around you also makes a huge difference. Sharing your back-of-camera previews and getting instant group feedback can speed up your learning process by months. You'll quickly see how others are using space to tell a story, which helps you refine your own creative eye in real-time.
Our expert guides act as mentors who help you see the potential of a scene before the action even starts. They understand animal behavior, so they can predict where a leopard might move. This allows them to position the vehicle to ensure you have the best light and the cleanest possible background. During our scheduled tours, you'll learn to "pre-visualize" your shot. You'll find yourself looking at the empty patches of light or the curve of a sand dune, waiting for the subject to step into that perfect frame.
Minimalist wildlife photos often stand out much more in competitions and galleries than busy, tight crops. By embracing negative space in photography, you create a portfolio that feels intentional and professional. If you have a specific species in mind, our tailor made tours allow you to customize your journey. Whether you want to capture the vastness of the desert or the quiet reflections of a swamp, we help you find the room your photos need to breathe.
Mastering negative space in photography isn't just about what you leave out; it's about choosing what truly matters. By simplifying your backgrounds and giving animals room to move within the frame, you transform busy snapshots into professional art. Whether you're using a clear sky as a backdrop or blurring out a thicket, these small changes make a massive impact on your final portfolio. You'll move from simply documenting nature to capturing its quiet, powerful spirit.
These same principles of balance and visual flow are vital in all professional fields; for instance, a 360 virtual tour photographer Sussex uses space to make interior environments feel open and inviting, proving that composition is key regardless of the subject.
The best way to refine these skills is with hands-on practice in the world's most stunning environments. Our tours are led by award-winning wildlife photographers who act as mentors to help you find the perfect composition in real-time. We keep our groups small to ensure you get plenty of shooting time and personalized coaching. Every destination we visit is chosen specifically for its peak photographic potential, giving you the best chance to build a gallery-ready collection.
Ready to start creating masterpieces? Explore our upcoming photography tours and practice your skills in the wild! We're excited to help you see the wild in a whole new way and capture images you'll be proud to share.
No, negative space isn't limited to plain black or white backgrounds. While those are classic choices, any area with minimal detail can serve this purpose. This could be a soft, out-of-focus meadow or a calm, grey sky. The goal is simply to find a part of the frame that doesn't compete with your subject for attention. It's more about the lack of detail than the specific color.
You can definitely use vibrant colors as negative space if they are uniform. A solid wash of autumn gold or the deep blue of a lake can add a lot of mood to your shot. As long as the background doesn't have sharp, distracting shapes, the color actually helps highlight the animal. It's a great way to create a bold and artistic look that feels very professional.
It becomes too much when the subject loses its identity or its connection to the scene. Using negative space in photography is all about finding a balance between the animal and its surroundings. If your subject is so small that the viewer can't see its eyes or form, the photo might feel empty rather than intentional. Always make sure the subject still has enough presence to command attention.
You don't have to rely on cropping if you plan your shot carefully in the moment. It's always better to compose with negative space in photography while you're still looking through the viewfinder. This helps you keep the highest possible image quality. Planning your frame in-camera ensures that the final result looks professional and well-thought-out, rather than just a lucky crop from a busy or messy file.


