
Master Wildlife Photography: Essential Camera Settings
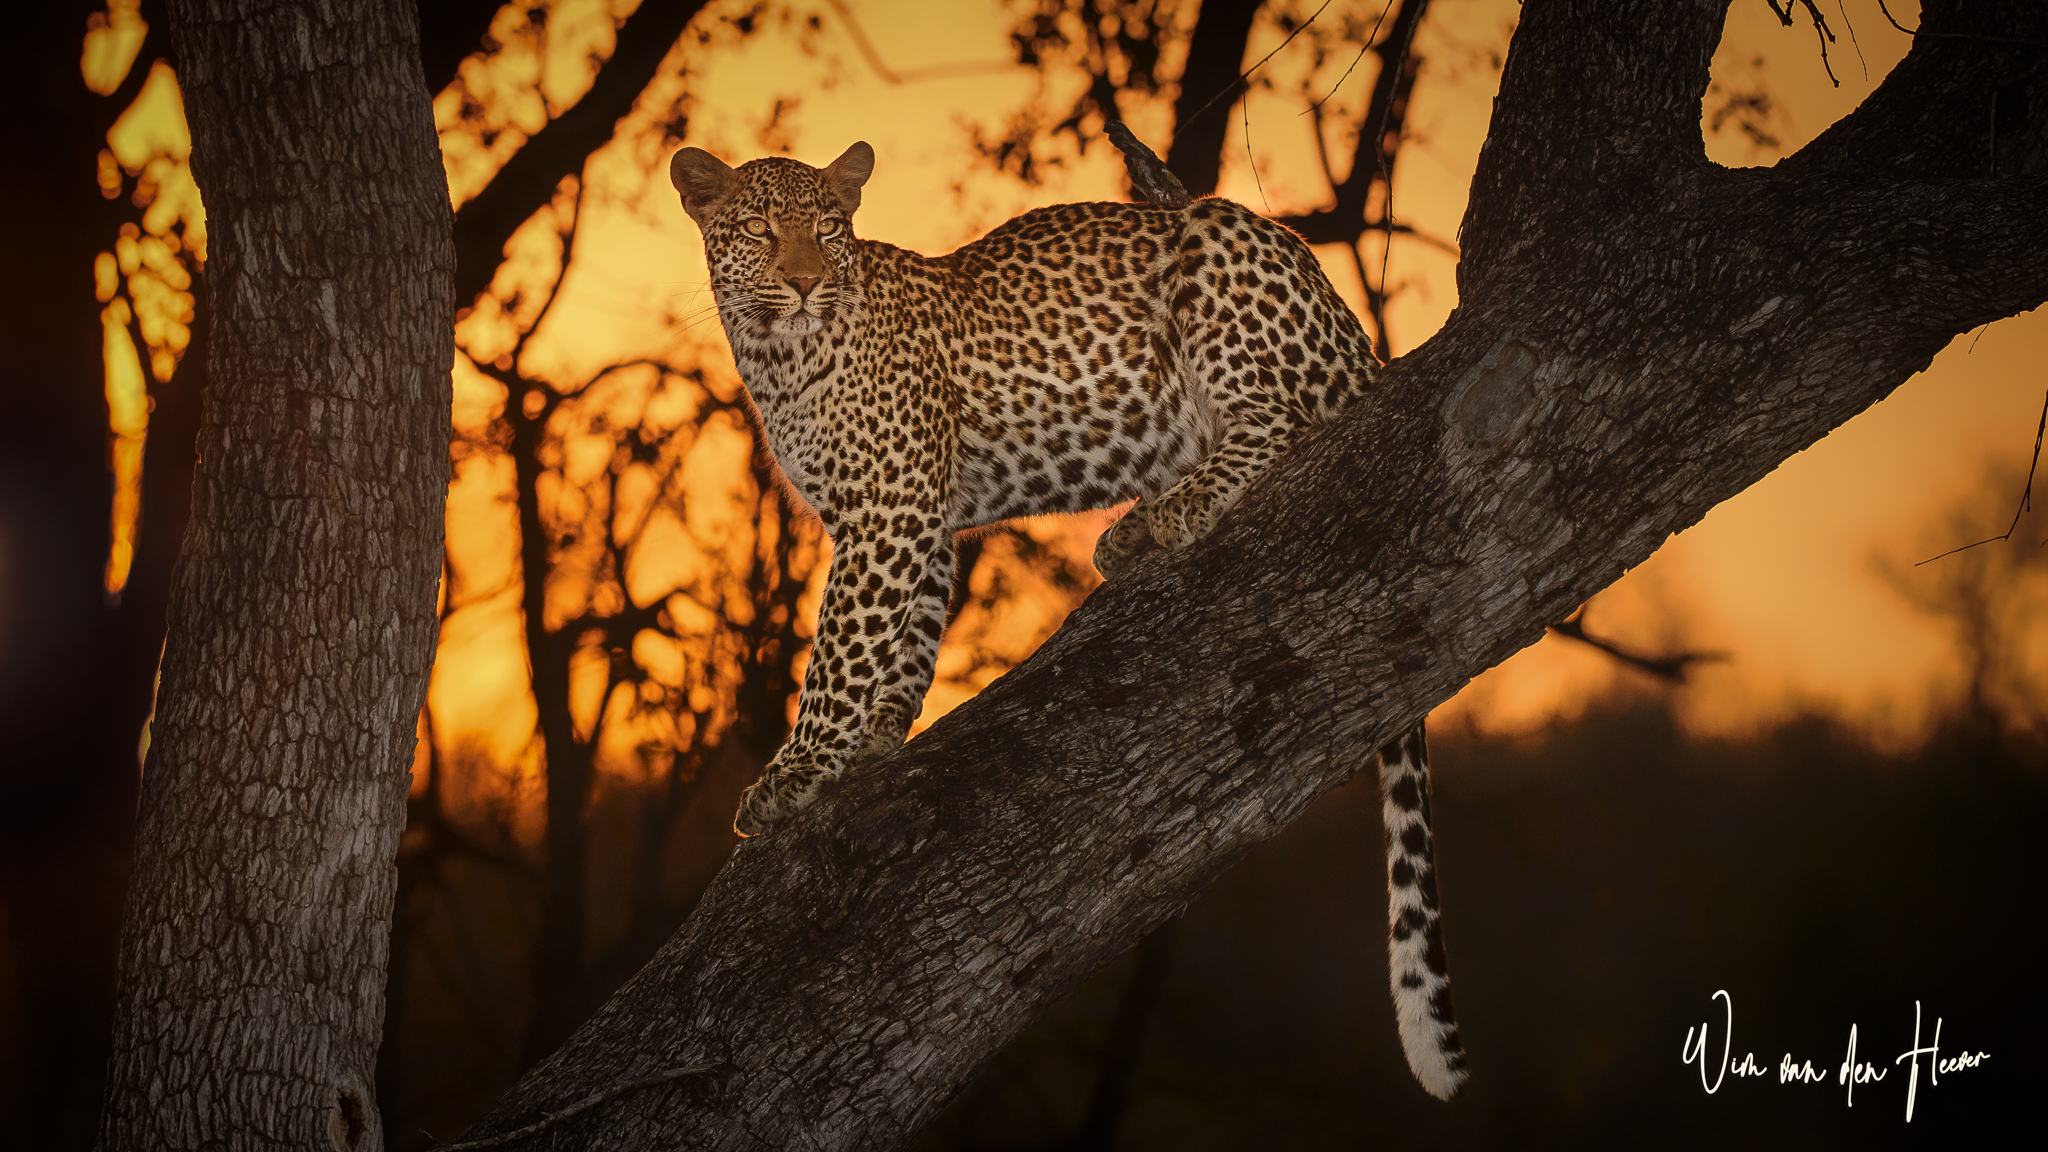

You’ve tracked a leopard through the golden grass of the Serengeti for hours, waiting for that one perfect moment when it finally leaps. But when the action starts, your fingers fumble with the dials, and you end up with a blurry smudge instead of a masterpiece. It's a heartbreaking feeling to miss a once-in-a-lifetime shot because your camera settings for wildlife photography weren't ready for the speed of nature. We’ve all been there, feeling more like we’re fighting our equipment than capturing the quiet beauty of the natural world. You deserve to feel confident and prepared every time you lift your lens.
This guide is here to change your approach. I’ll help you master the essential controls so you can stop worrying about technical jargon and start focusing on the animal’s story. You’ll learn how to capture crisp photos of subjects in motion and how to create that beautiful, creamy background blur that makes your images look professional. We’re going to simplify your setup, moving from high-level inspiration to the practical clarity you need in the field. By the end, you’ll have a clear path to taking sharp, stunning images every time you step into the wild.
Many beginners feel pressured to use full manual mode, believing it’s the only way to look like a pro. This often leads to missed moments while you’re staring at your screen instead of the animal. The truth is that mastering camera settings for wildlife photography is about knowing which buttons to prioritize so you can react instantly. You only need to focus on three main tools: shutter speed, aperture, and ISO.
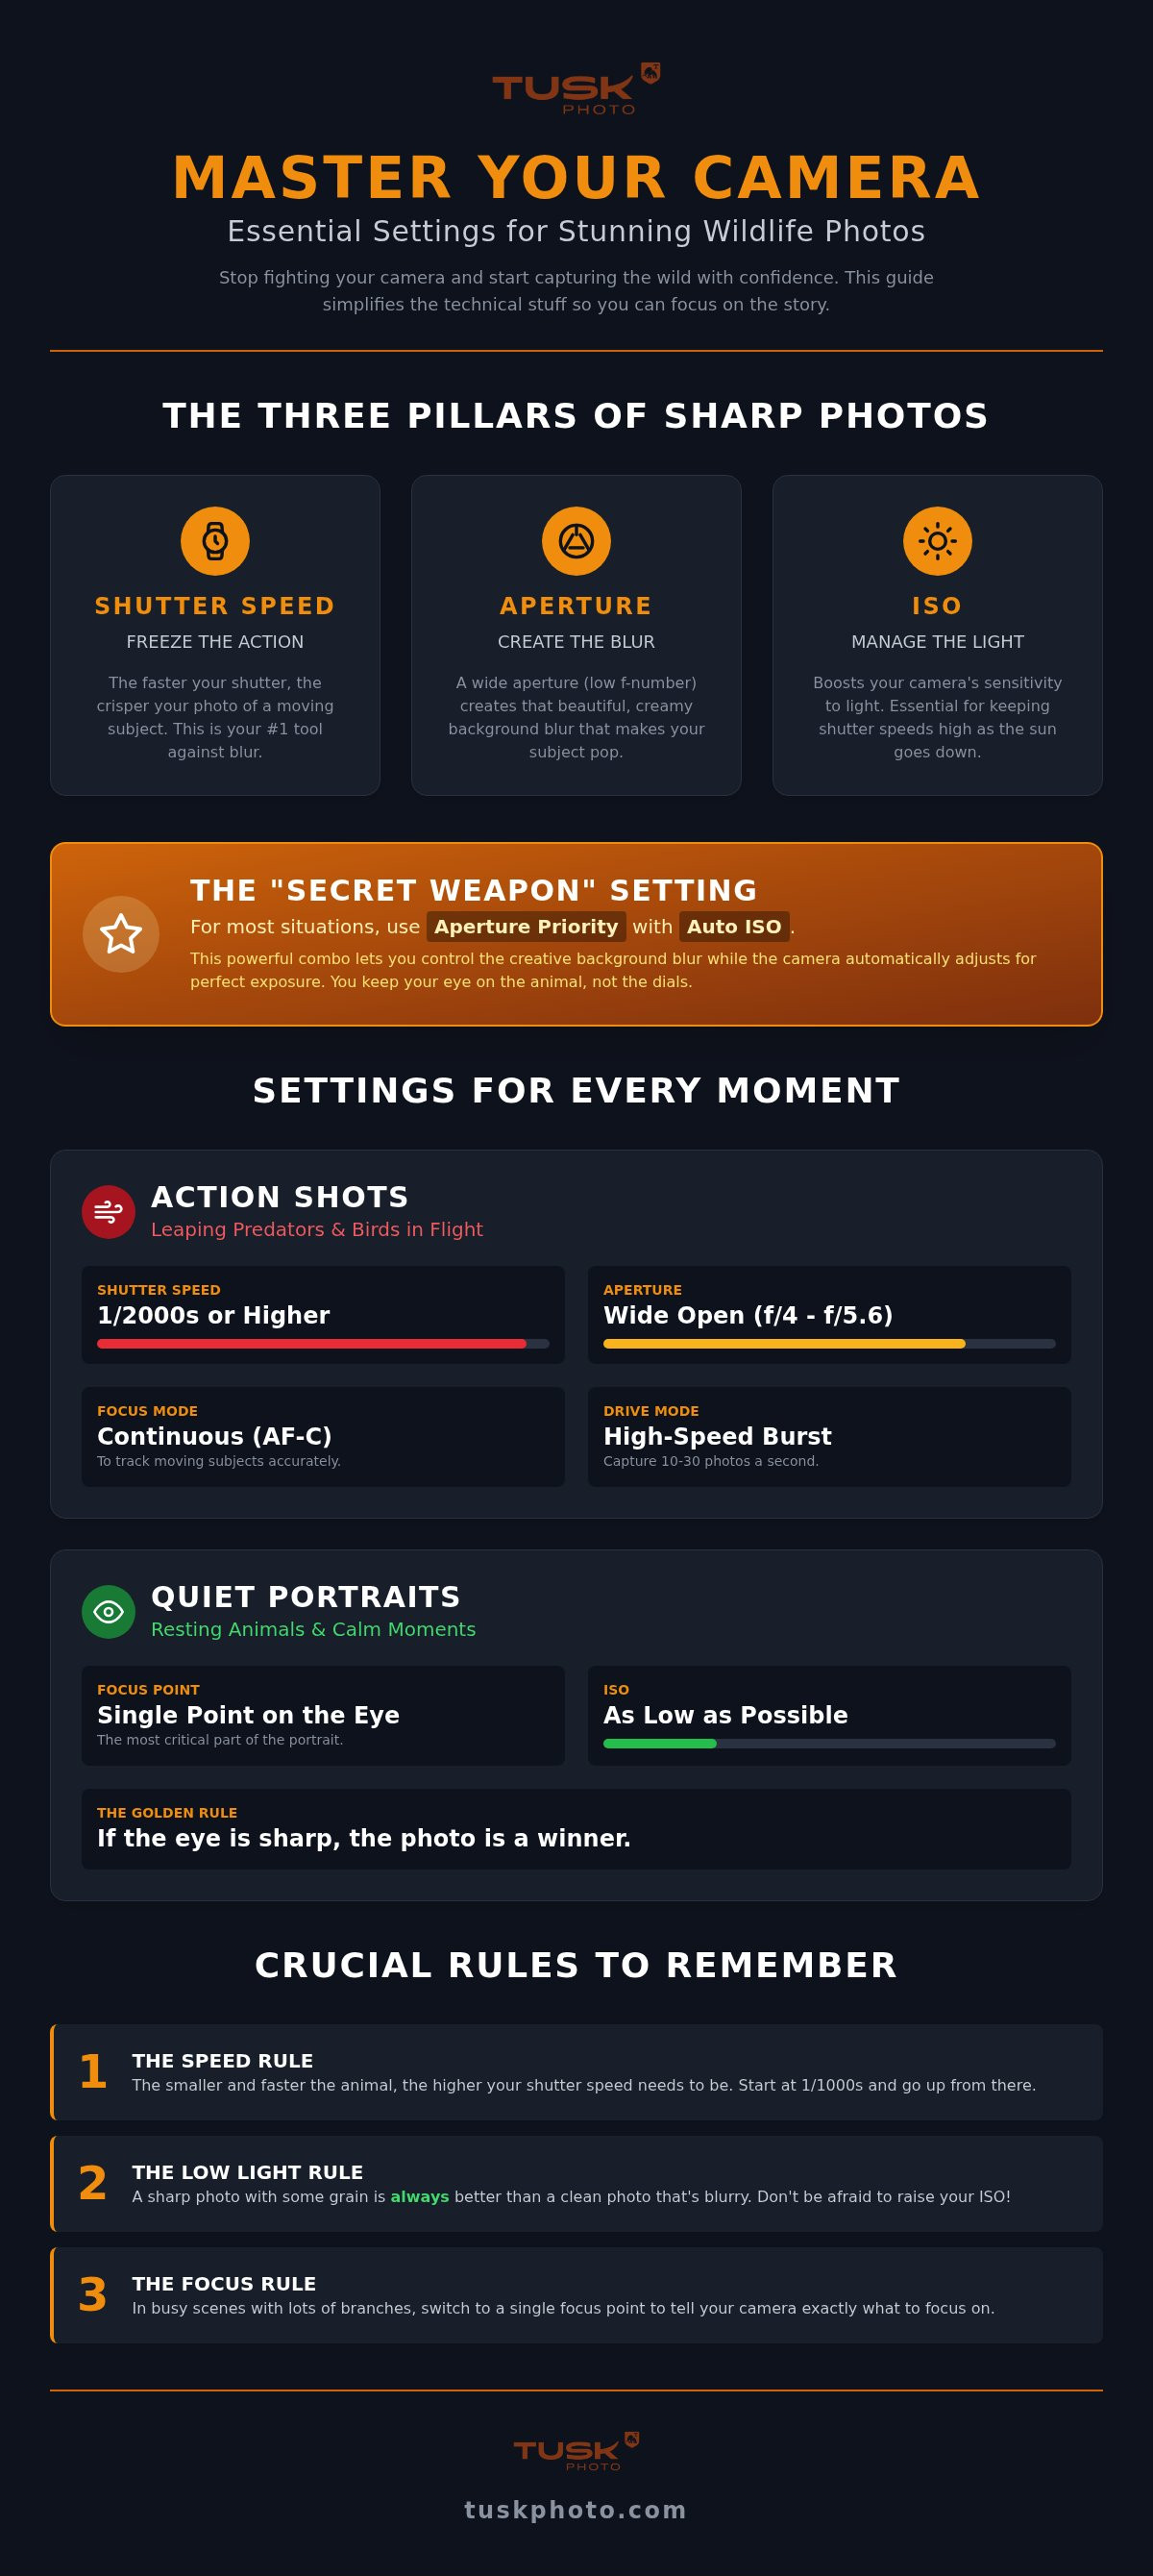
Shutter speed freezes the action; aperture creates that beautiful background blur; and ISO manages the light. Our expert guides at Tusk Photo tours often recommend a "secret weapon" for both beginners and pros: Aperture Priority paired with Auto ISO. This combination lets you control the look of the photo while the camera ensures the exposure stays perfect as the sun dips behind a cloud. It allows you to keep your eyes on the viewfinder rather than the dials.
Speed is your most vital tool. To keep your images crisp, aim for a shutter speed of at least 1/1000th of a second. This is a reliable safe zone for most mammals. If you are photographing smaller, faster subjects like birds, you should push that number much higher. A tiny bird in flight might require 1/3200th of a second to look sharp. Remember the simple rule: the smaller and faster the animal, the higher your shutter speed needs to be.
Stop letting your camera guess where to focus. Switch to Continuous Focus, known as AF-C or AI Servo, to track moving animals. Modern mirrorless cameras, like the Sony A6700 with its 759-point phase-detection system, feature advanced subject detection that can lock onto an animal's eye. Even so, using a single focus point often gives you better results in thick brush. It ensures the camera stays locked on your subject rather than a stray branch in the foreground.
Wildlife is unpredictable. One minute you're watching a lion sleep, and the next, it's chasing down prey. To get the best results, you need to adapt your camera settings for wildlife photography based on the scene unfolding in front of you. Whether you’re trying to capture a leaping lion or a bird taking flight, your goal is to match your technical choices to the energy of the animal.
Burst mode is an essential tool for these fast-paced moments. Many modern cameras, such as the Canon EOS R7, can shoot up to 30 frames per second. Taking 10 or 20 photos in a single second isn't cheating; it’s a smart way to ensure you capture the exact moment a wing is fully extended or a predator's feet leave the ground. It gives you more options to find that one perfect frame where everything aligns.
What should you do when the sun starts to set on safari? This golden hour provides the most beautiful light, but it’s also when you need to lean on your camera’s ISO. Don't be afraid to push your ISO higher to maintain a fast enough shutter speed. It’s always better to have a slightly grainy photo that is sharp than a clean photo that is blurry. Mastering these camera settings for wildlife photography allows you to tell a deeper story of the wild, even as the light fades.
Freezing the drama of a bird taking flight requires extreme speed. You should push your shutter speed to 1/2000th of a second or even higher to stop the vibration of rapidly beating wings. Use a wide aperture, like f/4 or f/5.6, to let in as much light as possible while keeping the focus strictly on the subject.
Our expert guides on scheduled expeditions often help guests toggle between these modes as the light and action change throughout the day, providing a shortcut to professional results.
Reading about the exposure triangle in the comfort of your home is a great start, but the real challenge begins when you’re in the field. The dust of the savannah and the shifting light of the Arctic create a high-pressure environment where theory can quickly fly out the window. Mastering camera settings for wildlife photography requires moving beyond the manual and into the world of muscle memory. You need to be able to adjust your dials without ever taking your eye off the viewfinder.
One of the best ways to achieve this is by customizing your camera buttons. Many professionals recommend "Back Button Focus," which separates the act of focusing from the shutter button. This allows you to track a moving subject and take the photo independently, giving you much more control. You should also take time to prepare your gear for the elements. In places like Africa, fine dust can settle on everything, so keeping your equipment clean and your settings easily accessible is vital for a successful shoot.
Anticipating animal behavior is a skill that only comes with time and expert guidance. A seasoned guide can spot the subtle twitch of a lion’s tail or the way a bird shifts its weight before taking flight. This knowledge acts as a shortcut, allowing you to get your camera settings for wildlife photography ready before the action even starts. Our Scheduled Tours are designed to provide this exact type of hands-on coaching, where you learn to read the wild alongside professional photographers.
The transition from a hobbyist to a master of the craft happens when you're surrounded by the subjects you love. Whether you prefer the flexibility of a Tailor Made Tour or the camaraderie of a fixed departure, we are here to help you capture those sharp, stunning images you’ve always dreamed of. If you’re just starting out and want more foundational advice, check out our Wildlife Photography Tips for Beginners to build your confidence before your next big adventure.
You now have the tools to stop worrying about your dials and start focusing on the incredible animals in your viewfinder. By prioritizing a fast shutter speed to freeze action and using a wide aperture to make your subject pop, you’ve already cleared the biggest hurdles most photographers face. Remember that mastering camera settings for wildlife photography isn't just about memorizing numbers; it's about building the confidence to react when nature provides that split-second opportunity.
The best way to turn these tips into second nature is with hands-on practice in the world's most beautiful locations. Our expeditions offer small group sizes for maximum 1-on-1 time with expert photographic hosts who help you dial in your settings in real-time. Whether you're dreaming of the golden plains of Africa or the icy landscapes of the Arctic, we're here to guide your creative journey and help you return with a portfolio you're proud of.
View our upcoming 2026 Wildlife Photography Tour dates and take the first step toward the shots of a lifetime. We can’t wait to see what you capture out there.
Shutter speed is the most critical setting because it determines whether your subject is sharp or a blurry smudge. While aperture and ISO help manage light and style, a slow shutter speed will ruin a shot of a moving animal regardless of your other choices. For most mammals, you should treat 1/1000th of a second as your minimum baseline to ensure crisp results.
Aperture Priority combined with Auto ISO is the preferred choice for many experts because it allows for faster reactions in changing light. This setup lets you lock in your desired background blur while the camera automatically adjusts for shadows or bright sun. It's often more effective than Manual mode when you only have a split second to capture a leopard moving through thick brush.
The best way to avoid blur is to use a high shutter speed and engage your camera’s continuous autofocus tracking. Using the correct camera settings for wildlife photography means matching your speed to the animal; if a bird suddenly takes flight, you'll need to jump to 1/2000th of a second or higher. Keeping your arms tucked in or using a support like a beanbag also provides extra stability.
In 2026, most modern mirrorless cameras can easily handle ISO 6400 or even 12800 without losing significant detail. Thanks to advanced processors like the Nikon EXPEED 7, grain is much less of an issue than it used to be. It is always better to have a slightly grainy photo that is sharp than a clean photo that is ruined by motion blur because your ISO was too low.


