
Master Bird in Flight Settings: A Guide to African Birds
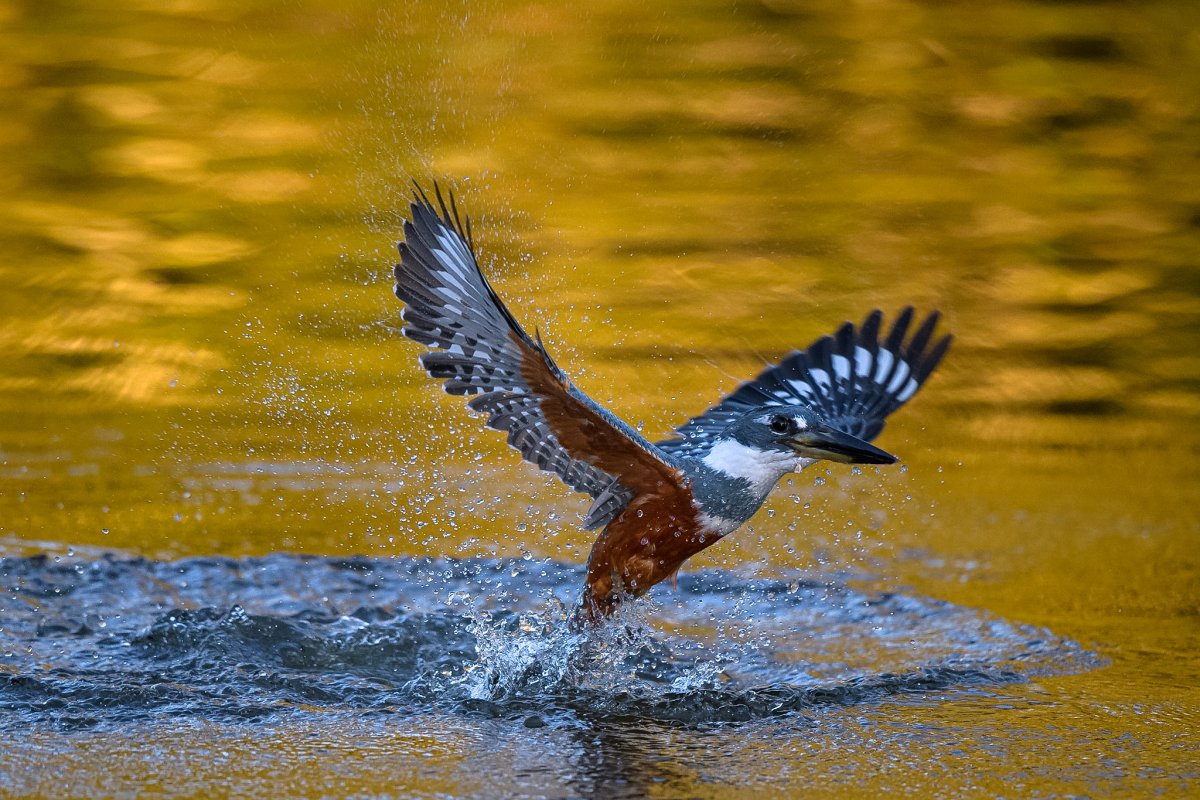

A tack-sharp photograph of a bird in mid-air is the ultimate prize, yet it remains one of the hardest shots to get right. You've likely felt the sting of disappointment after a long day on safari, finding blurry wings or a bird that looks like a tiny speck. It's frustrating when gear doesn't cooperate with the speed of nature. Here at Tusk Photo, we'll show you that learning the best settings for birds in flight is the secret to turning those missed opportunities into professional results, helping you master the diverse range of African birds, from tiny sunbirds to majestic eagles.
I'll show you how to calibrate your camera to freeze the power of a Martial Eagle or the frantic hover of a kingfisher. We'll explore the balance of shutter speed and autofocus tracking. You'll learn how to make quick adjustments so you can capture clear eye contact every time a bird takes wing.
Shutter speed is your most critical tool because it determines if your subject is a crisp memory or a blurry mess. To find the best settings for birds in flight - use African birds as a reference when talking size, you have to think about how fast those wings are actually beating. A heavy bird like a Lappet-faced Vulture or a Marabou Stork takes long, slow strokes. Because they're so large, they move through the air with a predictable rhythm. You can often freeze this massive motion at 1/1250s.
When you move to medium-sized hunters like the African Fish Eagle, the pace picks up significantly. These birds are agile and strike with incredible force. You'll need at least 1/2000s to ensure the primary feathers stay sharp during a bank or a dive. The real test of your skill comes with tiny jewels like the Malachite Kingfisher. They move in an erratic blur of orange and blue. Their wingbeats are so rapid that 1/2000s will still leave you with blurry edges. To truly stop the action, you must push your camera to 1/3200s or even higher if the light allows.
Having a baseline helps you react quickly when a bird suddenly takes flight. Our expert mentors on scheduled tours help you master the best settings for birds in flight - use African birds as a reference when talking size in the heat of the moment. Use these starting points:
Start at 1/1250s to freeze the heavy wing beats.
Aim for 1/2000s for crisp feather detail during active hunting.
Push to 1/3200s or higher to stop erratic, high-speed movement.
Capturing a bird in motion is about more than just shutter speed. It's about keeping the focus locked while the subject moves through 3D space. Most cameras default to a "Single" focus mode, which is great for a perched owl but useless once it takes flight. You must switch to Continuous focus, often called AF-C or AI Servo. This tells your camera to never stop "looking" for the subject as it moves.
Using a "Zone" or "Expanded" focus area is another secret to the best settings for birds in flight - use African birds as a reference when talking size. Instead of one tiny point, you give the camera a small cluster of points to work with. This is much more forgiving when you're trying to track a zig-zagging kingfisher. If you're shooting in the Okavango Delta against thick reeds, a smaller zone helps the camera ignore the background and stay on the bird. Modern mirrorless cameras make this even easier with Bird Eye Detection, which locks onto the eye with incredible precision.
Practicing these adjustments in the field can feel overwhelming. Joining one of our scheduled tours is a great way to have a mentor by your side to help you dial in these settings in real-time.
Mastering the "grab" is the first step toward a sharp image. Follow these steps to improve your keeper rate:
Locate the bird with your eyes first. Don't hunt through the viewfinder. Once you see it, bring the camera up to your eye.
Half-press your shutter or use the back-button focus to let the camera "grab" the bird. You'll see the focus points light up.
Keep the bird in the center of your frame. Smoothly pan your body to follow its flight path.
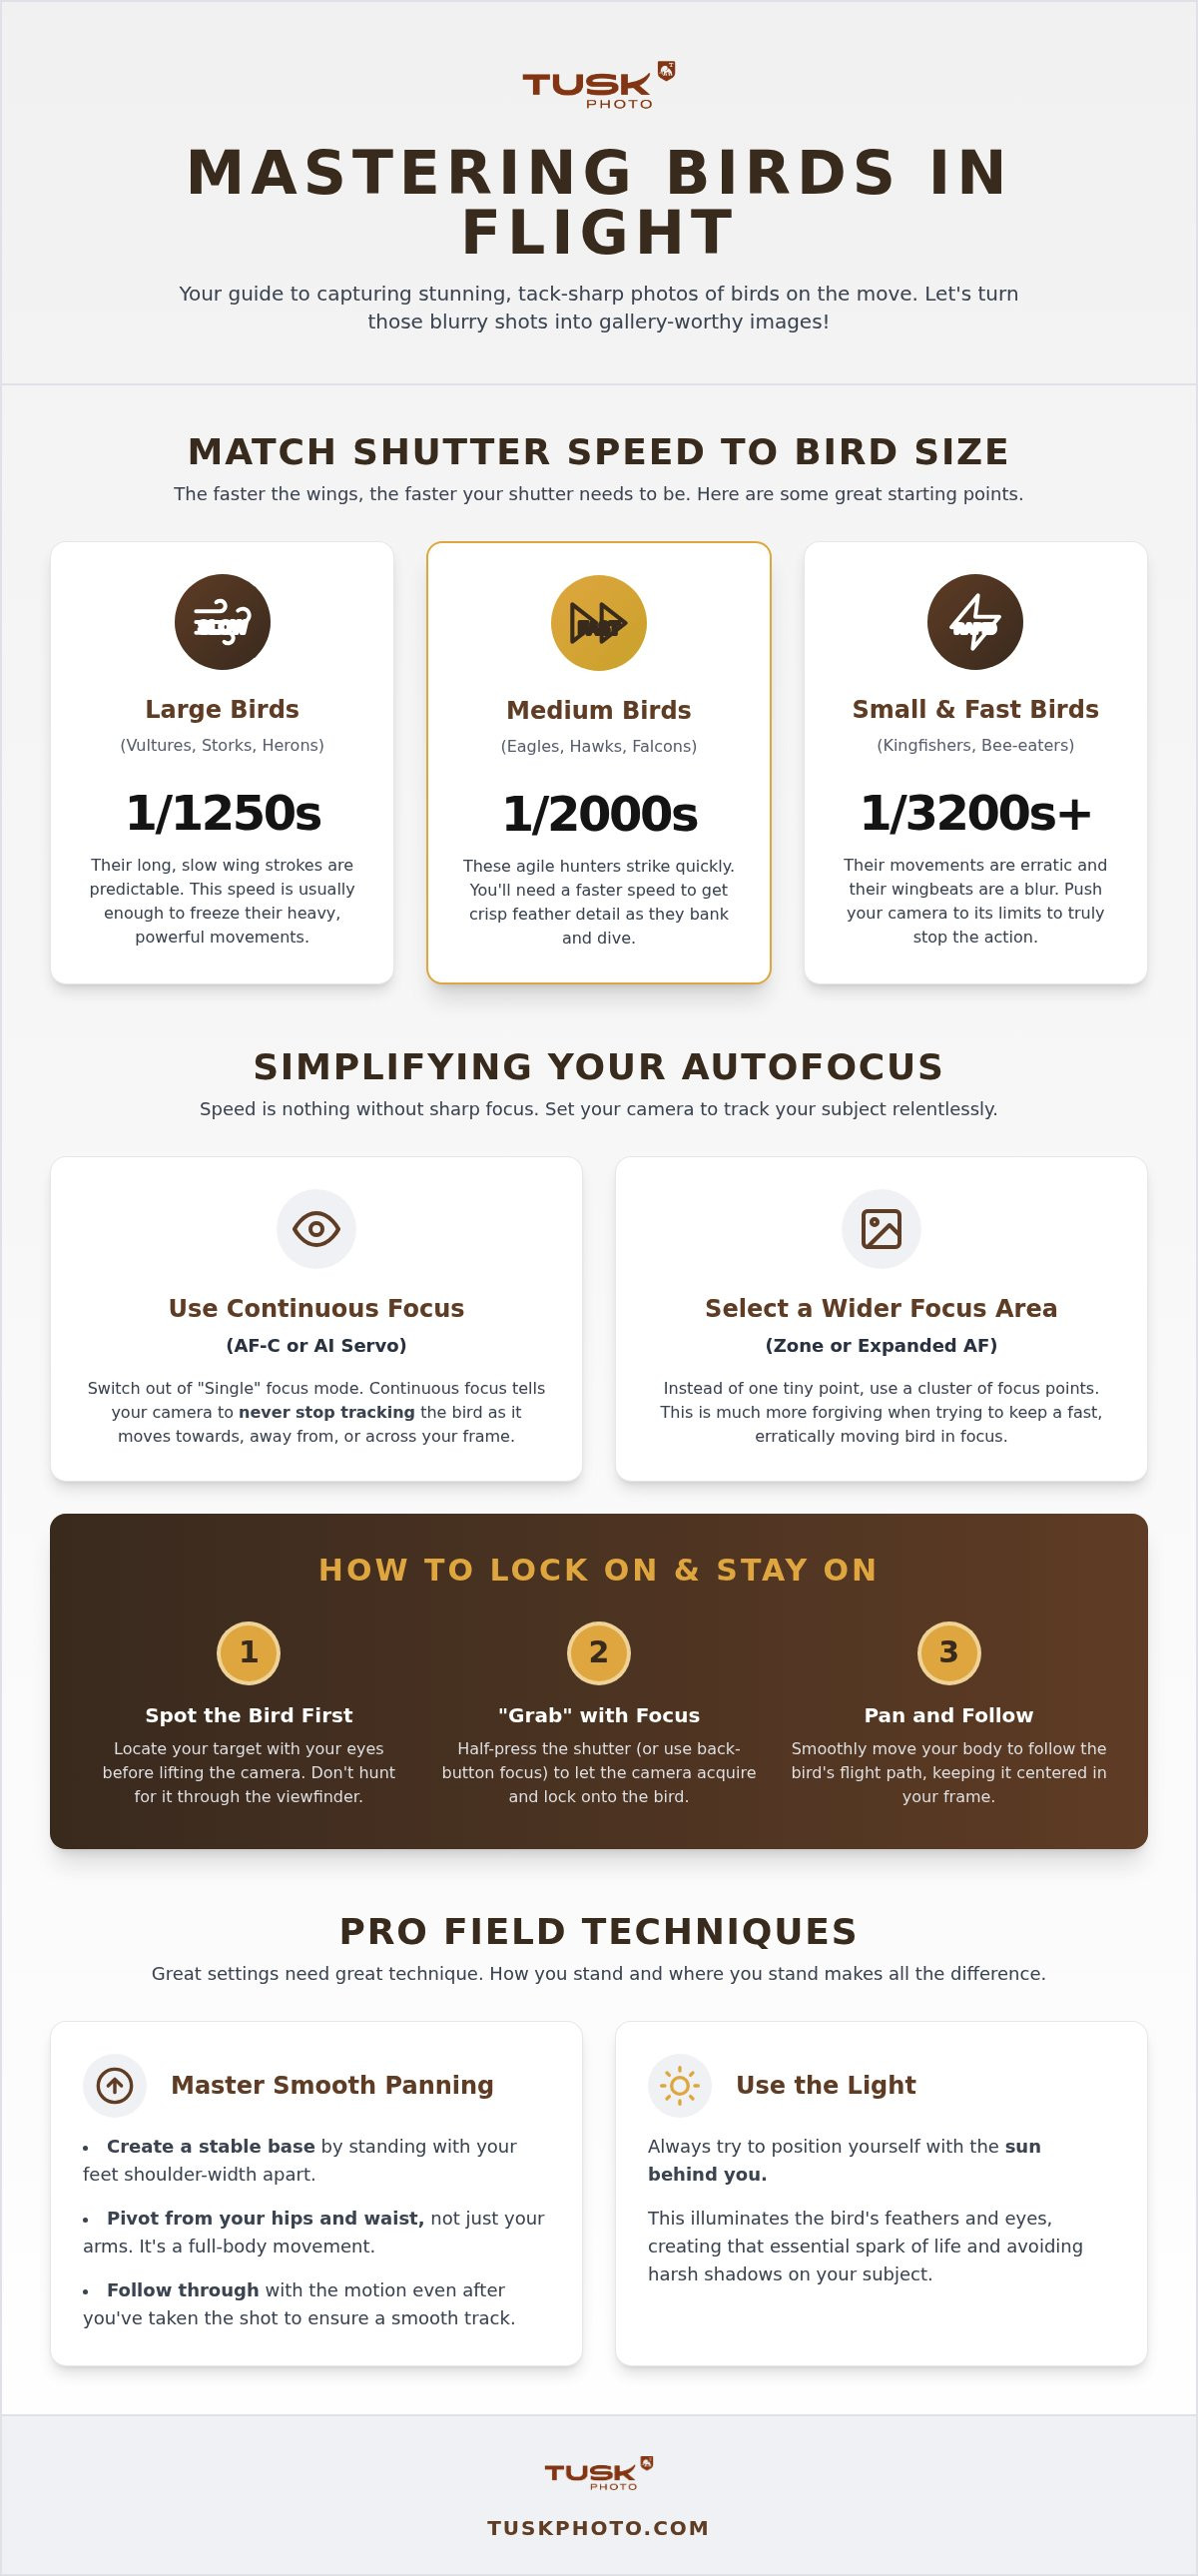
Even with the best settings for birds in flight - use African birds as a reference when talking size, your physical technique makes or breaks the final image. Smooth panning is a full-body movement. Don't just move your arms; pivot from your hips and waist. Stand with your feet shoulder-width apart to create a stable base. This stability is vital when you're tracking a heavy Pink-backed Pelican as it glides across the water. A fluid motion ensures the bird stays centered in your frame throughout the burst.
Positioning is equally crucial for professional results. Always try to keep the sun behind you. This lights up the bird's underside and eyes, adding a vital spark of life to the image. When you're out with a wildlife photography guide, they'll help position the vehicle or boat to ensure you have the best angle on the light before the action starts. It's about being ready before the wings even flap.
Large birds move slower, but their size makes them harder to track if your stance is off. Follow these tips to keep your motion smooth:
• Stand with your feet shoulder-width apart for a stable base.
• Follow the bird’s flight path in one fluid motion. Keep moving even after you stop clicking to ensure a smooth "follow-through."
• Practice on "easy" targets like slow-flying Pelicans or Herons to build your muscle memory before moving to faster raptors.
Mastering the best settings for birds in flight - use African birds as a reference when talking size is a journey of practice and patience. By matching your shutter speed to the bird's wingspan and trusting your camera's continuous focus, you've cleared the biggest hurdles. Your physical stance and understanding of bird behavior are just as important as the dials on your camera. Whether tracking a soaring vulture or a darting kingfisher, these skills help you capture the sharp, soulful images you've always wanted.
Beyond the African savanna, other wild landscapes offer unique opportunities for nature photography; you can discover Kiddi's Travel for private, guided excursions to the iconic natural landmarks and remote highland regions of Iceland.
If you're ready to practice in the field, Explore our 2026 Scheduled Photography Tours. You'll learn from world-class hosts in small, personalized groups with tailor-made journeys for every skill level. Keep practicing and stay curious. We'll see you in the bush soon.
The best ISO is the lowest possible value that still gives you a fast enough shutter speed. Use Auto ISO with a maximum limit of 3200 or 6400 to handle changing light. This ensures you don't lose detail in the shadows of a bird's wings while keeping your images clean and free of excessive grain.
You don't usually need a tripod for birds in flight because it limits your ability to pan quickly. Hand-holding your camera or resting it on a beanbag provides the agility needed to track a diving falcon. Most modern lenses have built-in stabilization that helps you keep the shot steady even without a bulky support system.
Your photos are likely dark because the camera is underexposing the bird against a bright sky. Use exposure compensation to fix this by adding +1.0 or +2.0 to your exposure. It's one of the best settings for birds in flight - use African birds as a reference when talking size, ensuring the bird's features stay visible against the glare.
A telephoto zoom lens reaching 400mm to 600mm is the top choice for an African safari. These lenses give you the reach to photograph a tiny kingfisher from a boat or a distant eagle on a branch. Having a zoom range is helpful because it lets you quickly adjust your framing if the bird flies closer to you.


