
How to Photograph Star Trails: A Step-by-Step Guide


Imagine standing in the heart of a remote wildlife camp at midnight. The sky above is a velvet canvas of light, completely free from the glow of city life. You want to capture that perfect, swirling circle of stars, but the thought of confusing camera settings or a dead battery mid-shoot feels daunting. It's normal to feel lost when you first try to navigate the dark. We've all worried about blurry stars or camera shake ruining a beautiful moment.
The good news is that learning how to photograph a star trail is much easier than it looks with a clear plan. This guide shows you the easy, step-by-step way to capture stunning circular patterns under the world's darkest skies. We will cover where to point your lens and the manual settings that ensure success. You'll gain the confidence to create professional images on your next photography trip.
Success in night photography starts long before the sun goes down. To learn how to photograph a star trail, you need a setup that stays perfectly still for hours. A sturdy tripod is your most valuable tool during these long sessions. Even a tiny bit of wind or a soft surface can cause camera shake, which turns your crisp stars into messy, blurry blobs. Make sure your tripod is weighted down or planted firmly in the ground before you begin. This stability ensures your foreground stays sharp while the stars move above.
Power is another major factor to consider. Long exposures and cool night air drain batteries much faster than standard daytime shooting. Always start your night with a full charge and keep a spare battery tucked in a warm pocket. To keep your hands off the camera and prevent any movement, use an intervalometer or a simple remote shutter. This is a vital step when you want to know how to photograph a star trail with professional results. These tools allow you to take a long series of photos automatically while you sit back and enjoy the quiet of the wild.
Finding a location with zero light pollution is the first step toward a clear image. Remote wildlife camps are ideal because they offer the pitch-black conditions you need for the stars to truly pop. You can find several of these perfect locations on our upcoming tour dates, or you might consider visiting certified Dark Sky Parks like Arches with a guided service like Moab In A Day. Reach for a wide-angle lens to capture more of the sky, making the circular star patterns look larger. Finally, pack a headlamp with a red-light mode to adjust settings without ruining your night vision.
Switch your camera to Manual (M) mode. This gives you total control over every setting, which is vital for night work. When learning how to photograph a star trail, many beginners think they need to leave the shutter open for an hour. Actually, it's better to take a series of shorter shots and "stack" them later. This method keeps your sensor cool and prevents the image from getting too much digital noise. It also protects your work if a stray light, like a car or a flashlight, accidentally flashes during your shoot.
You also need to know where to point your lens. If you want those perfect circular patterns, find the North Star, also known as Polaris. The stars will appear to rotate around this fixed point. Before you start, turn off your autofocus and set your lens to "infinity." This simple adjustment ensures those tiny points of light stay sharp and crisp throughout the night. It's a great way to master how to photograph a star trail while exploring the wild. If you're feeling unsure about these settings, joining a Scheduled Tour is a great way to get hands-on help from a pro in the field.
Once your gear is ready, follow these steps to start your sequence:
Set your shutter speed to 20 or 30 seconds. This is long enough to catch light but short enough to keep the stars from looking like messy streaks in a single frame.
Use a wide aperture like f/2.8 or f/4. This lets in plenty of starlight so your images aren't too dark.
Set your camera to take photos continuously for at least 30 to 60 minutes. The longer you shoot, the longer and more impressive your trails will be.
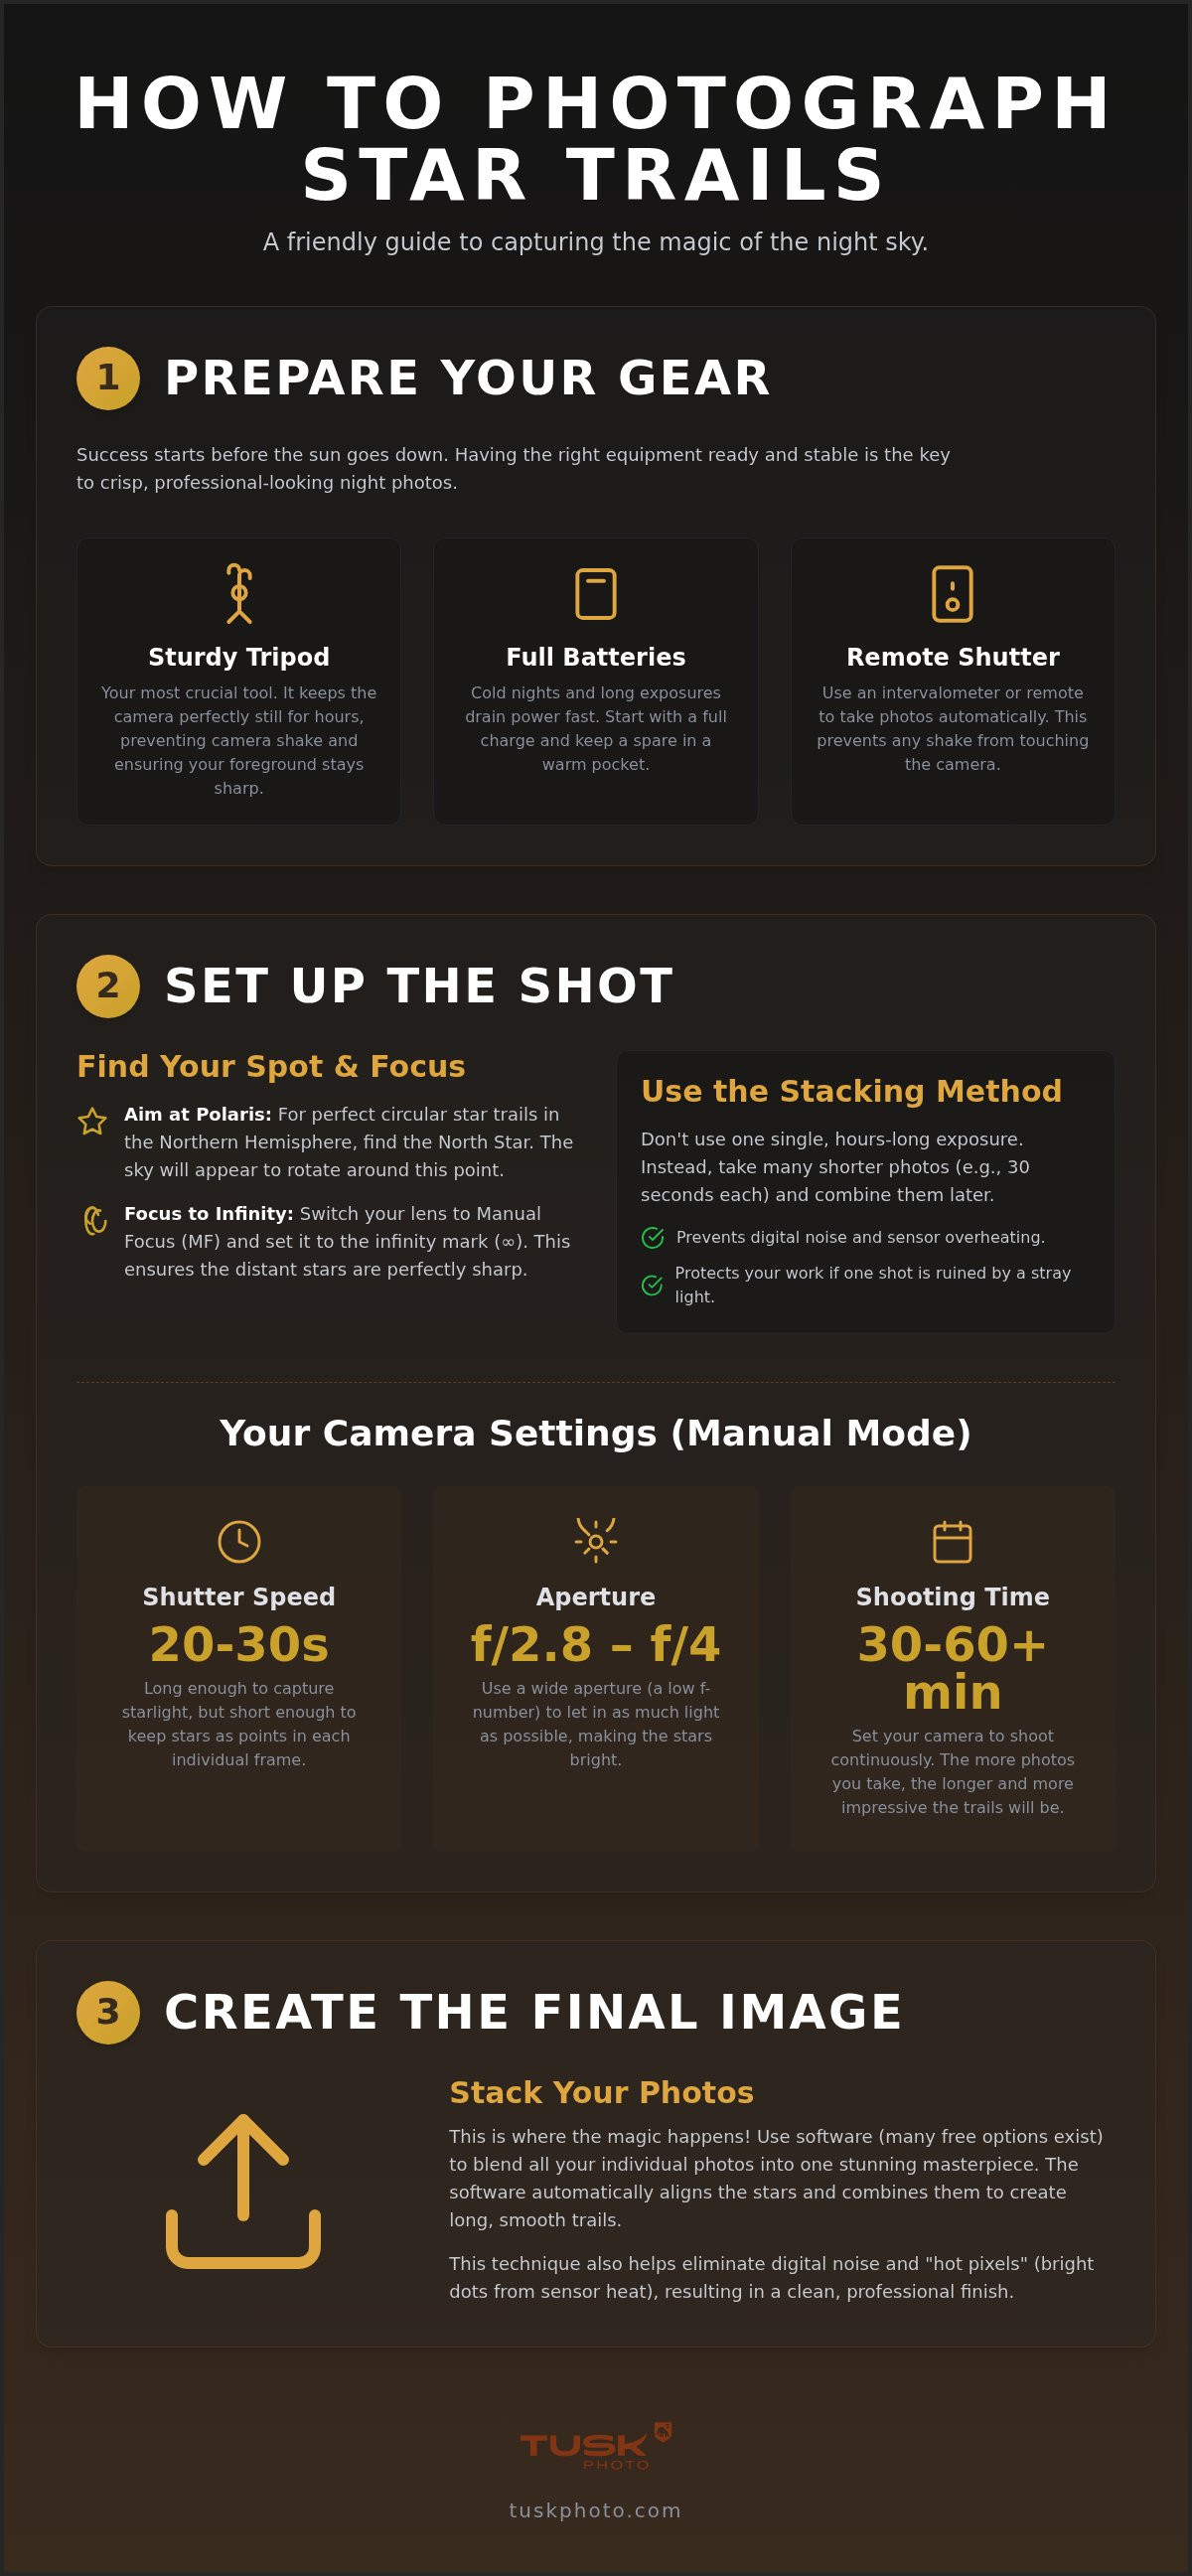
Once you finish your shoot, the real magic happens at your computer. Stacking is just a simple way of saying you're blending all those short 30-second shots into one final image. This technique makes your work look professional by creating long, smooth, and unbroken lines across the sky. It also helps you deal with "hot pixels," which are tiny, annoying bright dots caused by your camera sensor getting warm during long nights. By using many frames, the software easily tells what is a star and what is just digital noise. This is the best way to learn how to photograph a star trail with a clean, crisp finish.
You don't need to buy expensive, complicated programs to get great results. There are several free software options that do the heavy lifting for you. These tools are built for beginners and pros alike, making the editing process feel like a breeze rather than a chore. Most of the time, you just need to load your images and the software handles the alignment for you. When you're done, share your final masterpiece with your photography community. It's incredibly rewarding to show off the hard work you put in under the dark skies and see how much you've improved at learning how to photograph a star trail.
Stacking software works by looking at all your photos and merging the brightest light from each one into a single, stunning frame. While the software is easy to use, learning these skills is often much faster when you have a mentor by your side to help with the details. You can pick up these tricks during a wildlife photography workshop in the field. For most projects, the editing advice is very simple: just click "import," select your files, and let the software build the trails for you. It's a satisfying way to end your creative journey.
Mastering the art of night photography is a rewarding journey that turns the passage of time into a visual masterpiece. By focusing on the right gear and using the stacking method, you can create professional results without the stress of complex settings. Learning how to photograph a star trail opens up a whole new world of creative possibilities for your next trip into the wild. It's all about patience and having a clear plan before the sun sets.
If you're ready to put these skills into practice, why not do it under the darkest skies on Earth? Our expert guides are always on hand to help you with your settings in the field, ensuring you capture that perfect shot in remote locations. Join a Tusk Photo tour and practice your night photography in the wild! We can't wait to see the incredible patterns you'll create under the stars.
You should leave your camera running for at least 30 to 60 minutes to see clear movement in the sky. If you want long, dramatic lines that stretch across the frame, aim for two hours or more. The total time depends on your lens; wider lenses need more time to show movement. It's a test of patience, but the final result is always worth the wait.
You don't need a special "night camera" to succeed. Any modern DSLR or mirrorless camera that allows you to use manual settings will work perfectly. As long as you can control the shutter speed, aperture, and ISO, you can learn how to photograph a star trail. Even some advanced point-and-shoot cameras have the features needed to capture the light of the stars effectively.
Point your camera toward the North Star, also known as Polaris, if you are in the Northern Hemisphere. This is the fixed point that the other stars appear to rotate around. If you're in the Southern Hemisphere, you'll look for the South Celestial Pole instead—a view that is exceptionally clear in the remote wilderness areas visited by Discover Kokoda Treks. Aiming in these directions creates the perfect circular patterns that make these photos look so unique and professional.
Don't worry if a plane or satellite streaks through your frame. Since you are taking many short photos instead of one long exposure, you can simply delete the specific frames that have the light trails from the plane. When you use your stacking software, it will bridge the tiny gap. This is a huge benefit of the stacking method when learning how to photograph a star trail.


