
How to Photograph Owls at Night: 7 Expert Tips
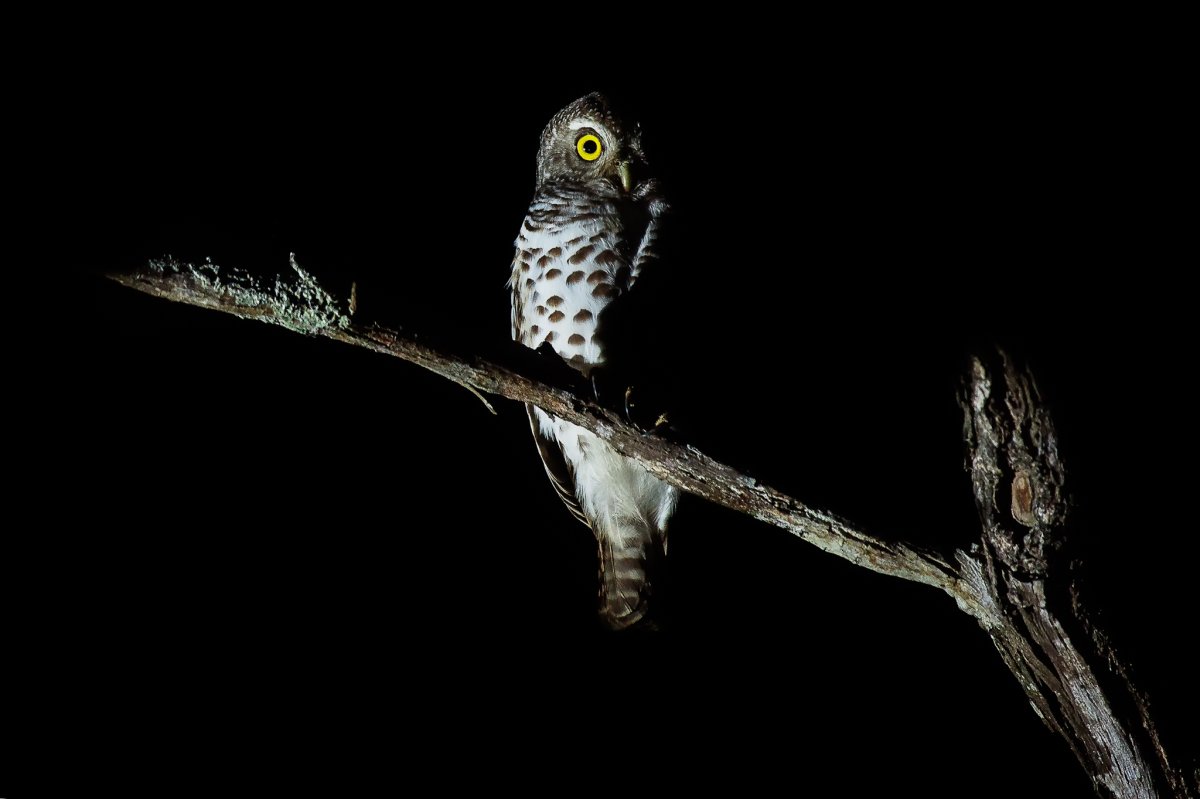

Imagine standing in a silent, moonlit forest when a pair of golden eyes suddenly blinks back at you from the shadows. It's a magical, heart-pounding moment that every wildlife photographer dreams of. However, learning how to photograph an owl at night often feels like a struggle against blurry shapes and confusing camera settings. You want a sharp, characterful portrait, but you also worry about accidentally disturbing the bird or getting lost in the dark.
In this guide, you'll discover simple techniques and ethical secrets that keep the birds safe and your images crisp. We'll walk through seven expert tips, covering everything from tracking these silent hunters to choosing the right lighting without causing them any stress. By the end, you'll have the professional confidence to capture stunning low-light photos that truly honor these magnificent creatures.
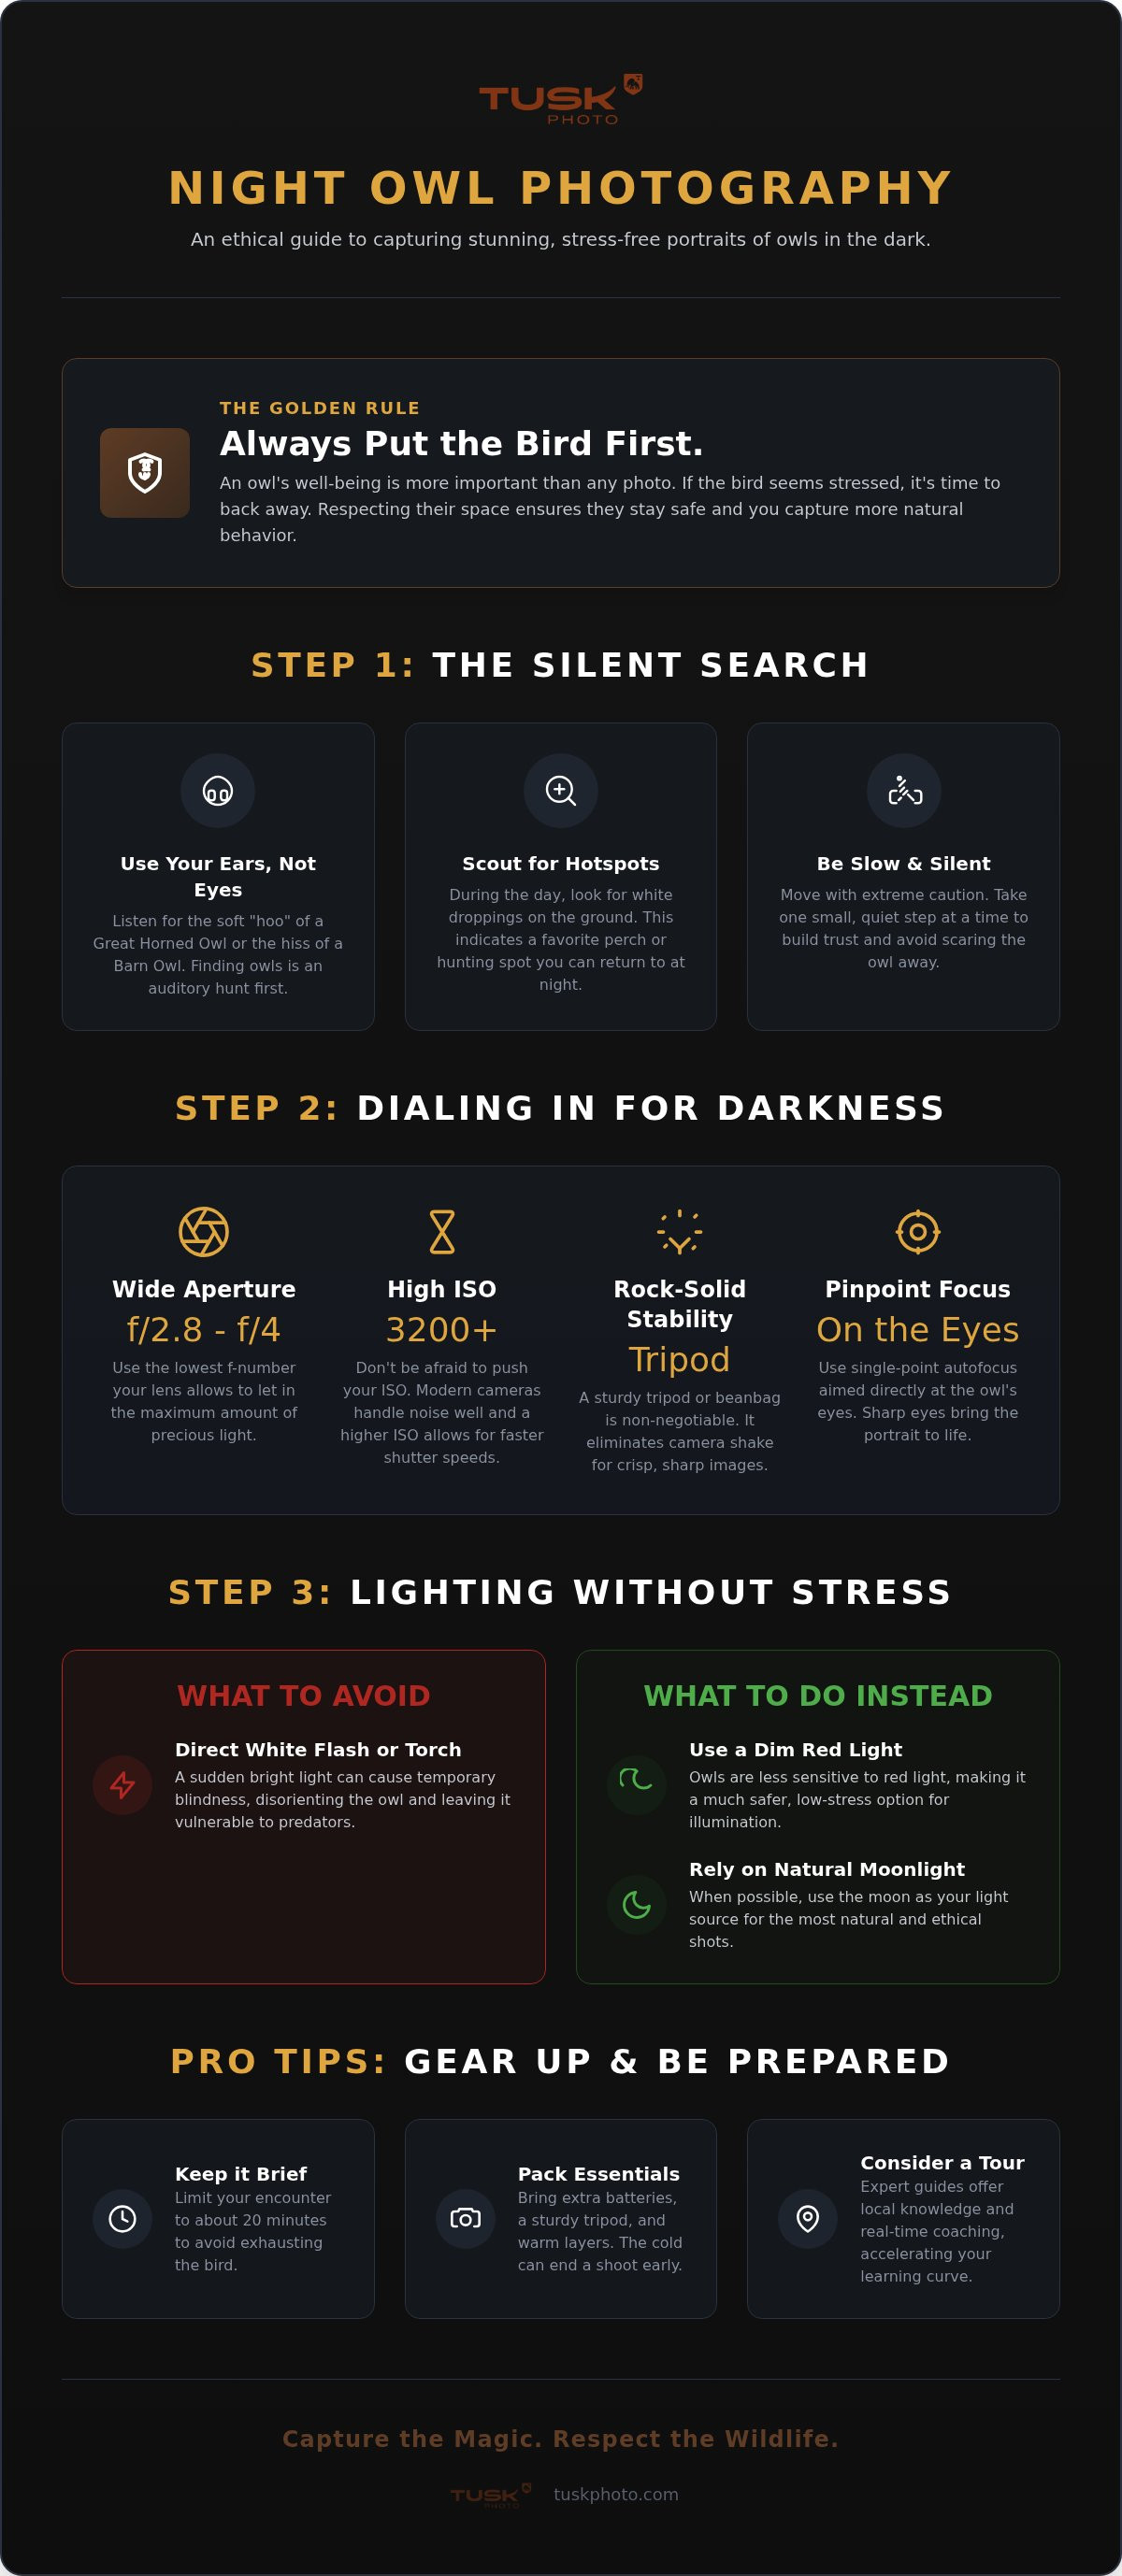
When you're out in the woods after dark, the bird’s well-being always comes first. This "Bird First" rule is the foundation of learning how to photograph an owl at night successfully. If an owl feels threatened, it will stop hunting or leave its territory; this can be dangerous for its survival. Respecting their space ensures they stay healthy and you get a more natural shot.
Finding owls is more about your ears than your eyes. Listen for the soft "hoo" of a Great Horned Owl or the raspy hiss of a Barn Owl. Once you hear one, move with extreme caution. Take one small step, then stop. Stay quiet. Building trust takes time, but it allows the owl to relax and go about its business while you're nearby. Owls are creatures of habit. They often use the same low branches to scan for prey. Look for white droppings on the ground during the day to find these hotspots. If you know where they like to hunt, you can set up your gear before they even arrive.
Owls have incredibly sensitive eyes. You should never shine a standard white-light torch directly at them, as this can cause temporary blindness and leave them vulnerable to predators. Instead, use a dim red light or wait for natural moonlight. Keep your encounters brief. Setting a maximum time limit of about 20 minutes ensures the bird doesn't get exhausted by your presence. If you're unsure about the best practices, following a professional wildlife photography guide is a great way to make sure your presence is helpful, not harmful.
Capturing a clear image in near-total darkness is the biggest challenge when learning how to photograph an owl at night. Start by opening your aperture as wide as possible. This means choosing the lowest f-number your lens allows, such as f/2.8 or f/4. A wide opening lets in every bit of available light; it's essential for a sharp portrait. Trust your gear. Don't be afraid to push your ISO settings higher. Modern cameras like the Nikon Z8 or Canon EOS R7 handle high ISO beautifully, allowing you to keep your shutter speed fast enough to freeze any slight movement.
Stability is your best friend when practicing how to photograph an owl at night. Even the steadiest hands can't match a sturdy tripod or a simple beanbag balanced on a car window. These tools keep your camera perfectly still during the exposure. Stay perfectly still. When you're ready to take the shot, use single-point autofocus and aim directly at the owl's eyes. Sharp eyes make the portrait feel alive. If you find the technical side a bit overwhelming, joining one of our scheduled tours is a great way to have an expert guide help with the tracking while you focus on the art.
Natural-looking photos often come from subtle lighting choices. Because groups like the Illinois Ornithological Society have strict rules about ethical photos, your lighting choices really matter. Instead of a harsh beam, try using a low-intensity red light or placing your light source to the side. This creates soft shadows that show off the texture of the feathers. If your lens struggles, switch to manual focus for total control in the dim light.
Even with the right settings, the hardest part of learning how to photograph an owl at night is actually finding the bird. Tusk Photo guides use years of local knowledge to track rare species like Eagle Owls or Little Owls. They know the exact tree hollows and hunting perches that most people would walk right past. Instead of wandering blindly in the dark, you're guided straight to the action.
Learning how to photograph an owl at night becomes much easier when you aren't doing it alone. When you're in the field, the light changes fast. Having a mentor by your side for real-time coaching is a game-changer. They help you tweak your settings on the fly so you don't miss a fleeting moment. A scheduled departure photography tour is the perfect way to build a professional-grade portfolio while learning from the best. We handle all the tricky logistics, from transport to timing, so you can focus on your art.
Deciding how to travel depends on your personal goals. You can choose between tailor-made photography safaris for a private experience or join a small group for shared learning. Before you pack, check our latest tour dates to find the peak season for nocturnal wildlife. For your first night-time expedition, remember to pack extra batteries, a sturdy tripod, and warm layers. The night gets cold. You don't want a dead battery to cut your session short. These small details make the difference between a frustrating night and a successful shoot.
Mastering the art of wildlife photography is a rewarding challenge that blends technical skill with a deep respect for nature. You now know that the "Bird First" rule is essential and that pushing your ISO while opening your aperture wide is the key to clarity. Learning how to photograph an owl at night takes practice, but the results are worth every quiet moment spent in the dark forest.
If you want to skip the trial and error, why not learn from the masters? Our expert guides have decades of field experience and lead small groups to exclusive wildlife locations, ensuring you get the best access possible. Join a Tusk Photo expedition and master night photography in the field to turn your creative vision into reality. We can't wait to see the incredible shots you'll take on your next adventure.
No, using a flash is generally considered unethical. Owls have extremely sensitive eyes, and a sudden burst of light can leave them disoriented or vulnerable to predators. When you are practicing how to photograph an owl at night, it's much better to use a dim red light or simply wait for the moon. Protecting the bird's natural behavior is more important than any single photograph.
A telephoto lens with a wide aperture, such as f/2.8 or f/4, is ideal for low-light conditions. These lenses are designed to let in as much light as possible, which helps you keep your images sharp without needing a flash. Lenses with a focal length of 300mm to 600mm allow you to capture stunning details while maintaining a safe, respectful distance from the bird.
Locating owls without help takes a bit of detective work. Spend time during the day looking for "whitewash" droppings on trunks or pellets on the forest floor. These clues often reveal where an owl sleeps or hunts. At night, use your ears to track their calls. Once you hear a hoot, move slowly and stop frequently to listen, ensuring you don't disturb their peace.
You don't need a top-tier professional camera to get started. While high-end bodies like the Nikon Z8 or Sony A1 handle dark scenes better, many mid-range cameras work well if you have a "fast" lens. The most important part of learning how to photograph an owl at night is understanding your settings. If you can control your ISO and shutter speed, you can take great photos.


