
Best Camera Settings: Birds in Flight (2026 Guide)
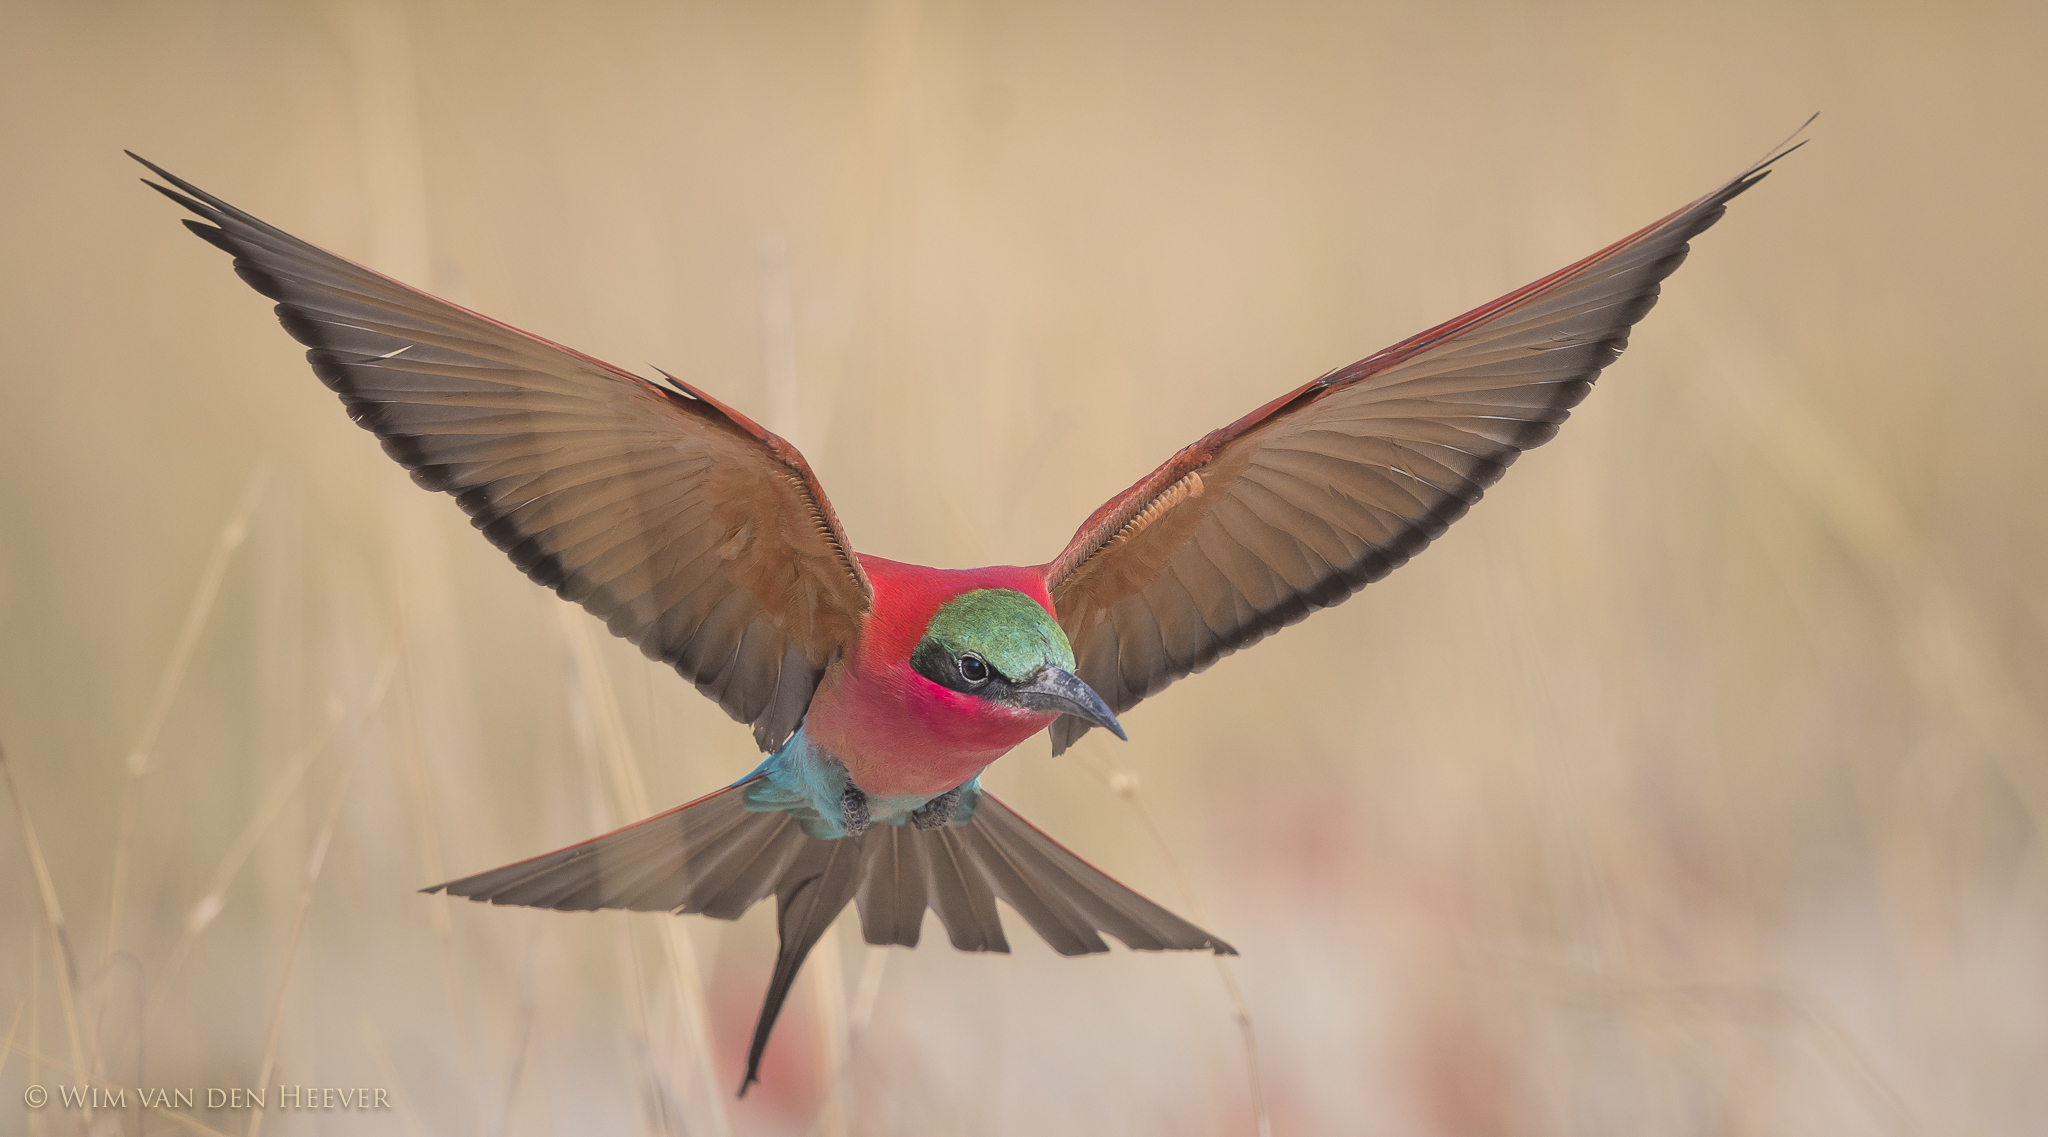

Most blurry bird photos aren't caused by missed focus or entry-level gear; they happen simply because your shutter is too slow to freeze erratic wings. Dialing in the best camera settings for bird photography in flight shouldn't require memorizing complex menus or fighting technical jargon. True sharpness starts with prioritizing pure motion control above all else.
If you've ever tracked a raptor across a bright morning sky only to end up with a muddy silhouette and soft feathers, you know the frustration. You shouldn't have to guess while the action unfolds. You'll master the exact camera settings needed to capture sharp, clear photos of flying birds every single time. Below, we'll walk through the essential shutter speeds, reliable autofocus modes, and baseline exposure tweaks you need before your next field adventure.
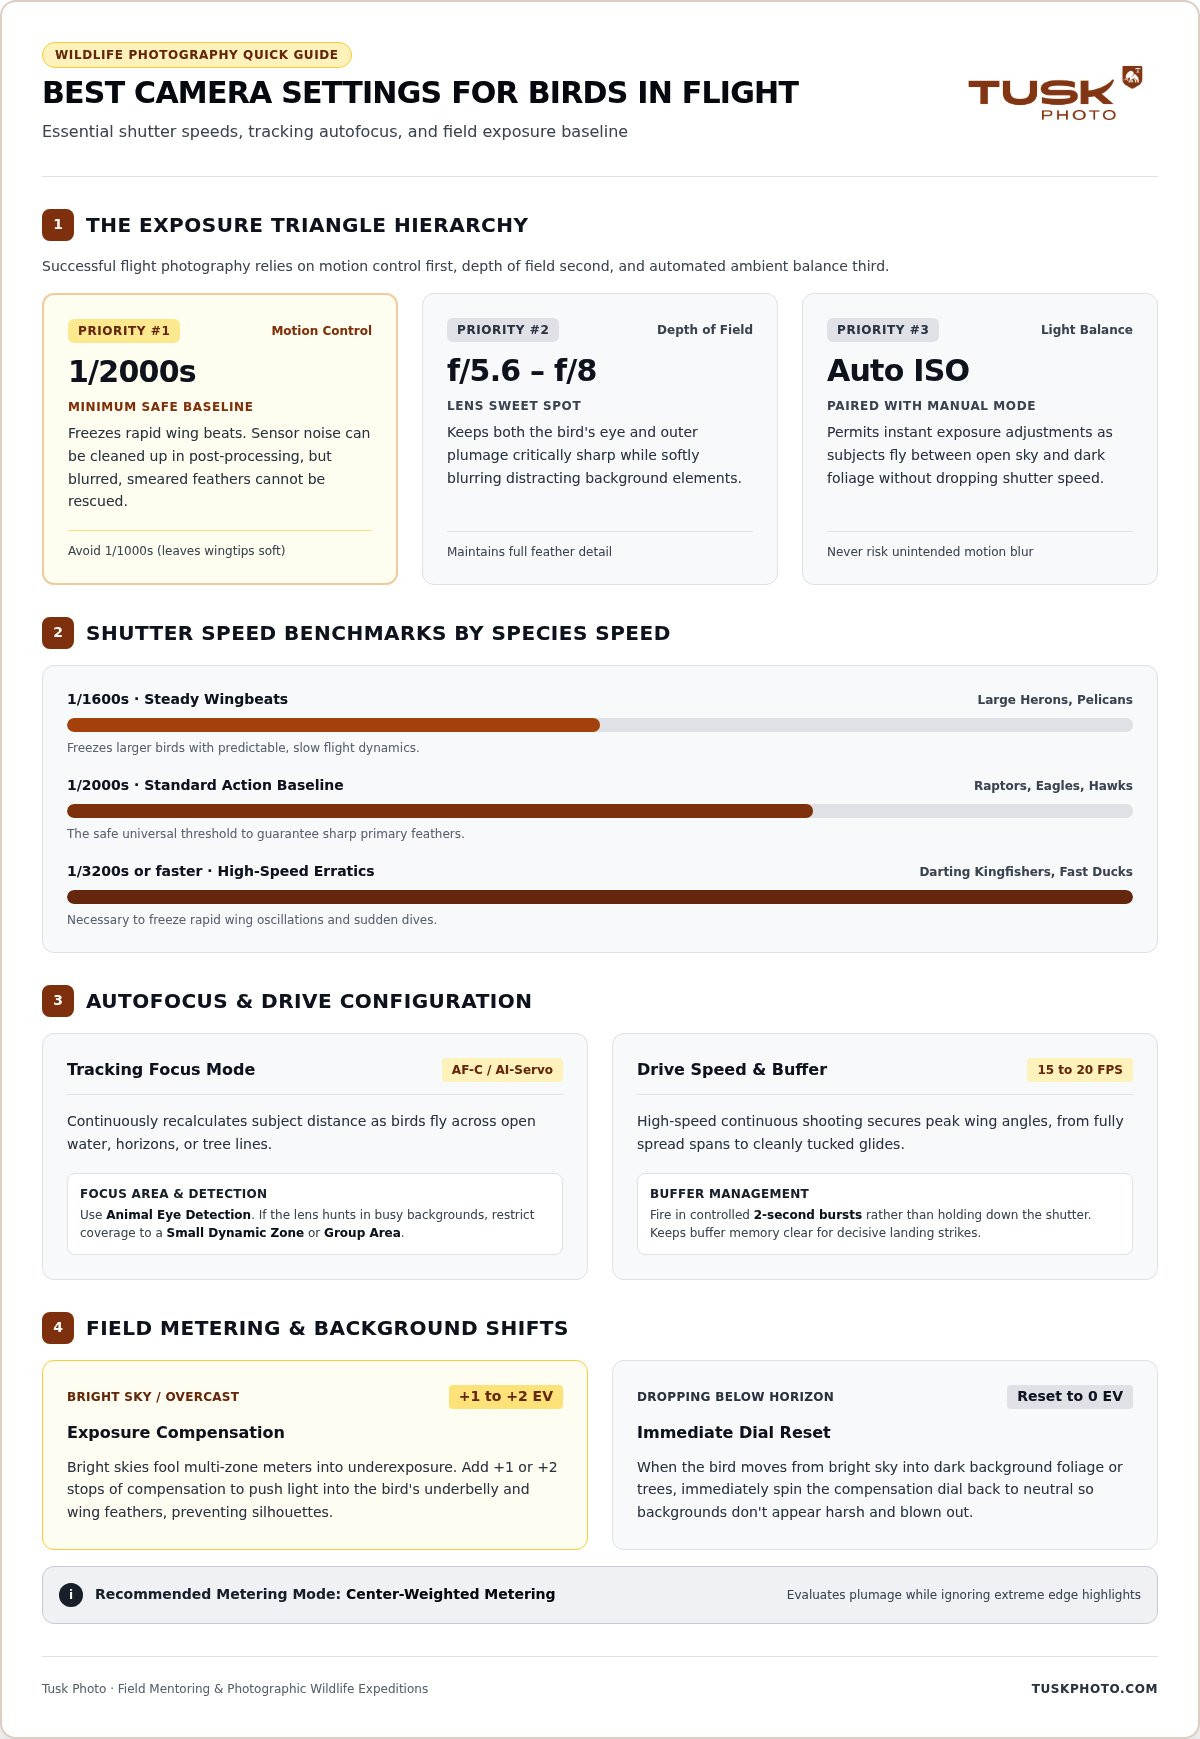
Dialing in the best camera settings for bird photography in flight starts with building a reliable foundation. Instead of wrestling with three separate exposure dials while wings flash overhead, set your baseline before tracking begins. Successful flight photography relies on a clear hierarchy: freeze motion first, secure your depth of field second, and let automation balance the ambient light.
Dial in at least 1/2000s. Older guides sometimes suggest 1/1000s, but that often leaves wingtips soft and blurred during rapid wing beats.
Keep your lens between f/5.6 and f/8. This sweet spot keeps both the eyes and plumage sharp while gently blurring busy backgrounds.
Rely on Auto ISO paired with Manual mode. As your subject shifts between open sky and dark foliage, your camera balances exposure automatically without risking motion blur.
Motion blur ruins flight images faster than digital sensor noise ever will. You can easily clean up high-ISO grain using modern editing software, but you can't rescue smeared feathers. Darting species like kingfishers often require speeds pushing past 1/3200s to freeze frantic action. For large raptors like eagles and hawks, a shutter speed of 1/2000s serves as your minimum safe baseline.
Tracking unpredictable flight paths requires your camera to anticipate motion instantly. When setting up the best camera settings for bird photography in flight, switch your focus system to Continuous Autofocus (AF-C on Nikon and Sony, or AI-Servo on Canon). This ensures the lens constantly updates focus distance while you track a flying subject across open water or thick tree lines.
Pair this tracking with your camera's high-speed continuous drive mode. Shooting at 15 to 20 frames per second lets you capture the peak wing position, whether fully spread or cleanly tucked. Practicing these fast-paced techniques alongside professional wildlife hosts on scheduled tours offers great hands-on mentoring when timing erratic action in the wild.
Modern mirrorless animal eye detection completely transforms flight photography. Turn on subject recognition so the camera locks straight onto the bird's eye, letting you focus entirely on your composition. If your camera hunts against complex backgrounds, switch to a small dynamic zone or group area. A confined zone prevents your focus points from drifting onto background trees or passing clouds. Fire in quick, controlled two-second bursts rather than holding the shutter down endlessly, which keeps your internal buffer clear so you never miss the final landing strike.
Light changes fast when you're tracking wildlife across open horizons. Finding the best camera settings for bird photography in flight means preparing for dynamic lighting shifts before pressing the shutter. Your camera's default multi-zone metering often measures the entire frame, which creates major issues when a bird passes in front of bright clouds.
Center-weighted metering helps solve this problem quickly. Unlike spot metering, which is tricky to keep centered on a fast-moving target, center-weighted metering evaluates a broad circle around your subject. It prioritizes the plumage while ignoring extremes at the frame edges. Developing these instincts is an essential field habit for beginner wildlife photographers wanting consistent exposures outdoors.
Bright skies fool camera sensors into underexposing dark subjects. When tracking against an overcast or brilliant white sky, add +1 or +2 stops of exposure compensation. This pushes extra light onto the underbelly and wing feathers, saving your shot from becoming a lifeless silhouette. Remember to spin the dial back to neutral immediately if the bird drops below the horizon into dark foliage. If you don't reset your exposure, that rich forest background will look harsh and washed out. Refining these split-second adjustments becomes second nature when you join expert wildlife photography tours, where dedicated coaching helps you master dynamic lighting in prime wildlife habitats.
Freezing dramatic action in the wild comes down to preparation and clear priorities. Dialing in the best camera settings for bird photography in flight means locking in a shutter speed of at least 1/2000s, trusting continuous tracking with animal eye detection, and adjusting exposure compensation when bright skies threaten silhouettes. When these baseline habits become second nature, you don't have to fuss with menus while tracking magnificent action.
Ready to put these settings to work? Join our scheduled wildlife photography tours for hands-on field mentoring. Every expedition is guided by seasoned professional wildlife photographers, and our small groups guarantee personal attention and camera settings coaching in prime habitats. Grab your camera, trust your settings, and enjoy the thrill of tracking birds across open skies.
The ideal baseline shutter speed for flying birds is 1/2000s. Larger species with steady wingbeats, such as herons or pelicans, can be frozen at 1/1600s. Faster birds like ducks or darting kingfishers often require 1/3200s or faster. Keeping your shutter speed high is the most reliable way to eliminate blurry wings in the field.
Manual mode combined with Auto ISO is far better than Aperture Priority for tracking flight. In Aperture Priority, the camera chooses your shutter speed, which frequently drops too low when light changes. Dialing in your shutter speed and f-stop manually provides the best camera settings for bird photography in flight because motion blur stays under control.
Switch from full-frame wide autofocus to a smaller dynamic zone or group-area mode. Wide focus patterns easily get distracted by distant trees, water ripples, or clouds. Restricting the active focus points to a smaller cluster helps your camera latch onto the bird's profile, preventing the lens from hunting against busy backdrops.
Yes, Auto ISO is completely safe and widely recommended for tracking birds in flight. It instantly compensates as your subject passes between bright clouds and shady trees, keeping plumage well exposed. When dialing in the best camera settings for bird photography in flight, a little sensor noise is easily fixed, but motion blur cannot be salvaged.


