
Antarctic Photography Expedition: A Practical Preparation Checklist
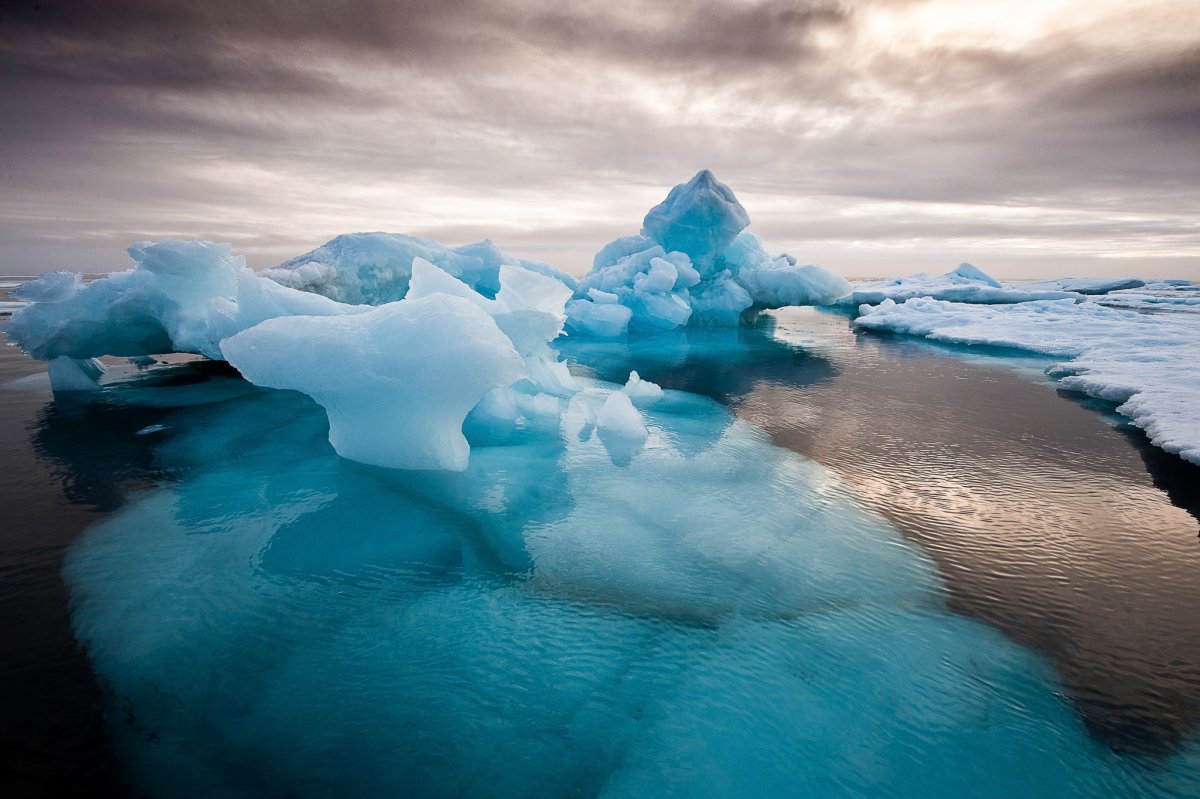

On an Antarctic photography expedition, changing conditions and unexpected wildlife encounters can quickly reshape your plans. The most useful preparation isn’t simply packing more gear. It’s knowing what you want to photograph, keeping essential equipment easy to reach and staying ready to adapt without disturbing wildlife.
A little planning helps you spend less time sorting equipment and more time noticing the light, landscape and animal behaviour around you. This checklist covers camera and personal essentials, ways to adjust your approach in the field, and respectful wildlife photography. It also compares scheduled, tailor-made and on-demand tour formats, so you can consider which style of planning suits you. Whether you’re new to polar photography or have years behind the camera, experienced guides can help you make the most of changing conditions and opportunities.
Plan the journey, prepare your kit and leave room to adapt. Before an Antarctic photography expedition, decide what you hope to photograph, review the trip information and think about what will help you stay comfortable outdoors.
Read the itinerary, included activities and expedition guidance. Note what the days may involve and what you’ll need to bring.
Pick subjects or skills to focus on, such as photographing wildlife behaviour or showing the scale of an icy landscape.
Choose clothing and other items that will help you stay comfortable, organised and ready for changing conditions.
Note anything you want to understand about the daily schedule, photography opportunities or guidance before departure.
Use the trip information to understand what’s planned and included, then focus on details that affect your preparation. Make sure you know what personal items to bring and how photography fits into the activities. A short question list can help you sort out the practical details before departure.
Keep your photographic priorities clear, but don’t turn them into a fixed shot list. In Antarctica, a useful field plan leaves room for conditions to change and unexpected moments to shape the day. If a scene unfolds differently than you imagined, you can respond to what’s happening instead of feeling you’ve missed your planned shot.
If you prefer to plan around a set departure, explore scheduled tour dates. Tusk Photo also offers tailor-made and on-demand formats, with experienced guides supporting photographers at different experience levels. Choose the planning style that suits you, then use your goals to guide your preparation without limiting your curiosity.
Pack for easy access, not every possible scenario. For an Antarctic photography expedition, keep the equipment you’ll use most within reach and organise the rest so you can find it quickly when conditions change.
Bring your main camera and lenses that match your priorities, such as a longer lens for distant wildlife or a wider lens for broad landscapes. Choose a setup you can handle comfortably.
Pack charged spare batteries and enough memory cards for your planned shooting. Protect the cards and separate used ones from empty ones so you can keep track while photographing.
Bring suitable protection for your camera and bag, along with a cloth for gently clearing moisture from equipment. Follow the maker’s care instructions for your gear.
A secure strap, lens cloth and organiser for small accessories can make quick changes easier and less distracting.
Cold can affect battery life, so keep spare batteries protected and follow your equipment guidance when moving between cold outdoor conditions and warmer sheltered spaces. Temperature changes can lead to moisture forming on equipment. Avoid rushing the transition and check your camera maker’s instructions for specific handling advice.
Preparation can help you be ready, but it can’t guarantee wildlife encounters or photographic conditions. Keep your camera accessible, but don’t let it take your attention away from the surroundings.
Put animal welfare ahead of the image. Follow your guide’s instructions and current expedition guidance, including any relevant IAATO guidance, for conduct around wildlife. Don’t approach animals or try to change their behaviour to improve a composition. Whether photographing along the Antarctic Peninsula or elsewhere in the Southern Ocean, patience and respect matter more than getting a close-up.
Experienced guides can help you adapt your approach in the field. Explore Tusk Photo’s guided tour formats to see how expert support can be part of a wildlife photography experience.
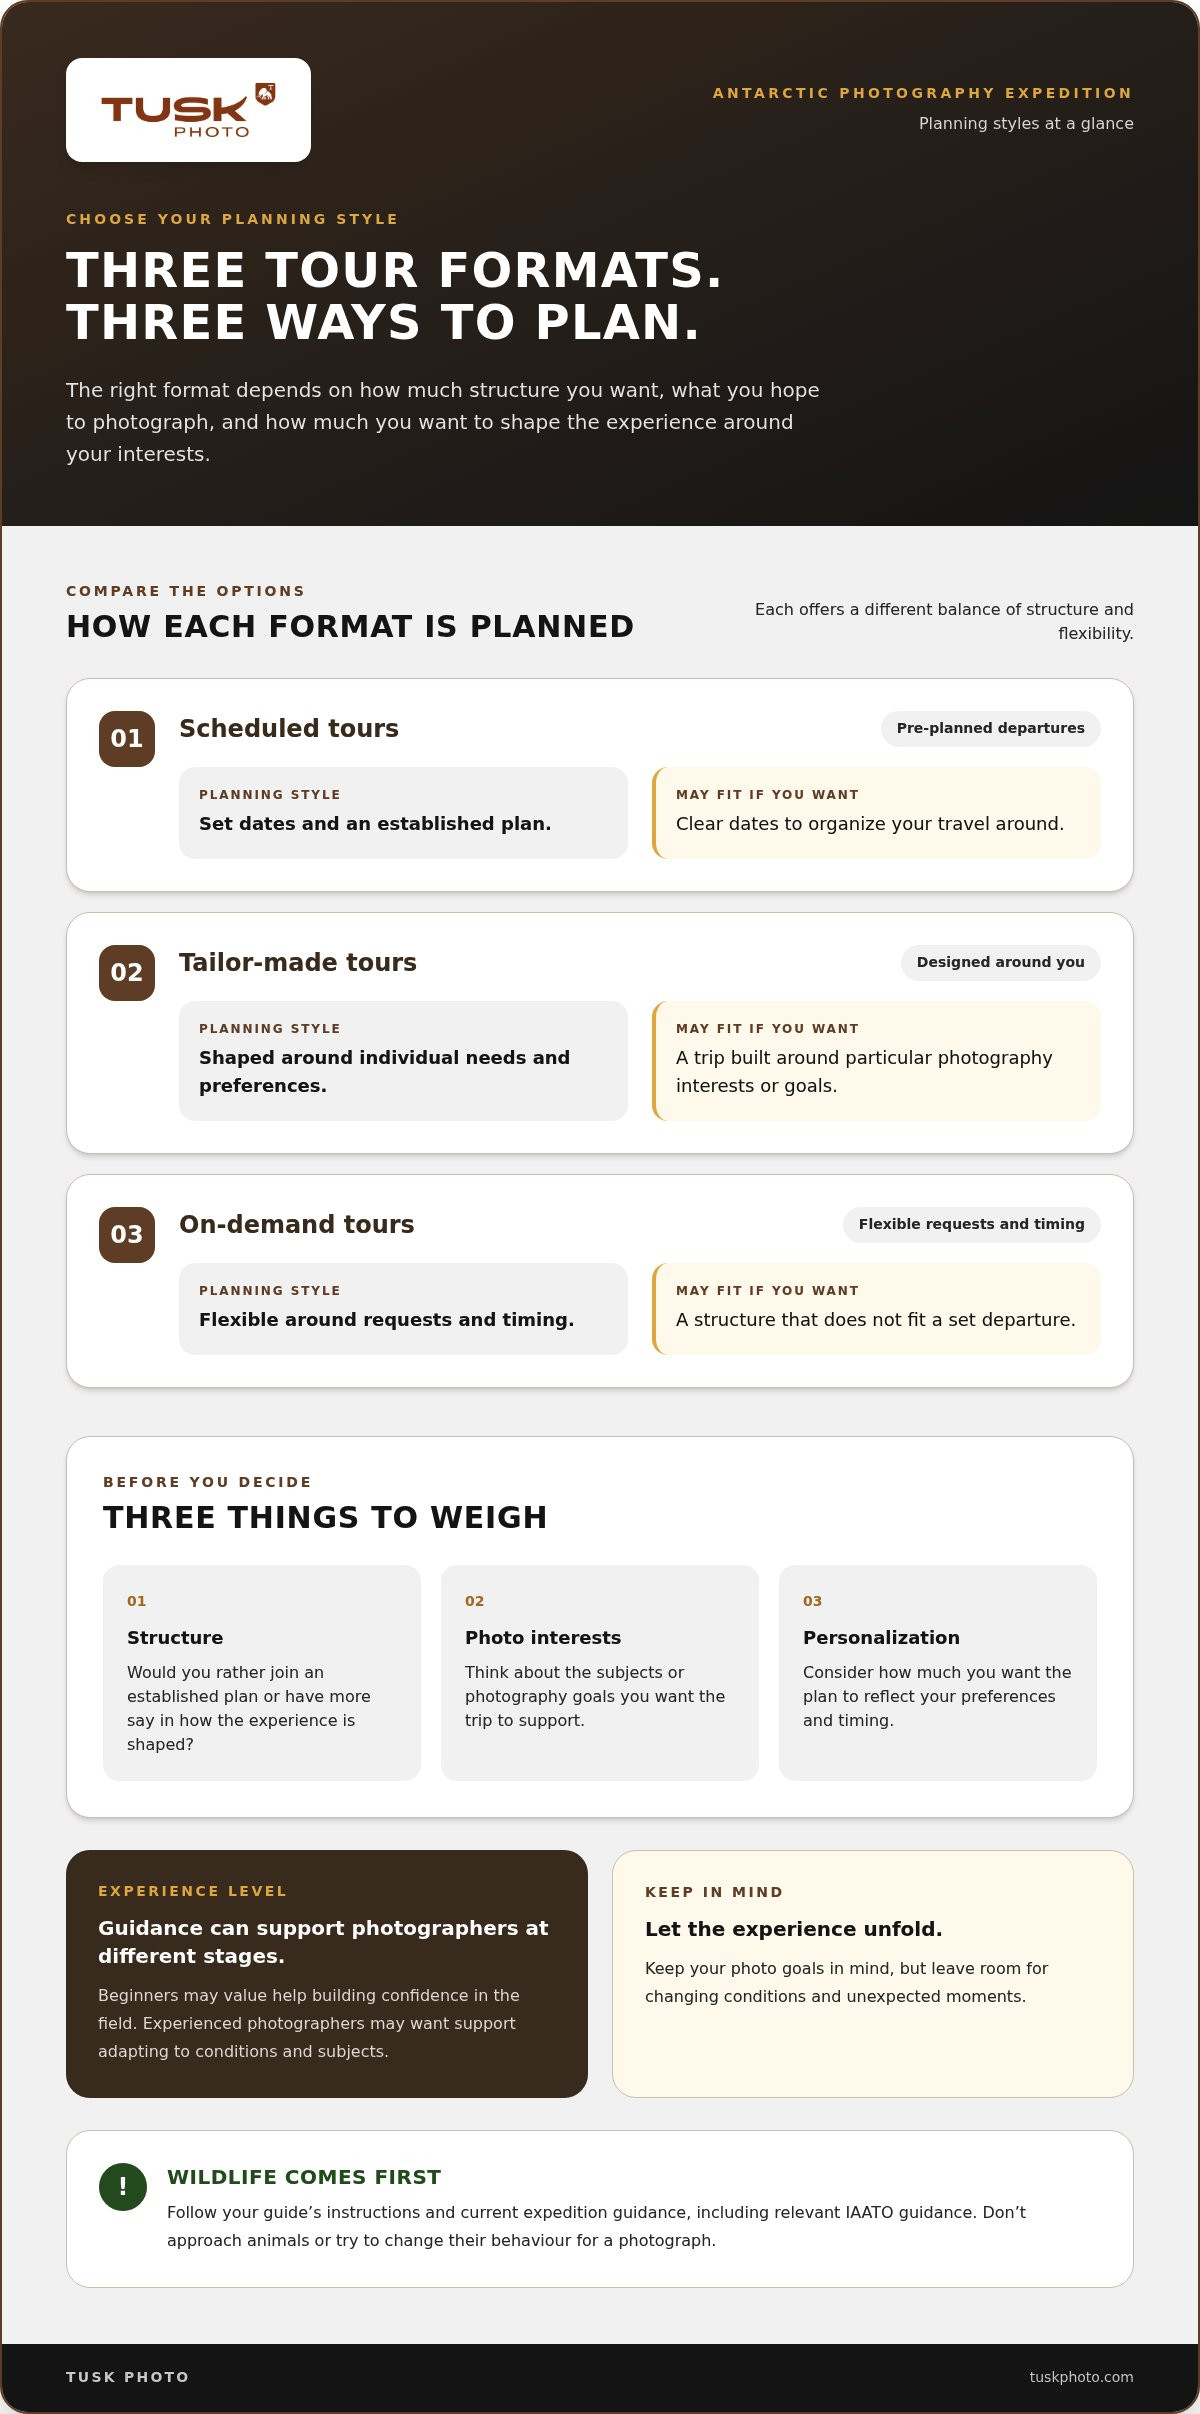
The right format depends on how much structure you want, what you hope to photograph and how you prefer to plan. For an Antarctic photography expedition, consider both the destination and how much you want to shape the experience around your interests and photography style.
Each format offers a different balance of structure and flexibility. Decide whether you’d rather join an established plan or shape the experience around your preferences.
These have pre-planned departures with set dates. They suit photographers who are comfortable choosing from an established plan and want clear dates around which to organise their travel.
These are designed around individual needs and preferences. They’re a good fit if you have particular photography interests or want the experience shaped around your goals.
These offer flexibility around requests and timing. They suit people whose plans or preferred structure don’t fit a set departure.
Your experience level matters, but it doesn’t have to decide for you. Beginners may value guidance as they build confidence using a camera in the field. Experienced photographers may want support as they adapt their approach to the conditions and subject. Tusk Photo’s tours are led by experienced guides and are designed for both beginners and seasoned professionals.
Before deciding, weigh up how much structure you want, which photographic interests you’d like to explore and how much personalisation matters to you. If you want a plan built around your preferences, explore tailor-made photography tours. Whatever format you choose, keep your goals in mind while leaving space for the experience to unfold.
An Antarctic photography expedition can begin with a simple question: what do you hope to notice when you put the camera down? That intention can shape how you prepare and what you want from the journey beyond the images themselves. You don’t need to plan every frame. Bring curiosity, patience and a willingness to let the place set the pace.
To take the next step, explore the photography tours and decide which approach fits the way you want to travel and create. Consider what would help you feel focused, comfortable and open to new experiences in the field. Explore Tusk Photo photography tours and start shaping a journey around your interests. Thoughtful preparation can help you look forward to the experience as much as the photographs you may make.
There isn’t one best time for every photographer. The right dates depend on the region, the activities planned and what you hope to photograph. Compare the departure information and seasonal notes for each expedition rather than choosing by month alone. If you have a particular wildlife subject or kind of light in mind, use that interest to guide your choice.
Photographers may encounter penguins, seals, whales and seabirds. Depending on the area, seabirds may include albatrosses and petrels, while seals can include fur seals and elephant seals. The mix of species differs between regions, so read the wildlife information for the expedition you’re considering. These subjects offer varied photo opportunities, from animal details to wildlife against broad landscapes.
Yes. You can take part without advanced camera skills. Before you travel, practise focusing and adjusting how bright or dark your photos look, a setting known as exposure. If you expect to wear gloves while photographing, practise using the controls with them on. Getting familiar with the main buttons makes it easier to respond to a fleeting moment without feeling rushed.
Before departure, test your camera, lenses, charger and memory cards together so you have time to address any problems. Check your camera maker’s care instructions for your specific model, and learn how to close or secure covers and compartments. Practise packing and unpacking your setup, too, so handling it feels familiar on location.


