
Advanced Wildlife Photography Techniques: Elevate Your Wild Portfolio in 2026
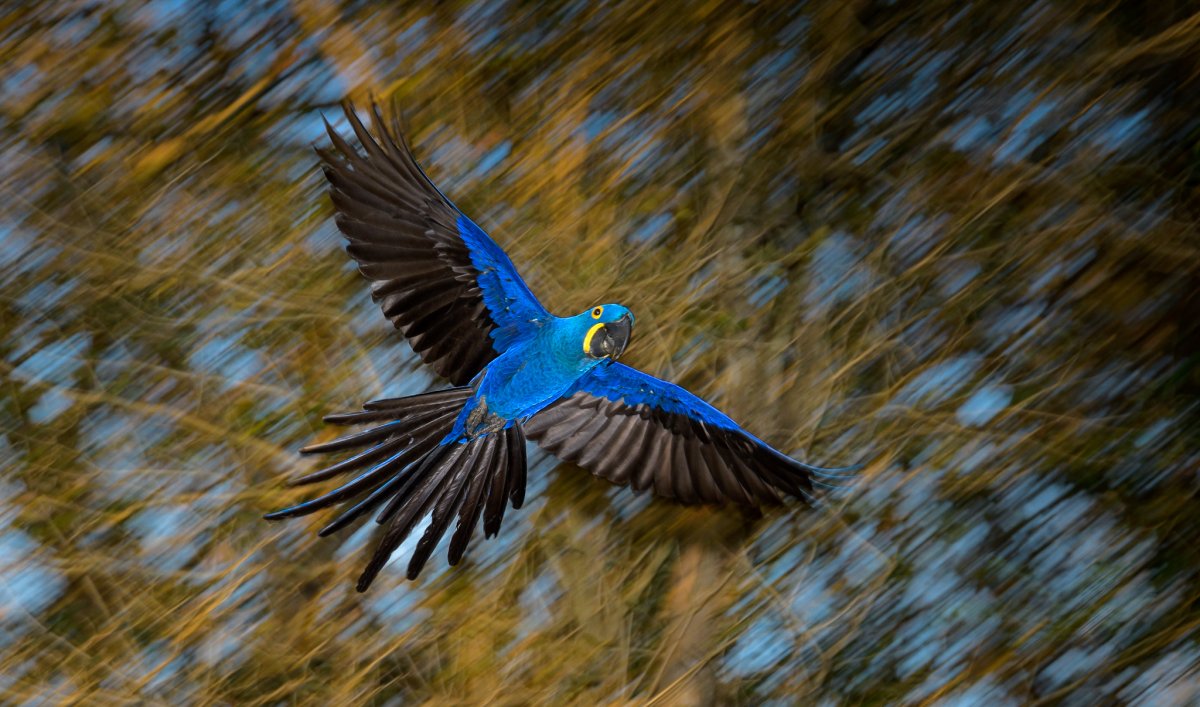

What if the secret to a National Geographic-style shot isn't a $16,000 super-telephoto lens, but something you can't buy in a camera shop? Many photographers feel frustrated when their images look flat or generic; they miss the heart of the action while others seem to capture magic effortlessly. It's a common feeling to think your portfolio looks just like everyone else's. If you're ready to break out of that cycle, mastering advanced wildlife photography techniques is the only way to truly elevate your work from a simple snapshot to a professional masterpiece.
Light is the primary tool you use to tell a story. While front-lighting is a safe choice, backlighting is the secret ingredient that turns a standard photo into a professional-grade masterpiece. It adds a layer of drama and depth that flat lighting simply can't match. By placing the sun behind your subject, you create a glowing outline known as rim light. This effect makes fur and feathers shimmer against darker backgrounds; it's a hallmark of advanced wildlife photography techniques. Mastering these methods allows you to control the mood of your image rather than letting the camera decide for you.
Getting the exposure right is where many photographers struggle. If you rely on your camera's auto settings, you'll likely end up with a dark, muddy subject. Instead, try spot metering on the animal's face or the rim of light itself. You want to keep the highlights bright without losing all the detail in the shadows. Sometimes, moving your vehicle or tripod just a few inches can drastically change how that light wraps around the animal. It can be the difference between a messy flare and a perfect, glowing halo. On our tailor-made tours, our guides act as your secret weapon. They help you find the right angle and provide the patience needed to wait for that perfect alignment.
When the sun is low on the horizon, consider going for a full silhouette. This technique relies entirely on shape and form rather than texture or color. Look for iconic, easily recognized outlines such as the curve of an elephant's trunk or the long neck of a giraffe. To make this work, you need a clean, uncluttered horizon. Any trees or bushes overlapping your subject will break the silhouette and ruin the effect. Aim for a low angle to get your subject against the bright sky for the best results.
You don't always get the perfect golden hour. When the sky is white or overcast, you can use high-key techniques to create an artistic, minimalist look. By purposefully overexposing the background, you turn a boring grey sky into a pure white canvas. If the shadows on your subject are too deep, a tiny bit of fill flash can help. It adds a "catchlight" to the eye, giving the animal a sense of life even in difficult conditions. This approach helps you stay productive in the field regardless of what the weather is doing.
The "Ghosting" effect is a perfect example of this artistic shift. Imagine a massive herd of wildebeest crossing a river during the migration. By keeping your camera perfectly still on a tripod and using a slow shutter, the landscape remains sharp while the animals become a beautiful, blurred flow of life. It captures the sheer scale of the movement in a way that feels cinematic and immersive. It's about feeling the energy of the herd rather than just counting the animals.
Panning is how you capture a fast-moving animal while blurring the background into a series of soft, horizontal streaks. It works wonders for ground mammals like a sprinting cheetah or a trotting zebra, adding a sense of direction and speed. To get it right, follow these steps:
• Plant your feet firmly or brace yourself against the safari vehicle.
• Pivot from your hips to keep your upper body stable and smooth.
• Lock your focus on the animal's eye as it moves across your field of view.
• Keep moving the camera in a steady arc even after you've clicked the shutter.
Consistent practice is the only way to master the pan. If you're looking to refine these skills in the field, our scheduled tours offer the perfect environment to experiment with expert guidance right beside you.
If your subject is stationary but the environment is vibrant, try a zoom burst. This creates a "tunnel vision" effect that draws the viewer's eye directly to the animal. It adds an incredible sense of energy and explosion to the frame, making it a favorite among those exploring advanced wildlife photography techniques. This works best when an animal is surrounded by colorful foliage or bright flowers. Simply zoom your lens in or out while the shutter is open to transform a quiet, still moment into a dynamic scene that pops off the page.
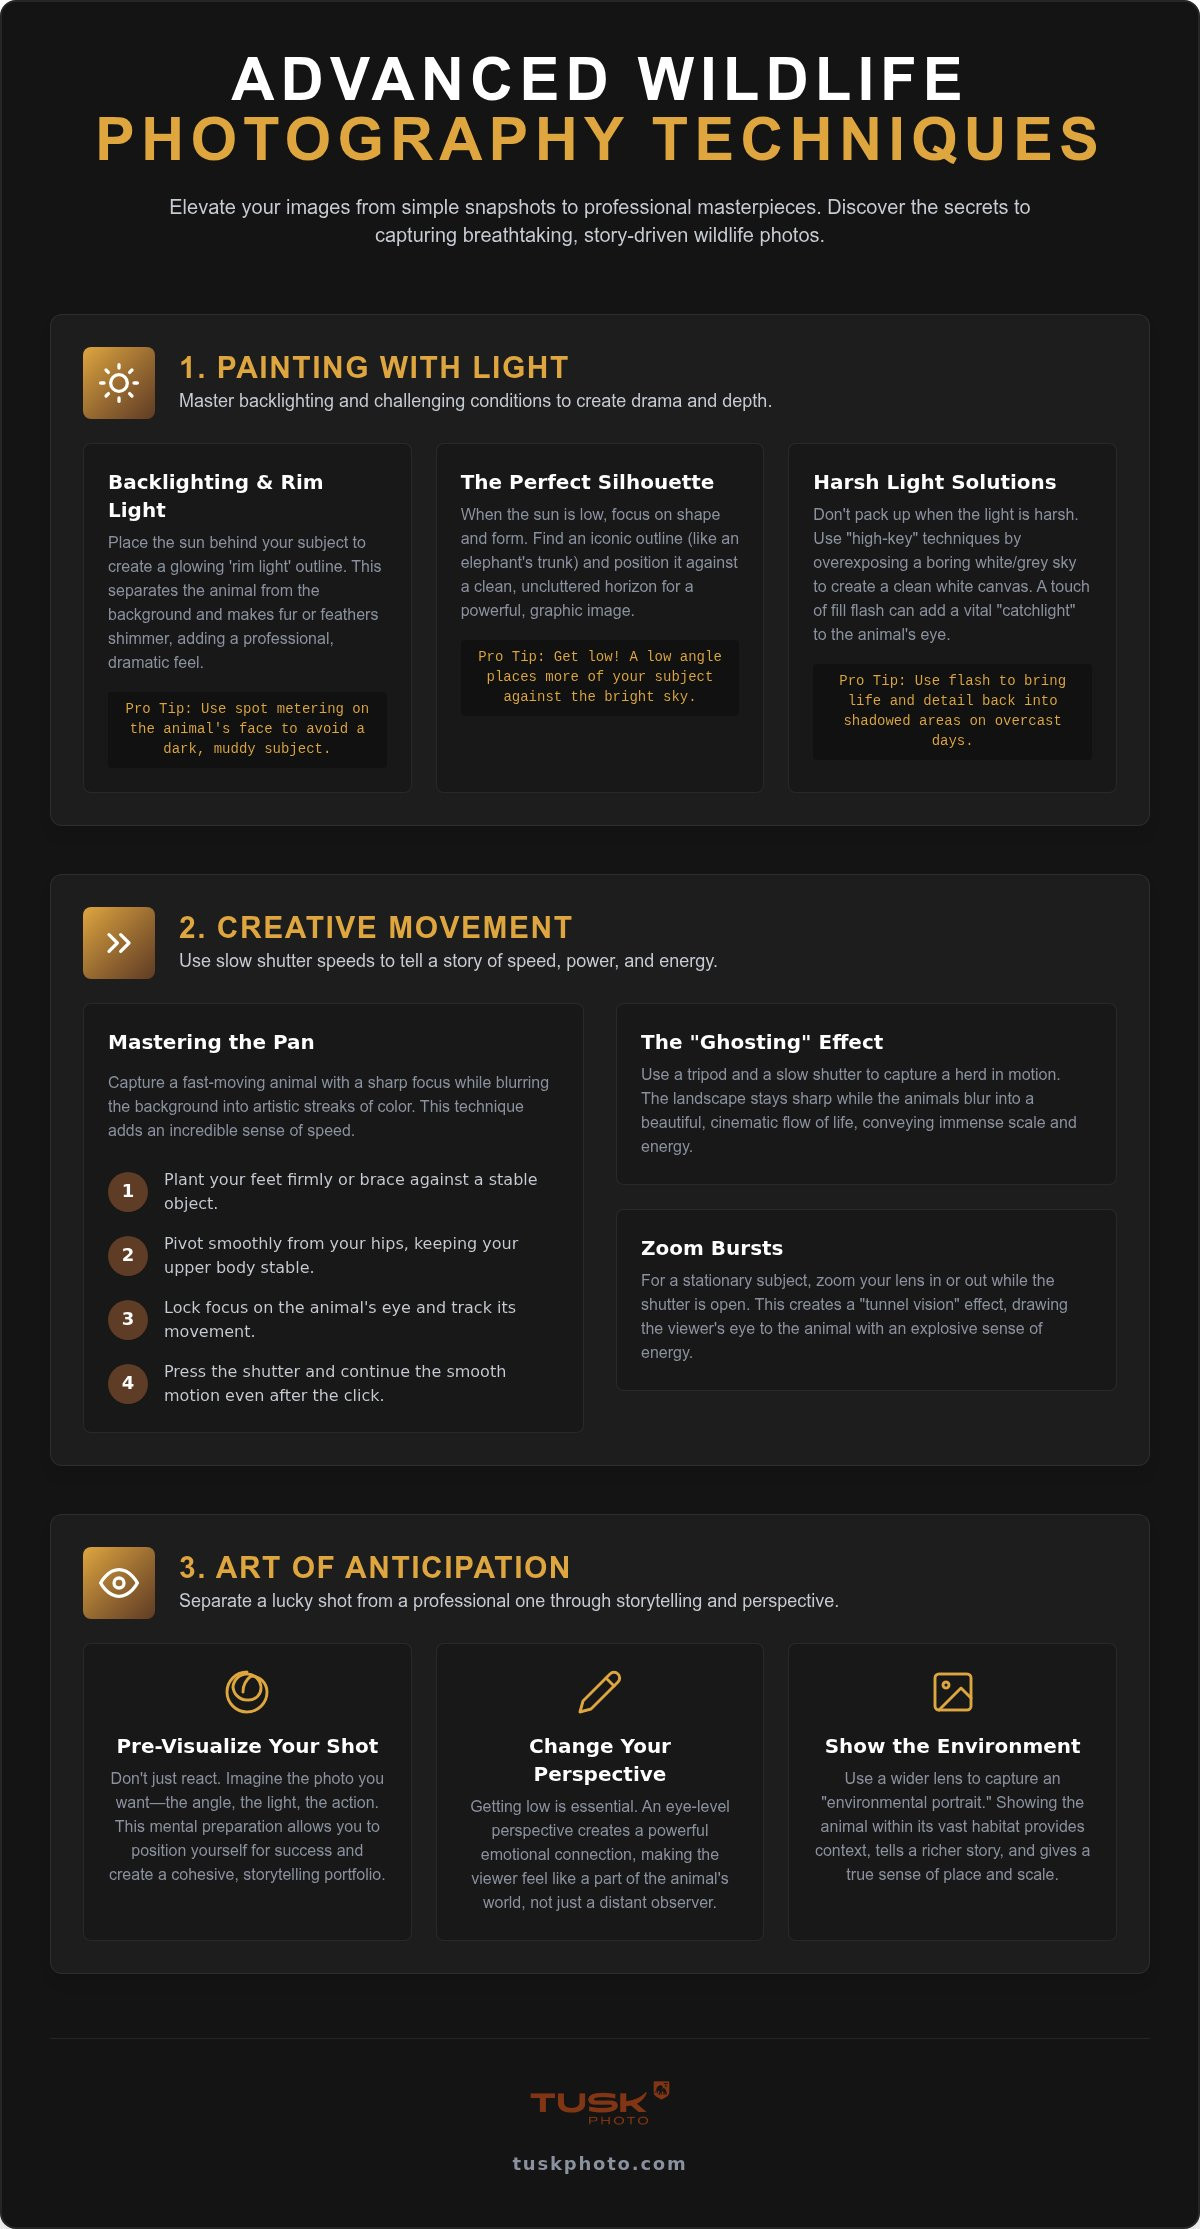
The best images often begin in the mind long before the shutter clicks. This process, known as pre-visualization, is what separates a lucky shot from a professional one. Instead of simply reacting to what happens, try to imagine the specific photo you want to capture. Think about the angle, the light, and the animal's potential movement. When you have a clear vision, you can position yourself more effectively. This mental preparation is a core part of advanced wildlife photography techniques that helps you build a cohesive, storytelling portfolio.
One of the most effective ways to change the impact of your work is to change your perspective. Getting low is essential. When you shoot from an eye-level perspective, you create a deeper emotional connection between the subject and the viewer. It makes the audience feel like they are part of the animal's world rather than just an observer looking down from a vehicle. While long lenses are popular, don't forget the power of the "Environmental Portrait." Using a wide-angle lens allows you to show the animal within its vast home, providing context and a sense of place that a tight crop often misses.
To capture peak action, you must learn to read the environment. Watch for subtle clues like the flicking of an ear, a sudden tension in a predator's muscles, or a change in its gaze. These small signs often signal that a hunt or a dramatic interaction is about to begin. Patience is your most valuable piece of equipment in these moments. Being willing to sit with a single subject for hours allows you to anticipate the story before it unfolds, ensuring you are ready when the magic happens.
How you arrange the elements in your frame determines how the viewer feels. Using negative space in photography is a brilliant way to give your subject room to "breathe" and emphasize its presence in the wild. You can also look for natural frames, such as overhanging tree branches or stalks of tall grass, to add depth and layers to your composition. If you want to focus on specific animal behaviors or environments, you can learn how to design your own tailor-made photography safari to suit your creative goals.
Mastering these skills takes time, but you don't have to do it alone. Joining a photography tour with an expert guide is the fastest way to learn these advanced wildlife photography techniques. Having a mentor by your side in the field helps you spot those subtle behavioral cues and adjust your perspective in real time, ensuring you return home with a world-class portfolio.
Moving from basic portraits to professional-grade imagery is a journey of vision and patience. By mastering advanced wildlife photography techniques like creative backlighting and intentional motion blur, you're no longer just taking photos. You're crafting a narrative of the natural world. These skills allow you to show the wild as it truly feels, full of energy, atmosphere, and raw emotion.
Learning these methods in a classroom is one thing, but practicing them in the heart of the action is where the real growth happens. Our trips are led by award-winning photography hosts who provide personalized field mentoring in small, focused groups. You'll also gain access to exclusive wildlife conservancies that offer the quiet and space needed for these complex shots. This ensures you have the best possible environment to refine your craft and build a portfolio that truly stands out.
Ready to practice these techniques? Explore our upcoming Scheduled Tours!
We can't wait to see the incredible stories you'll tell through your lens and the unique moments you'll capture on your next adventure.
You can get crisp shots by using a shutter speed that is at least double your focal length. If you're shooting at 400mm, try to stay at 1/800th of a second or higher. A simple beanbag placed on the edge of a vehicle is also a fantastic, low-cost way to stay steady. This setup provides excellent stability for long lenses without the hassle of a tripod in a cramped space.
The first and last hours of daylight are the best times to be in the field. This "golden hour" provides soft, directional light that is perfect for testing advanced wildlife photography techniques like rim lighting. Animals are also much more active during these cooler periods. You'll have more opportunities to capture movement and social interactions that don't happen during the heat of the day.
You definitely don't need a massive 600mm lens to produce world-class work. While reach is helpful, many professionals prefer 400mm lenses for their versatility and lighter weight. Modern cameras with high-resolution sensors, often 45 megapixels or more, allow you to crop your images significantly while keeping them sharp. Focusing on your perspective and how close you can safely get is often more important than your lens size.
When the sun is high and the light is harsh, try focusing on high-contrast black and white shots. This highlights textures and shapes rather than flat colors. You can also look for animals in deep shade to get more even lighting. Another trick is to use high-key techniques, where you purposefully overexpose a bright background to create a clean, artistic look that hides a boring midday sky.


